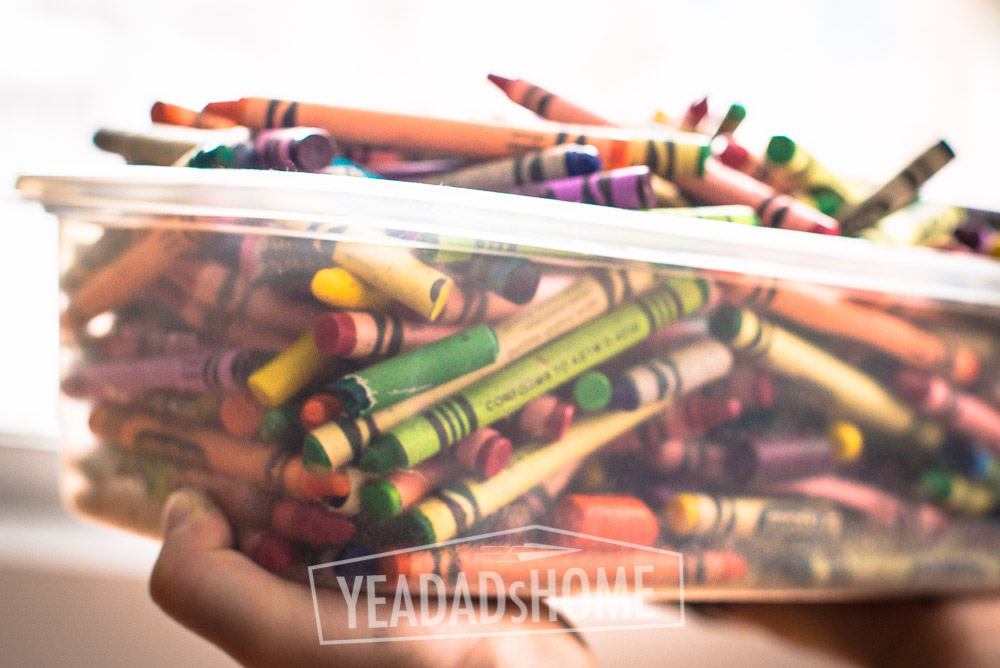
Over the past few years we have collected a bunch of crayons. When we eat out we usually come home with three or four. So after a few years, our crayon collection was getting to the point where we were going to either find a bigger container or find a good use for them.
The Crayon Collection
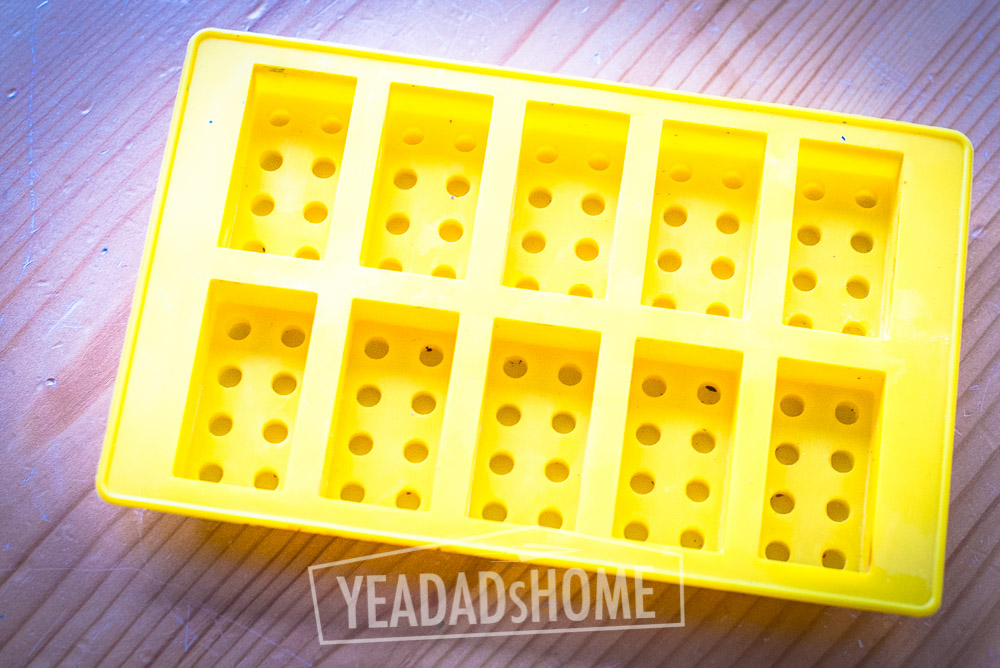
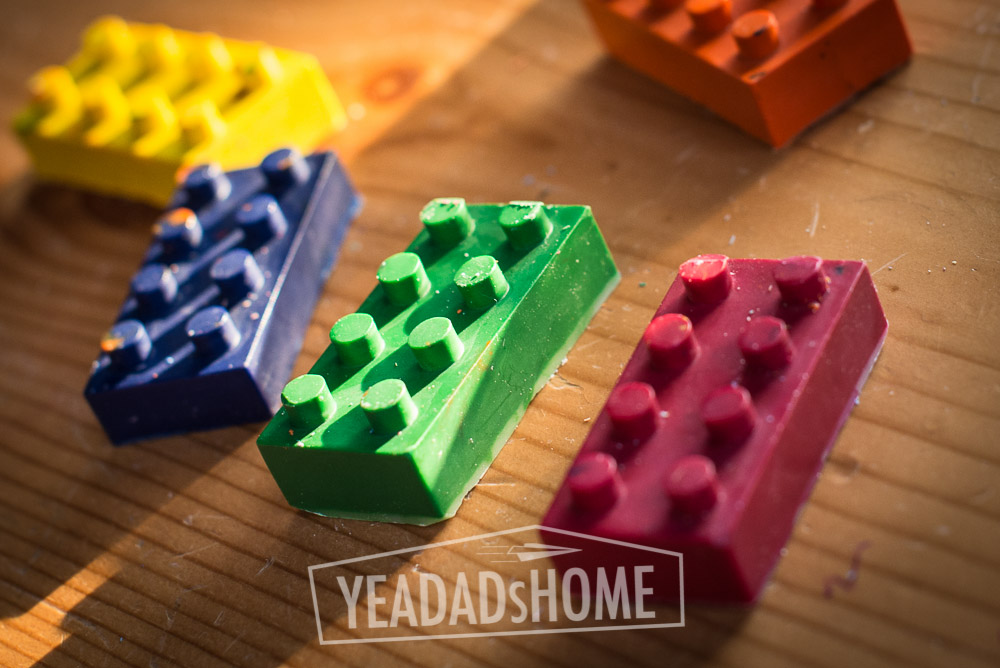
Last week we got a great idea from a friend. We could melt them into fun new shapes. She even had a mold shaped like large lego bricks like this Lego Ice Bricks Tray. The lego shapes in the mold are about one inch by almost 2 inches. There are a lot of silicone molds out there, but we liked the lego shape. Following are the steps we followed along with 3 mistakes to avoid when molding crayons into new shapes.
Silicone Lego Mold
Steps for molding crayons into new shapes:
- Collect a bunch of crayons to use. We used about 40 crayons per batch.
- Find a silicon mold or two with fun shapes.
- Cut and pull the paper off.
- Snap the crayons into pieces.
- Put the filled mold on a baking sheet, and fill the molds with crayon bits.
- Heat the oven to 275F (we used 250 on convection).
- Melt the crayons for 15 minutes.
- Cool for an hour and then 15 minutes in the freezer.
- Pull the mold away from the sides of the newly molded crayons, and then push them out.
Mistake 1 – Hastily Cutting Paper Will Cost You
Adults need to do the crayon wrapper cutting. This is the most dangerous step. I am all for letting kids learn how to responsibly use a knife, but the paper on crayons is tricky to cut. Set up a cutting board and make sure your kid audience is on the side you are cutting from. For a right-hander like me that is on my left as I cut to the right. As we were making ours, I wanted my son to see. He set up on the right, and his enthusiasm pulled him a bit close and he bumped me. I only got nicked. I can see how a rolling crayon or a bump could turn this project into a lot more drama than necessary.
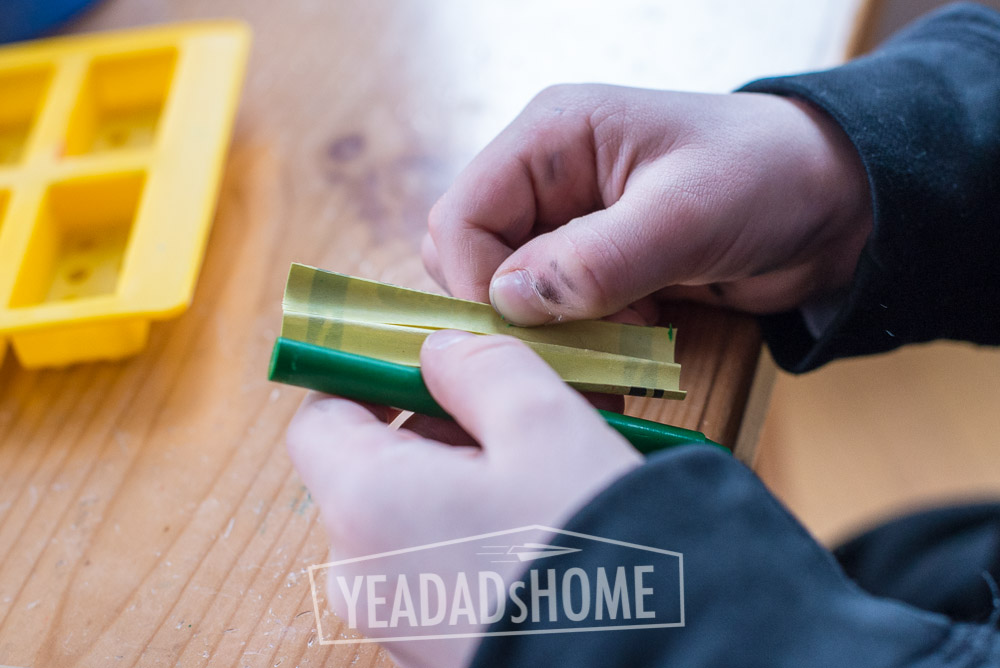
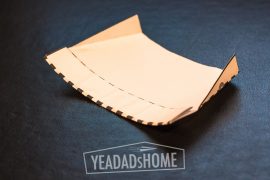
The crayon paper does need to get cut all the way through. When we cut lightly it took way longer to pull the paper away. In our second batch, I cut deeper into the crayon, and the paper came away more quickly. I liked the quick paper removal. The project moved more quickly, and my son did all the paper removal. When I lightly cut the paper, he passed them back to me.
This is How Crayon Paper Looks When Cut Through
Mistake 2 – Smashing the Pieces Isn’t Necessary
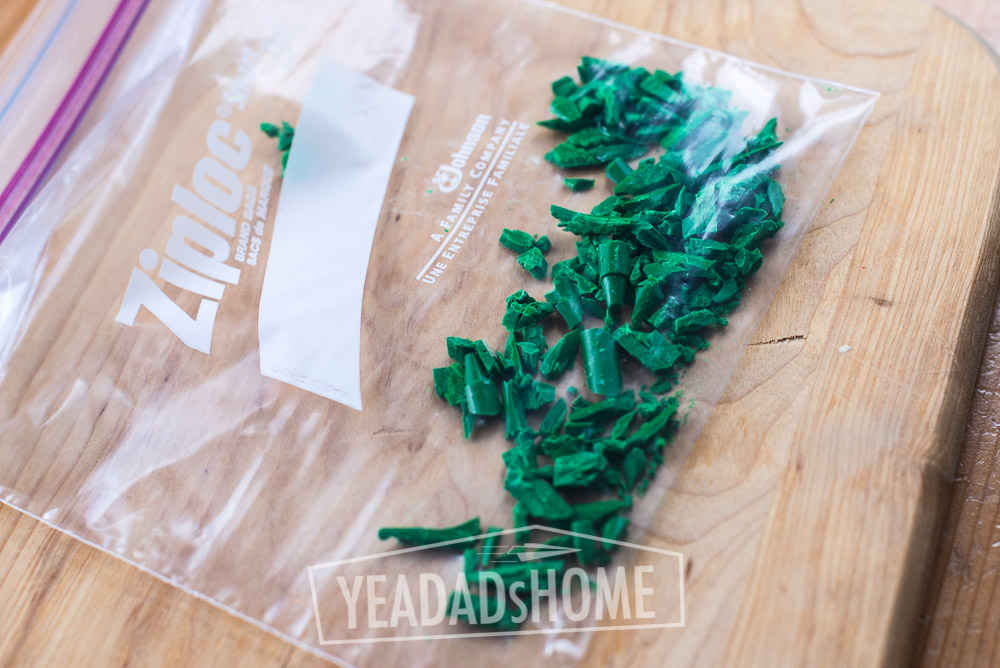
In our first first attempt we got a bit carried away and smashed the crayons. A ziplock bag and a hammer did the trick. Pounding is fun. We enjoyed the method, but it wasn’t needed. Also smashing them in a ziplock makes really small flecks that are hard to control. We made a combination of solid color molds and used the extra pieces for multi-color molds. The flecks cause problems for both types. For the solid ones the flecks get stuck in the wrong molds and are really difficult to get out. In the multi-color ones the flecks just melt and the combination becomes one dominant color. In our case purple overwhelmed the other colors. Smashing the crayons into flecks works for other kinds of art projects, but it is much easier to snap them.
Smashed Pieces
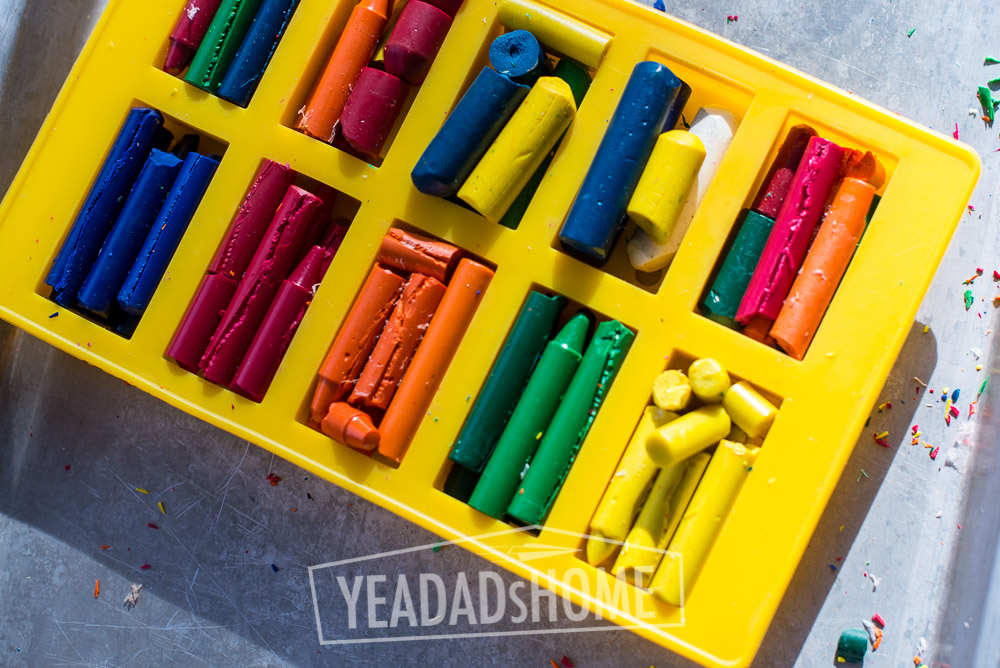
For our molds, snapping the crayons into thirds was all that was necessary, and my son could do most of that. It isn’t as much fun as pounding them with a hammer, but it makes better molds. Just try to make the pieces a similar size if you can. The big chunky toddler crayons caused their own issues. They took longer to melt than the normal sized ones, and that can lead to the next issue.
Snapped Pieces Work Better
Mistake 3 – Over Cooking Multiple Colors Makes One Color
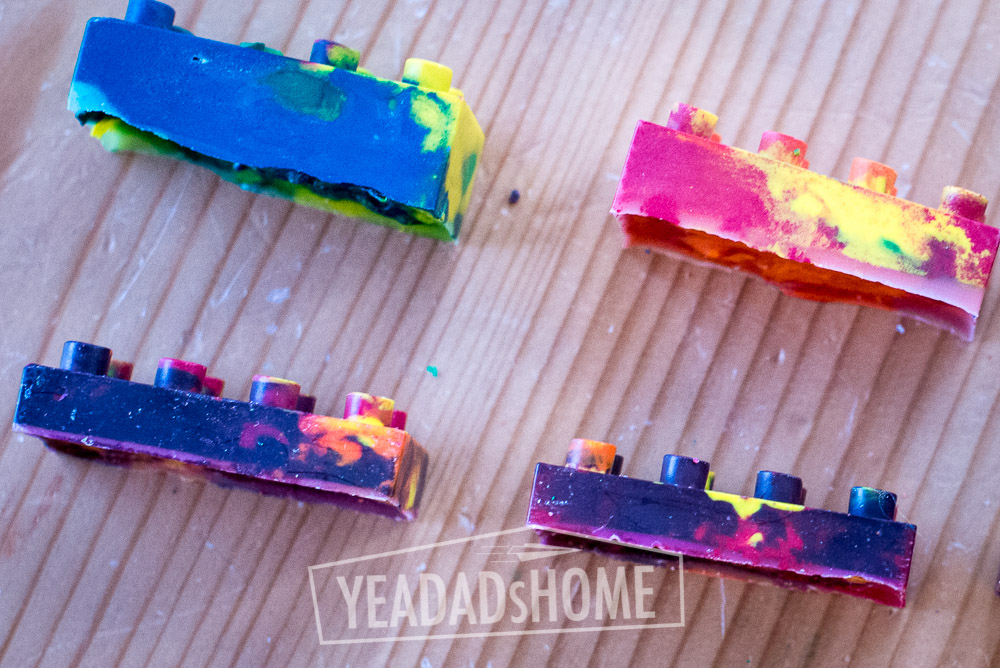
On our first attempt we left the molds in the oven for 18 minutes. We had small pieces, and they were melted in about 15 minutes, but we wanted our molds to be really filled. Once the crayon flecks melted down there was a lot of extra space in our solid color molds, so we added chunks to fill them up. Anyway it took a few more minutes. By that time our multi-colored mold with purple flecks turned dark purple.
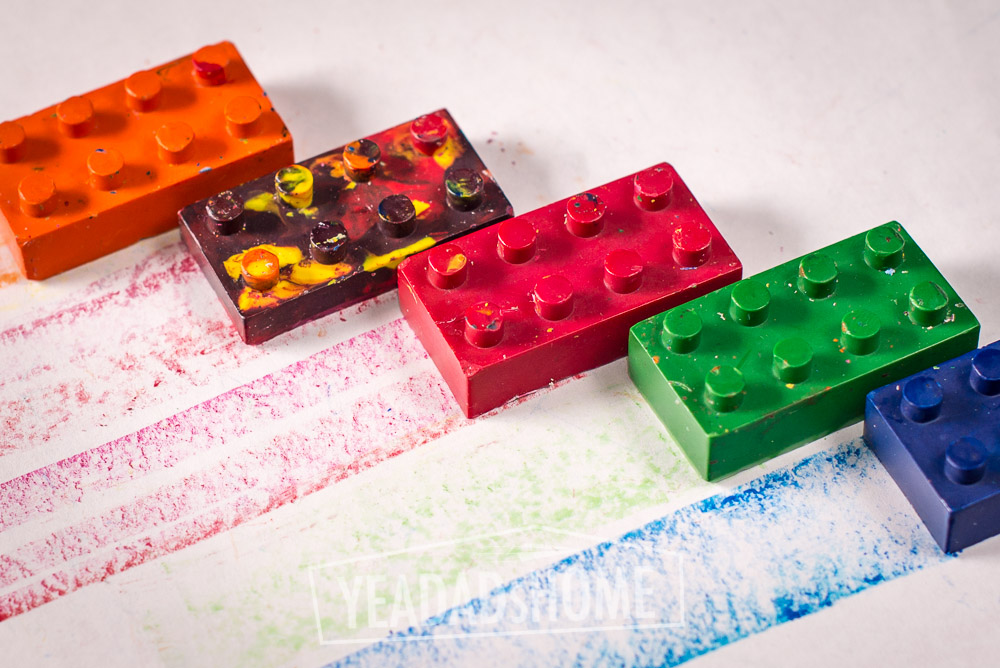
In our second attempt we snapped the crayons by hand into chunks rather than using smashed pieces, and these bigger chunks melted in 15 minutes. I did use a wooden skewer to poke a few bubbles as I took them out of the oven. That combination of time (15 minutes), temperature (275F), and size of chunks made the marbling of colors we wanted in the multi-color molds.
Colors in Over Cooked Molds (Bottom) Were Overwhelmed by the Purple
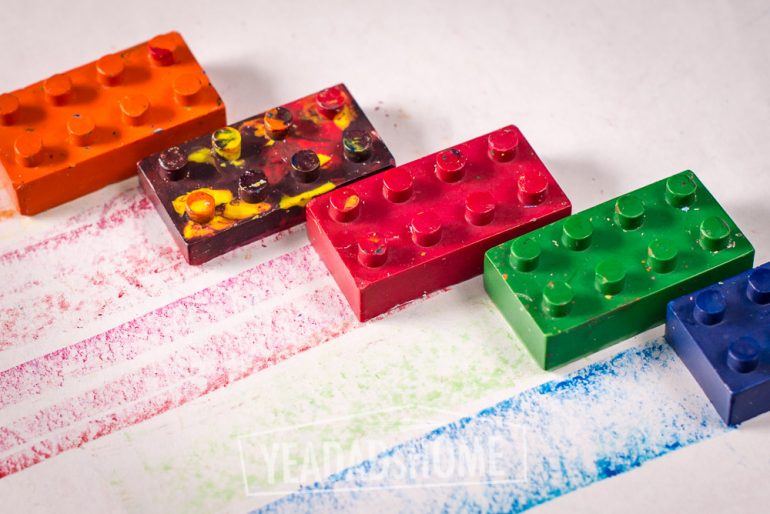
The project was a lot of fun, and our pile of old crayons is a bit smaller. In total made 20 lego shaped crayons over the weekend. We might pull this out next time we plan a birthday party. They would make fun party favors.


4) being impatient to remove the crayons from the molds. We lost the bumps from a few of our lego crayons that way. Waiting an extra 10 min prevents more than 10 min of tantrums.
Good point! Waiting is always hard, but necessary….
No need to cut the Crayons to get the paper off. Soak them in warm water and the paper just falls off!
That’s a great idea! I will try that on our next batch. Thanks
I have AbC mold … is it necessary to fill all the letters before baking? Lol.. I don’t need so many of certain letters so was hoping it won’t be but also don’t want to mess up the mold:)
Soak the crayons in warm hot water, the papers fall right off, saves a tin of time and no deadly exact blades necessary. Water shouldn’t be overly hot or the crayons start to melt. Then just dry them on a paper towel, either let them sit or just rub them with the towel.
No you don’t have to fill them. I made name crayons and only used the letters I needed. It didn’t harm the mold
Where can I find the mold shown under the heading “Snapped Pieces Work Better”
Any silicone mold will work. Following is a link to one on Amazon. Feel free to look around for a better deal though. They have several alternatives. https://www.amazon.com/dp/B00QFBRZ1K/ref=sspa_dk_detail_0?psc=1&pd_rd_i=B00QFBRZ1K&pf_rd_m=ATVPDKIKX0DER&pf_rd_p=a54d13fc-b8a1-4ce8-b285-d77489a09cf6&pf_rd_r=C5HWGHKTK2906JG0B272&pd_rd_wg=NEi1G&pf_rd_s=desktop-dp-sims&pf_rd_t=40701&pd_rd_w=K0yl5&pf_rd_i=desktop-dp-sims&pd_rd_r=320298c5-a6e6-11e8-81f4-6951fe5af5cc.
I’m a PreK teacher with bunches of worn out crayons that I couldn’t bring myself to throw away. Your sharing of what to avoid & how to do this has been sooooooooooooooooo helpful!! The baking time and temperature are precise!! And of course, the pictures helped this visual learner immensely…Thank you:)
How do you get the molds clean? We made these and the molds have wax residue.
Hi. That is a good point. I did wash the molds after pulling out the shaped crayons. I soaked them for a bit in hot water with dish soap, and used an old tooth brush to scrub out the shapes. Hope that helps!