Blog

  • Lemon Ricotta Blueberry Pancakes

    Lemon Ricotta Blueberry Pancakes

    Print Recipe
    Lemon Ricotta Blueberry Pancakes
    The ricotta in this recipe makes them really creamy, and lemon really brightens up the blueberries.
    Flipping the Pancakes
    Course Breakfast
    Prep Time 5 minutes
    Cook Time 20 minutes
    Servings
    pancakes
    Ingredients
    Dry Ingredients
    Wet Ingredients
    Final Touches
    Course Breakfast
    Prep Time 5 minutes
    Cook Time 20 minutes
    Servings
    pancakes
    Ingredients
    Dry Ingredients
    Wet Ingredients
    Final Touches
    Flipping the Pancakes
    Instructions
    1. Combine dry ingredients in a large bowl.
    2. In a second bowl whisk together ricotta, buttermilk, lemon zest and butter. Then gently in the eggs.
    3. Mix wet and dry ingredients in the large bowl. Don’t over mix. A few lumps are ok.
    4. Let the batter sit for a few minutes. I put all of my extra ingredients away, clean up the counter, and put some bacon in the oven. Then it’s time to cook.
    5. Warm a griddle or non-stick pan to medium low then add butter or non-stick spray.
    6. Test griddle with a spoon of batter and adjust heat if necessary.
    7. Ladle pancake batter onto the pan / griddle. Each should be about 5 inches across.
    8. Place a few blueberries on each pancake.
      Placing the Blueberries
    9. Flip when the pancake bubbles begin to set at the edges and cook for another 2-3 minutes until golden brown on both sides.
      Flipping the Pancakes
    10. We like to serve these with sprinkling of powdered sugar and maple syrup warmed in a ramekin.
      Lemon Ricotta Blueberry Pancakes | yeadadshome.com
    Powered by WP Ultimate Recipe
  • Paper Helicopter Template

    Paper Helicopter Template

    When I was a kid we bought The Great International Paper Airplane Book at the Smithsonian in DC. It had several cool designs. The paper helicopter template that it included was one of my favorites. It was different from other paper airplanes, and fairly simple to make. Creating a paper helicopter requires a pieces of paper, a few easy cuts, and a few  folds.

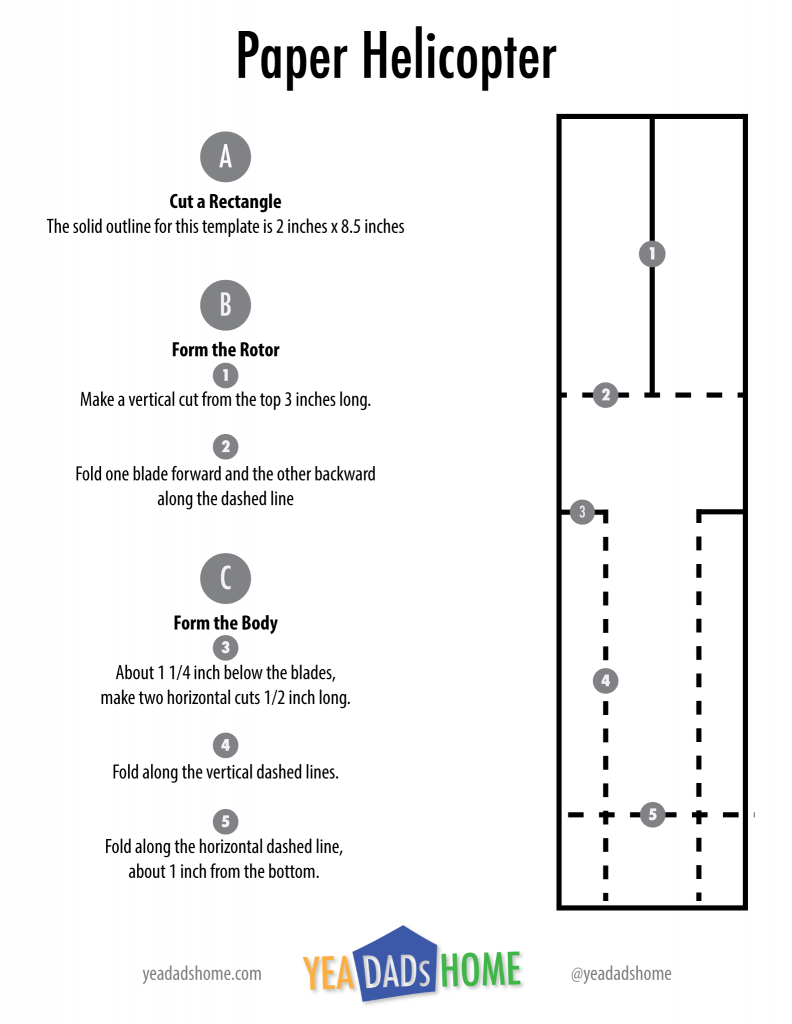
    Over the years I have tuned the helicopter design a bit. Following is a template with the dimensions that we prefer to use. The “blades” spins faster than the original design. The template has one helicopter plus instructions. Once you get one made, you will see how you could cut 5 out of one horizontal sheet of paper. If you are really careful, you can even tear the cuts. I have done that at a few wedding rehearsals when we needed to entertain kids.

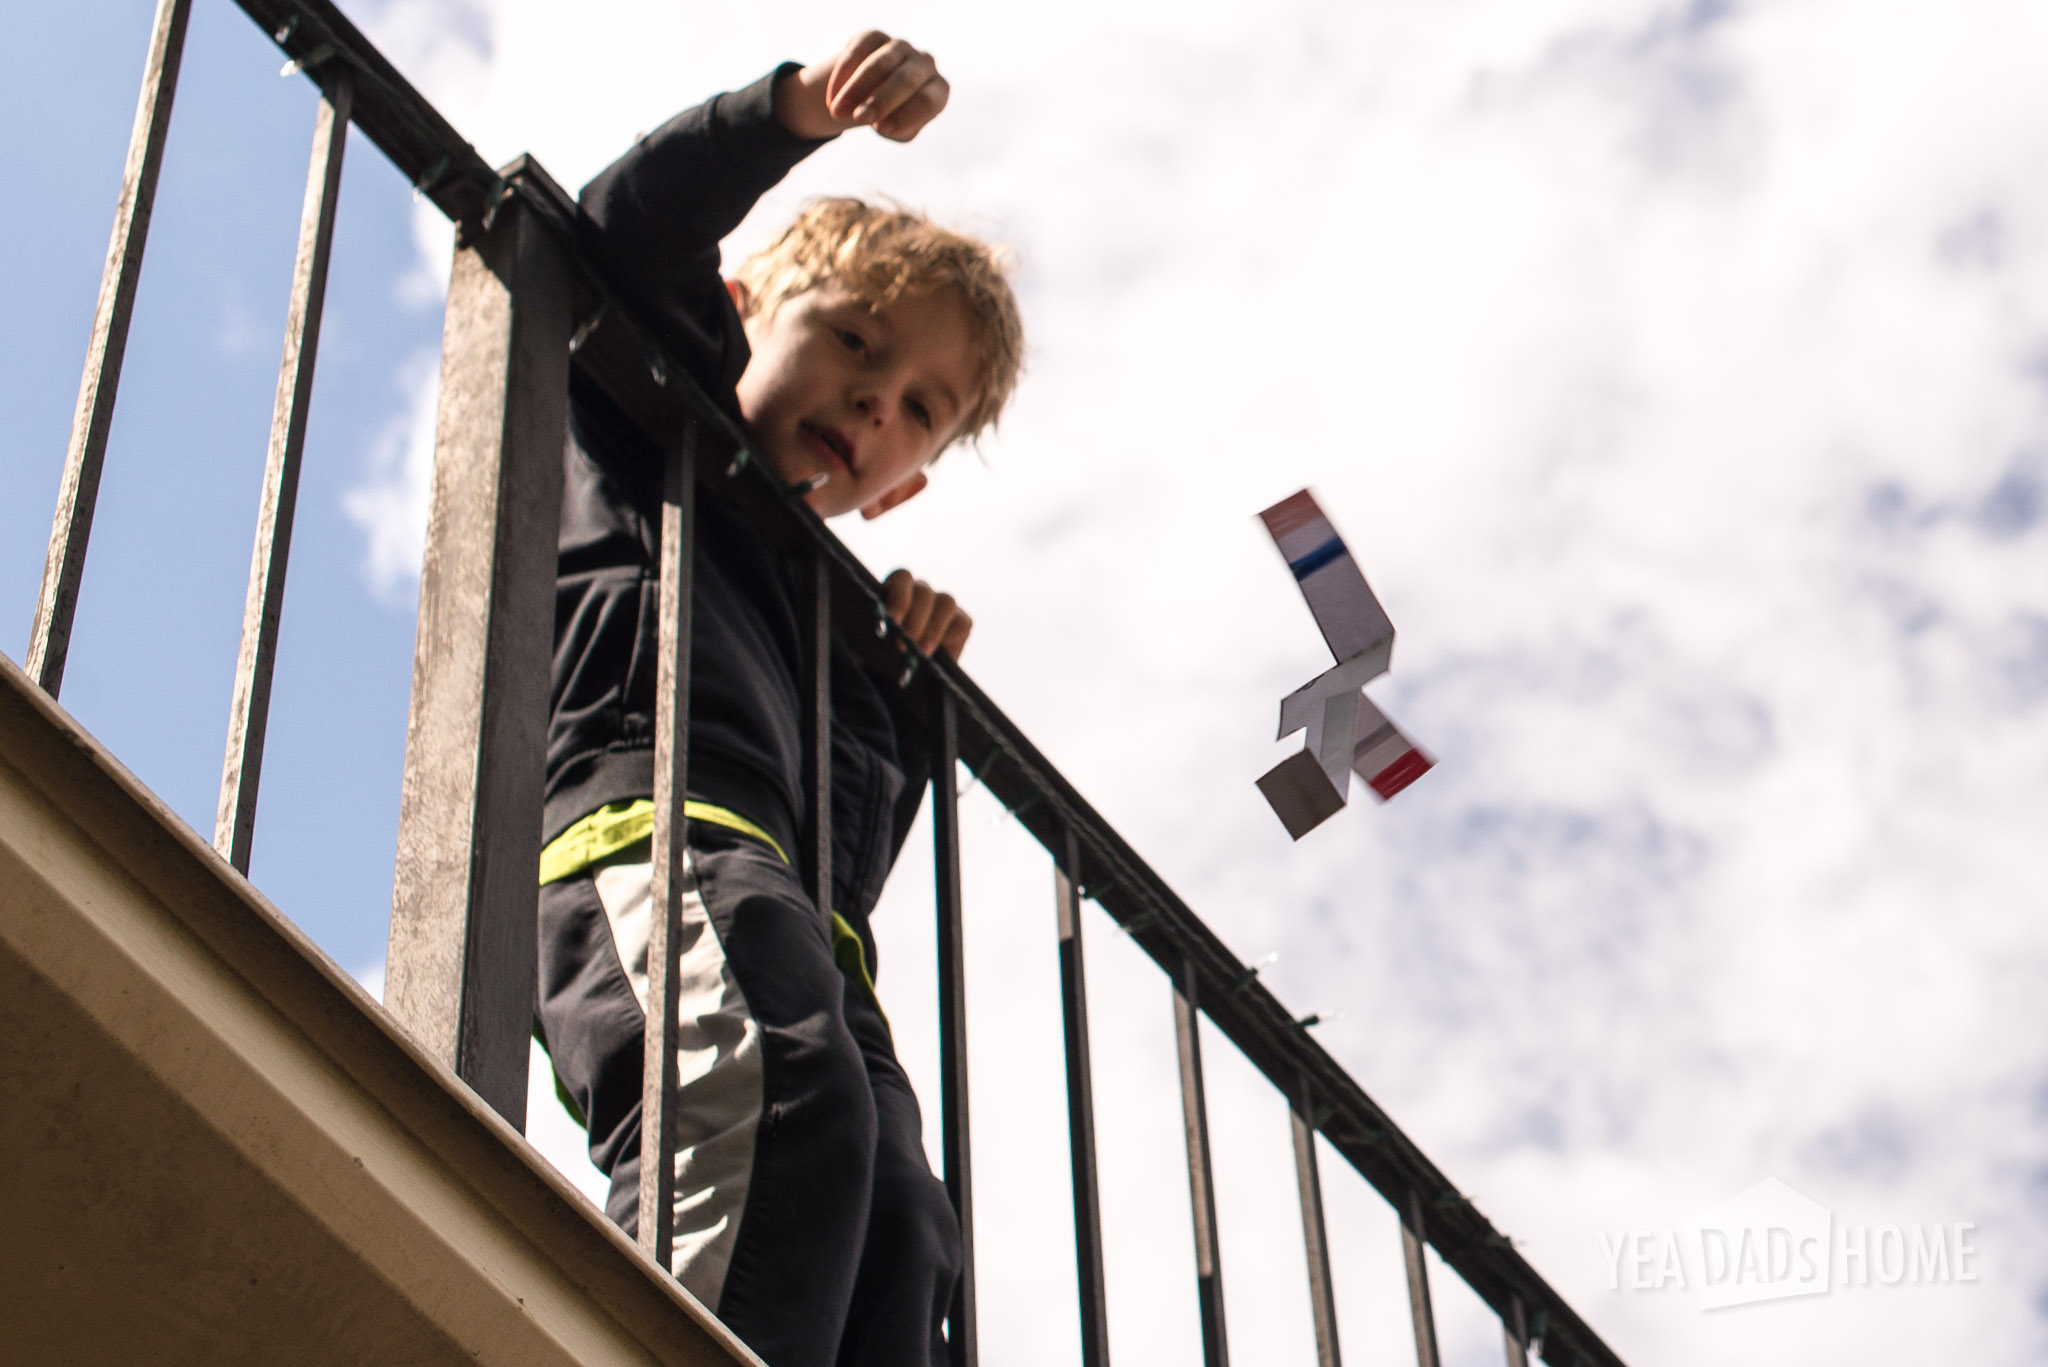
    The best part is paper that paper helicopters can be flown, then adjusted, and then decorated. We like to make a few with longer “blades” then a few with shorter ones. A quarter inch shorter in length makes a difference to the amount of spinning they do. That is a fun experiment. For decoration, you can draw different stripes on the “blades” to see what happens. Helicopters are super fun to drop from a high place.  It turns out that getting to a high place requires a lot of trips up/down the stairs.

    Tools and Materials

    • Paper
    • Scissors (optional)

    Instructions

    • Cut a strip of paper 2 inches x 8 1/2 inches.
    • Make a vertical cut 2 1/2 inches long into the rectangle. Then fold the rotor blades, one forward and one back.
    • Make 1/2 inch cuts horizontally, about 1 1/4 inch below the rotor blades.
    • Fold the sides of the body in along those 1/2 inch folds.
    • Fold about 1 inch up from the bottom. 

    Paper Helicopter Template

    This guide has proportions that work well. Click the graphic below for PDF of this template to print.

    YDH-Paper-Helicopter-Template


    Pictures

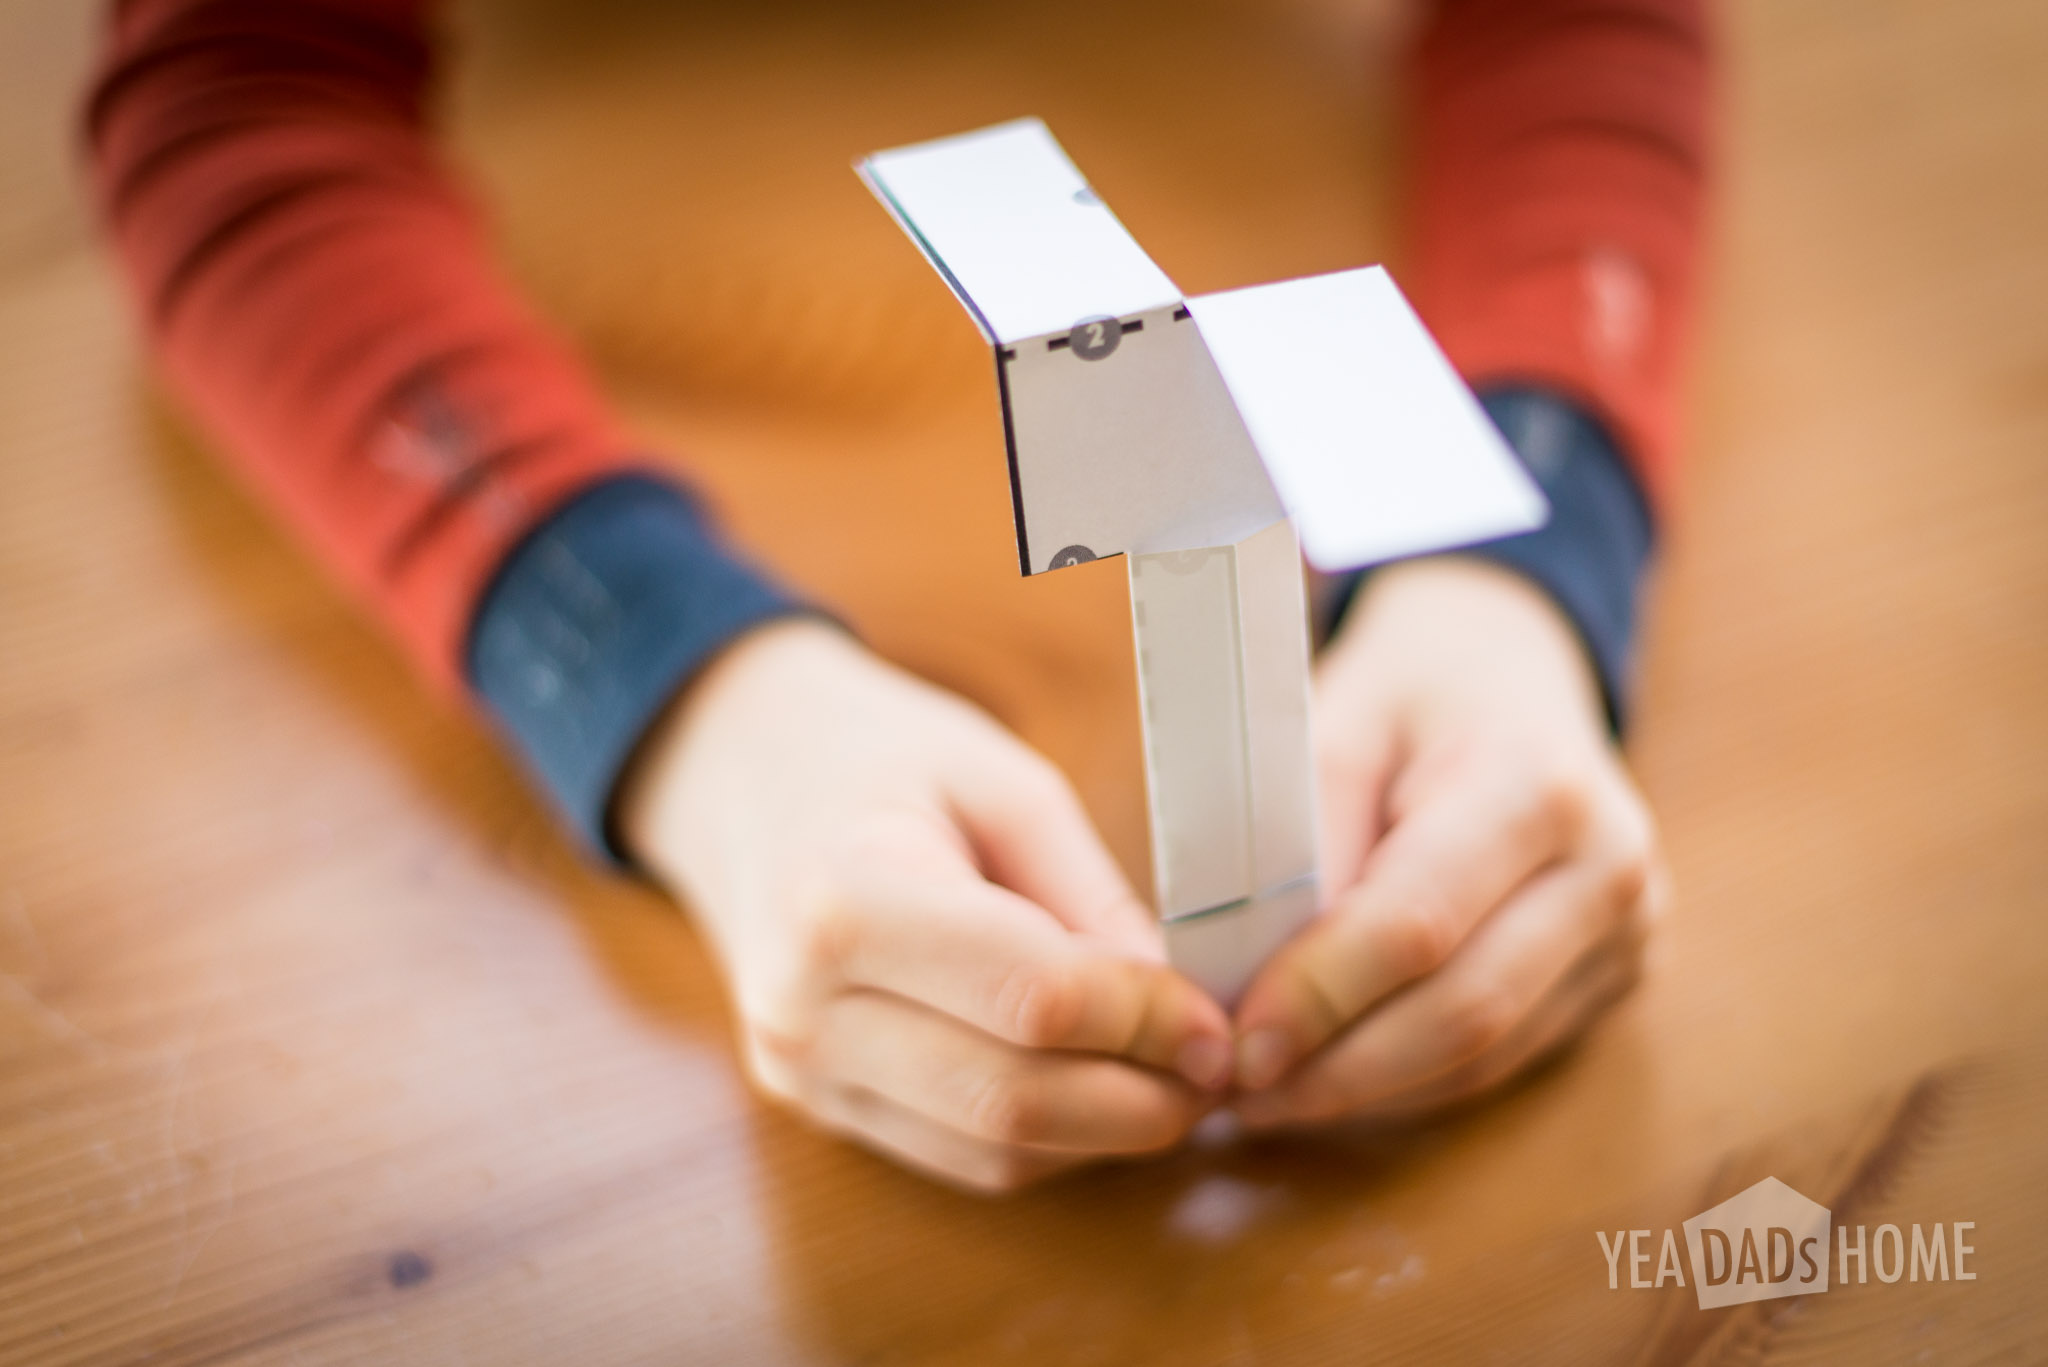
    This is how it looks fully assembled.

     paper helicopter-5808

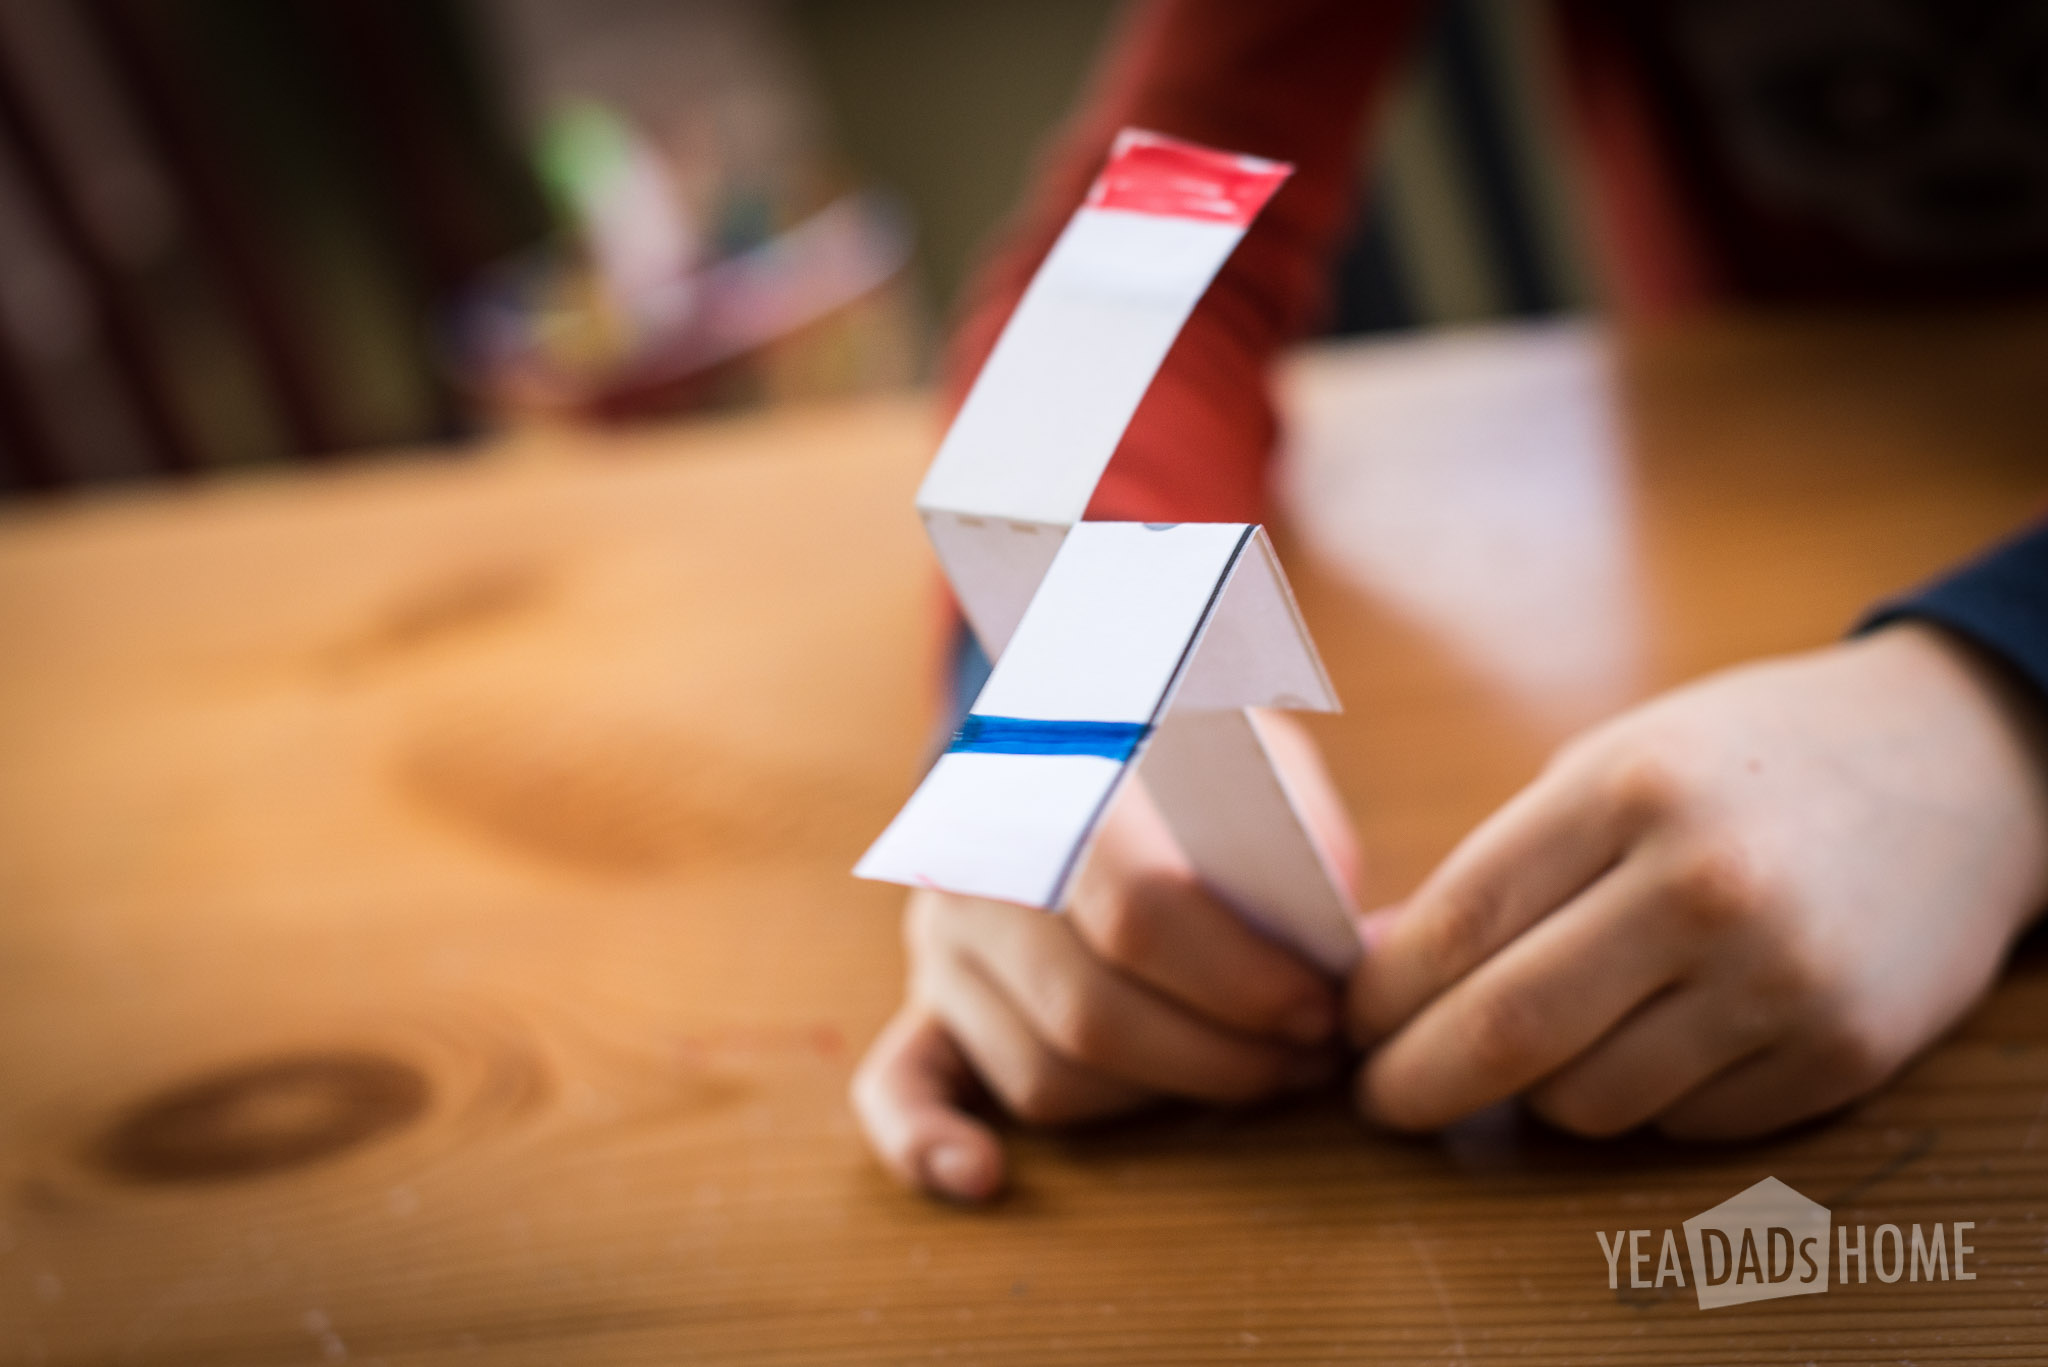
    Stripes on the rotor blades have a cool effect.


    paper helicopter-5815

    Dropping from a high place is the most fun.

    paper helicopter-9883

  • Crab Appetizers

    Crab Appetizers

    Print Recipe
    Crab Appetizers
    This crab appetizer recipe is a nice contrast to meat and potato party food. These can also be gluten free, just check your mayonnaise.
    Crab Appetizers | yeadadshome.com
    Prep Time 15 minutes
    Servings
    appetizers
    Ingredients
    Crab Salad
    Cucumbers
    Garnish
    Prep Time 15 minutes
    Servings
    appetizers
    Ingredients
    Crab Salad
    Cucumbers
    Garnish
    Crab Appetizers | yeadadshome.com
    Instructions
    1. Mix mayonnaise, celery, chives, zest, lemon juice. Test it and add salt to taste.
    2. Toss with crab meat
    3. Use a peeler to score (cut a bit of the dark green) of the cucumbers lengthwise so that they have 1/2 inch stripes of light and dark green
    4. Cut cucumbers on a bias (diagonally) to create pieces that are 3/4 inch thick
    5. Use a melon baller to scoop a bit of the center out of each slice to hold the crab filling
    6. If you like you can refrigerate these pieces for up to 2 days, then assemble on the party day
    7. Place a spoon full of crab salad on each (#60 scoop works nicely) and arrange on a towel lined baking sheet
    8. Sprinkle with chives and paprika
    9. Place on a tray lined with a kitchen town, and cover with plastic wrap until ready to transfer to serving dishes
      Crab Appetizers | yeadadshome.com
    Powered by WP Ultimate Recipe