Blog

  • How We Built Our Treehouse

    How We Built Our Treehouse

    This summer we built a simple treehouse in the woods near our house. Following is a list of materials and some pictures that we took during construction.


    Disclaimer

    Building is dangerous. It involves power tools, lifting heavy things, and if you do it wrong someone can get really hurt. You should also check you local codes to make sure you are ok to start.


    Treehouse Ideas

    As we started looking at ideas, I found a ton of very elaborate plans. There is even a tv show about building treehouses. We didn’t watch the show since I wanted to keep kid expectations in check. We wanted to build this in under a week so we had plenty of time to use it, and although I wanted my son to help, I was really doing the major construction by myself.

    Overall I wanted to make sure we had something safe that at least a few kids (and adults if allowed) could enjoy at the same time. We have a lot of really big trees on our property, so I wanted to make sure you could look all the way up in to the treetops. I didn’t want my construction to damage them. To begin I thought of building on one or two trees like these sites show.

    http://www.wikihow.com/Build-a-Treehouse

    http://www.instructables.com/id/How-to-build-a-treehouse/

    Looking through these and a several others, I learned that building in a tree requires a solid tree and heavy duty hardware. If you use two trees, you really need to let the second tree move. So good designs solidly attach the beams to the first tree and then brace the cross pieces on the second. Those braces should have metal over the wood that lets the cross pieces slide as the trees move.

    As I read more, I decided not to attach to our trees. I looked for something that didn’t have to sway with the trees. I found a really cool freestanding design. It looked sturdier, and like something I could pull off in a reasonable amount of time. It could easily fit in a clearing near a few of our big trees. This design also didn’t require digging post holes or using quickcrete, and that would save me some time.

    http://www.theclassicarchives.com/how-to-guides/free-tree-house-wood-plans


    Treehouse Design

    To refine my ideas I used a free 3d design program called “Google Sketchup Make.” My design included a platform about 6 ft from the ground like in the freestanding design above. I did cut the platform size to 8 ft x 8 ft. My thinking is that this is plenty big for kids to play on and it will hold a small tent or hammock. I know that I can lift 8 ft boards, and that it would be hard for me to lift the structure if it had 12 ft boards.
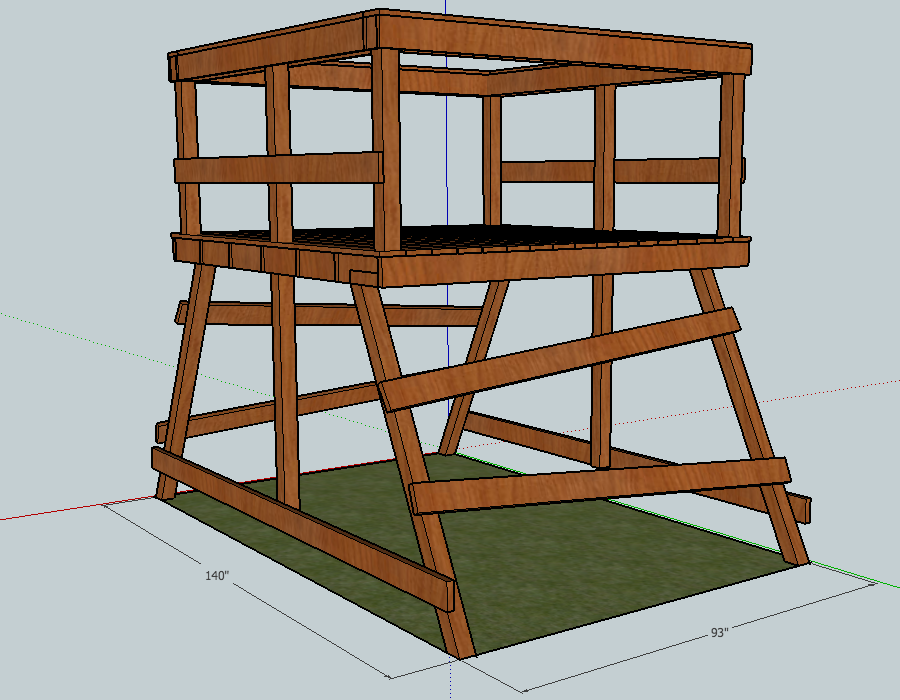
    Treehouse Design in Sketchup
    Treehouse Design in Sketchup

    As I started building, I was planning to add a ladder. My helper found it easy to climb the side supports, so we pulled that from our initial build plan.
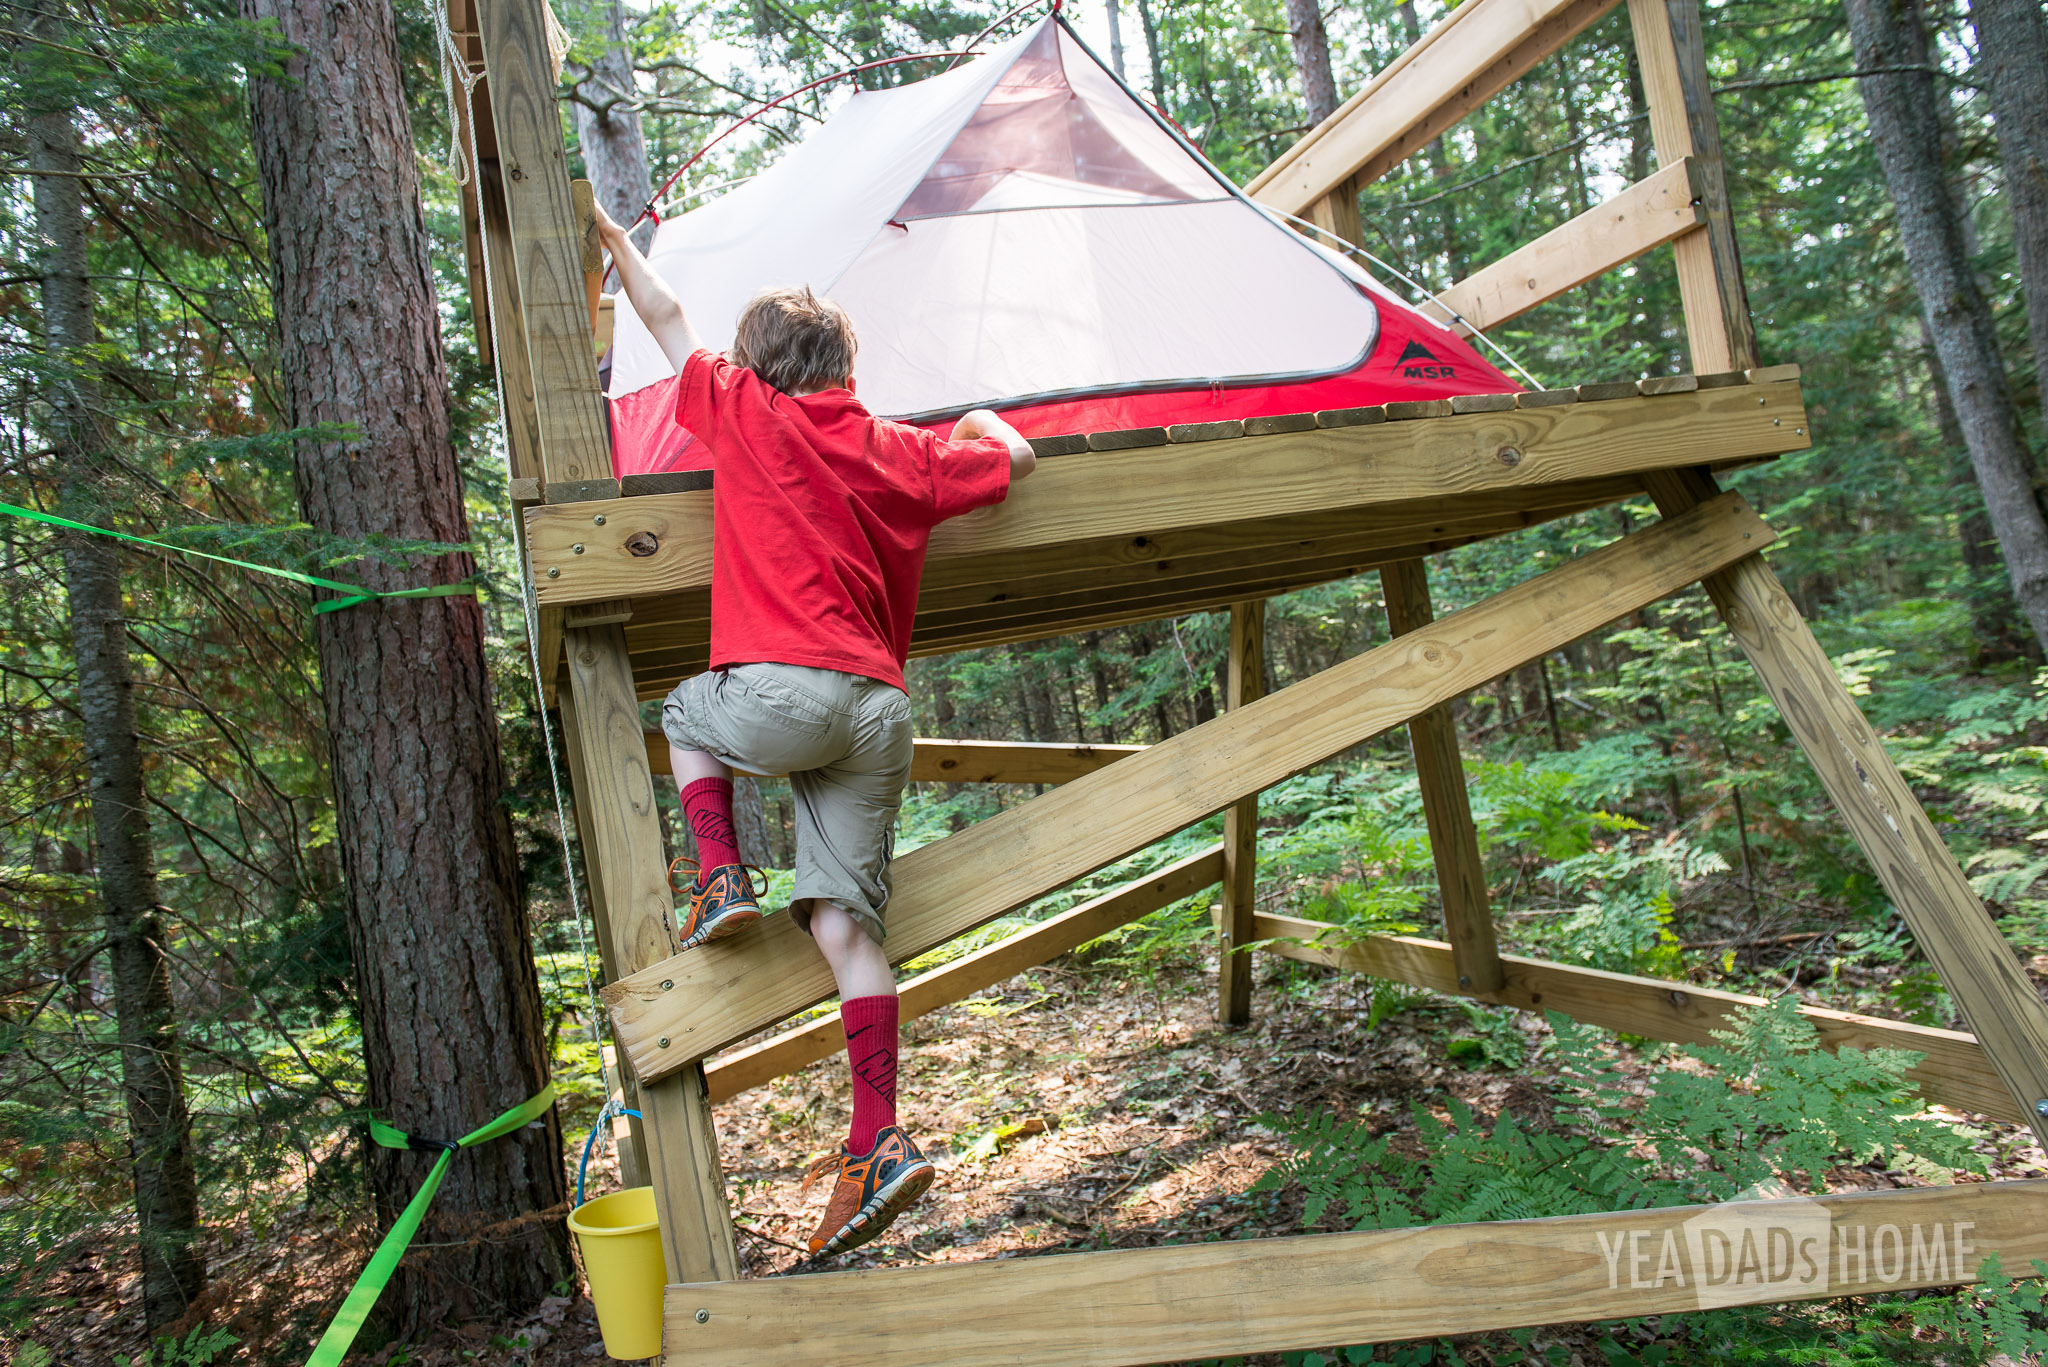
    Treehouse-0268-2

    The two types of wood we considered were treated pine lumber or cedar. I did consider making the whole thing out of cedar because it is a lot lighter than pressure treated lumber. Cedar is more expensive. It was also tough to get the pieces I needed. My local lumber supplier didn’t have it on hand. So we decided to use pressure treated lumber. If you choose to use it wear a mask as you cut boards. It is really bad to inhale the dust. Also you may have to pre-drill a lot of the screw holes to keep it from cracking. On the plus side it is really light and does smell really nice as you build. It also can be painted or stained right away. Pressure treated lumber has to dry out before it will take as much paint or stain as you would want.

    Treehouse Tools and Materials

    For the project, I definitely needed these tools:

    • Circular saw
    • Extension cord
    • Hand saw
    • Cordless drill with a few batteries
    • A 1/2 inch drill bit that is 6 inches long
    • Two saw horses
    • Socket set
    • A hammer
    • Level
    • Builder’s square
    • Tape measure
    • Square shovel

    The only tool I wished I had, but didn’t for this project was a miter saw. It would have been a lot easier to cut the 4×4 pieces. My circular saw got me about half way through those, and I finished with the hand saw.

    An optional tool was a jigsaw. I used it to cut the deck boards at the ends of the platform. If I didn’t have this, I would have just cut those boards into a few pieces using straight cuts.
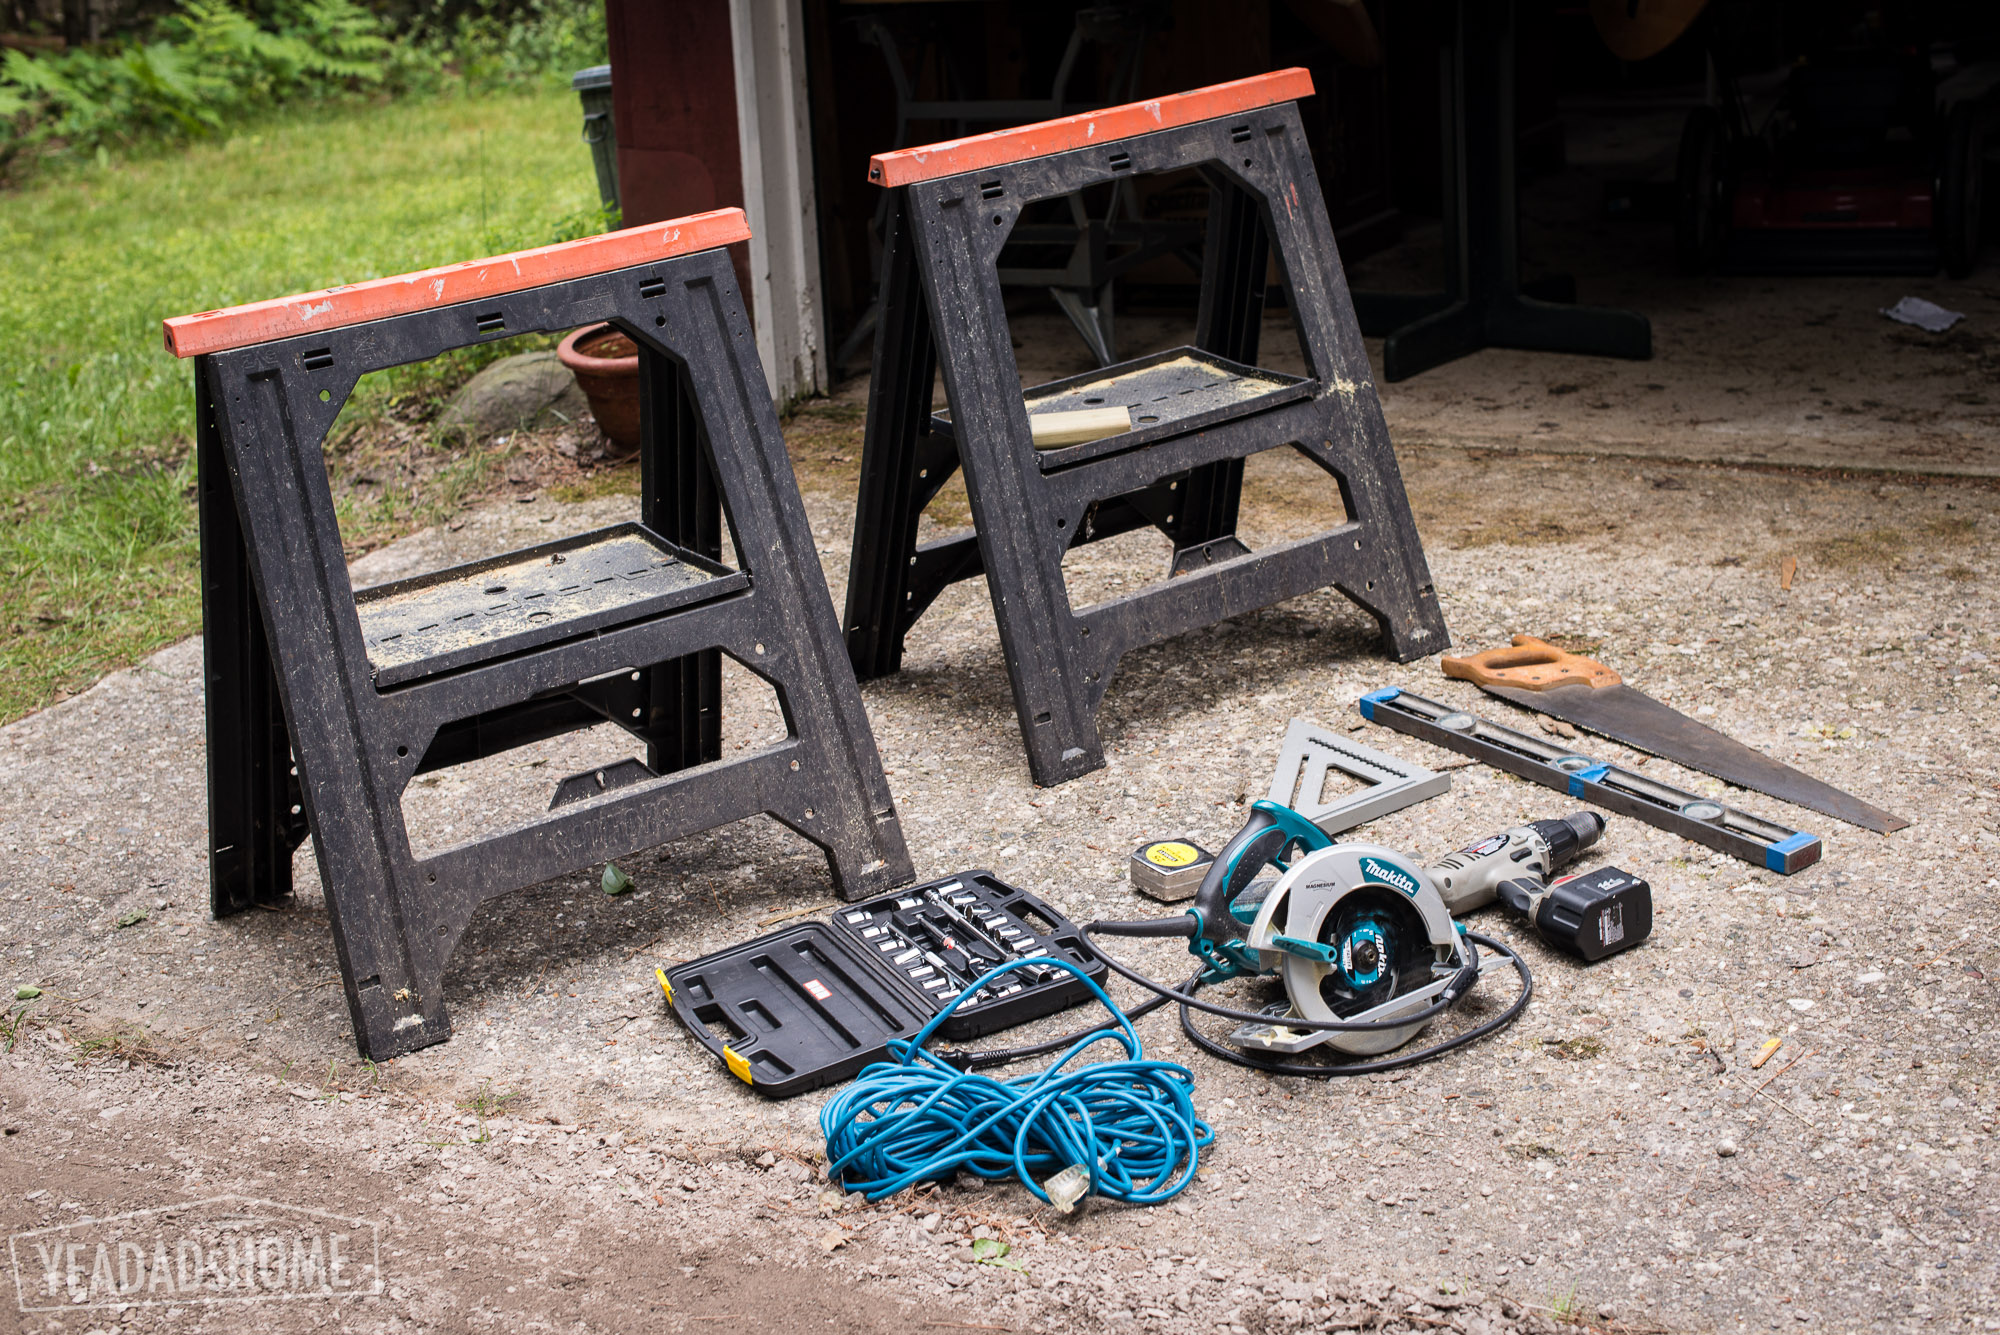
    Treehouse Tools
    Treehouse Tools

    Hardware

    12 ½ in x 6 inch, stainless carriage bolts (for the legs and side posts)
    12 stainless washers
    12 stainless locking nuts
    50 grk structural screws (for structural attachments)
    3 lbs deck screws (only for attaching deck boards)
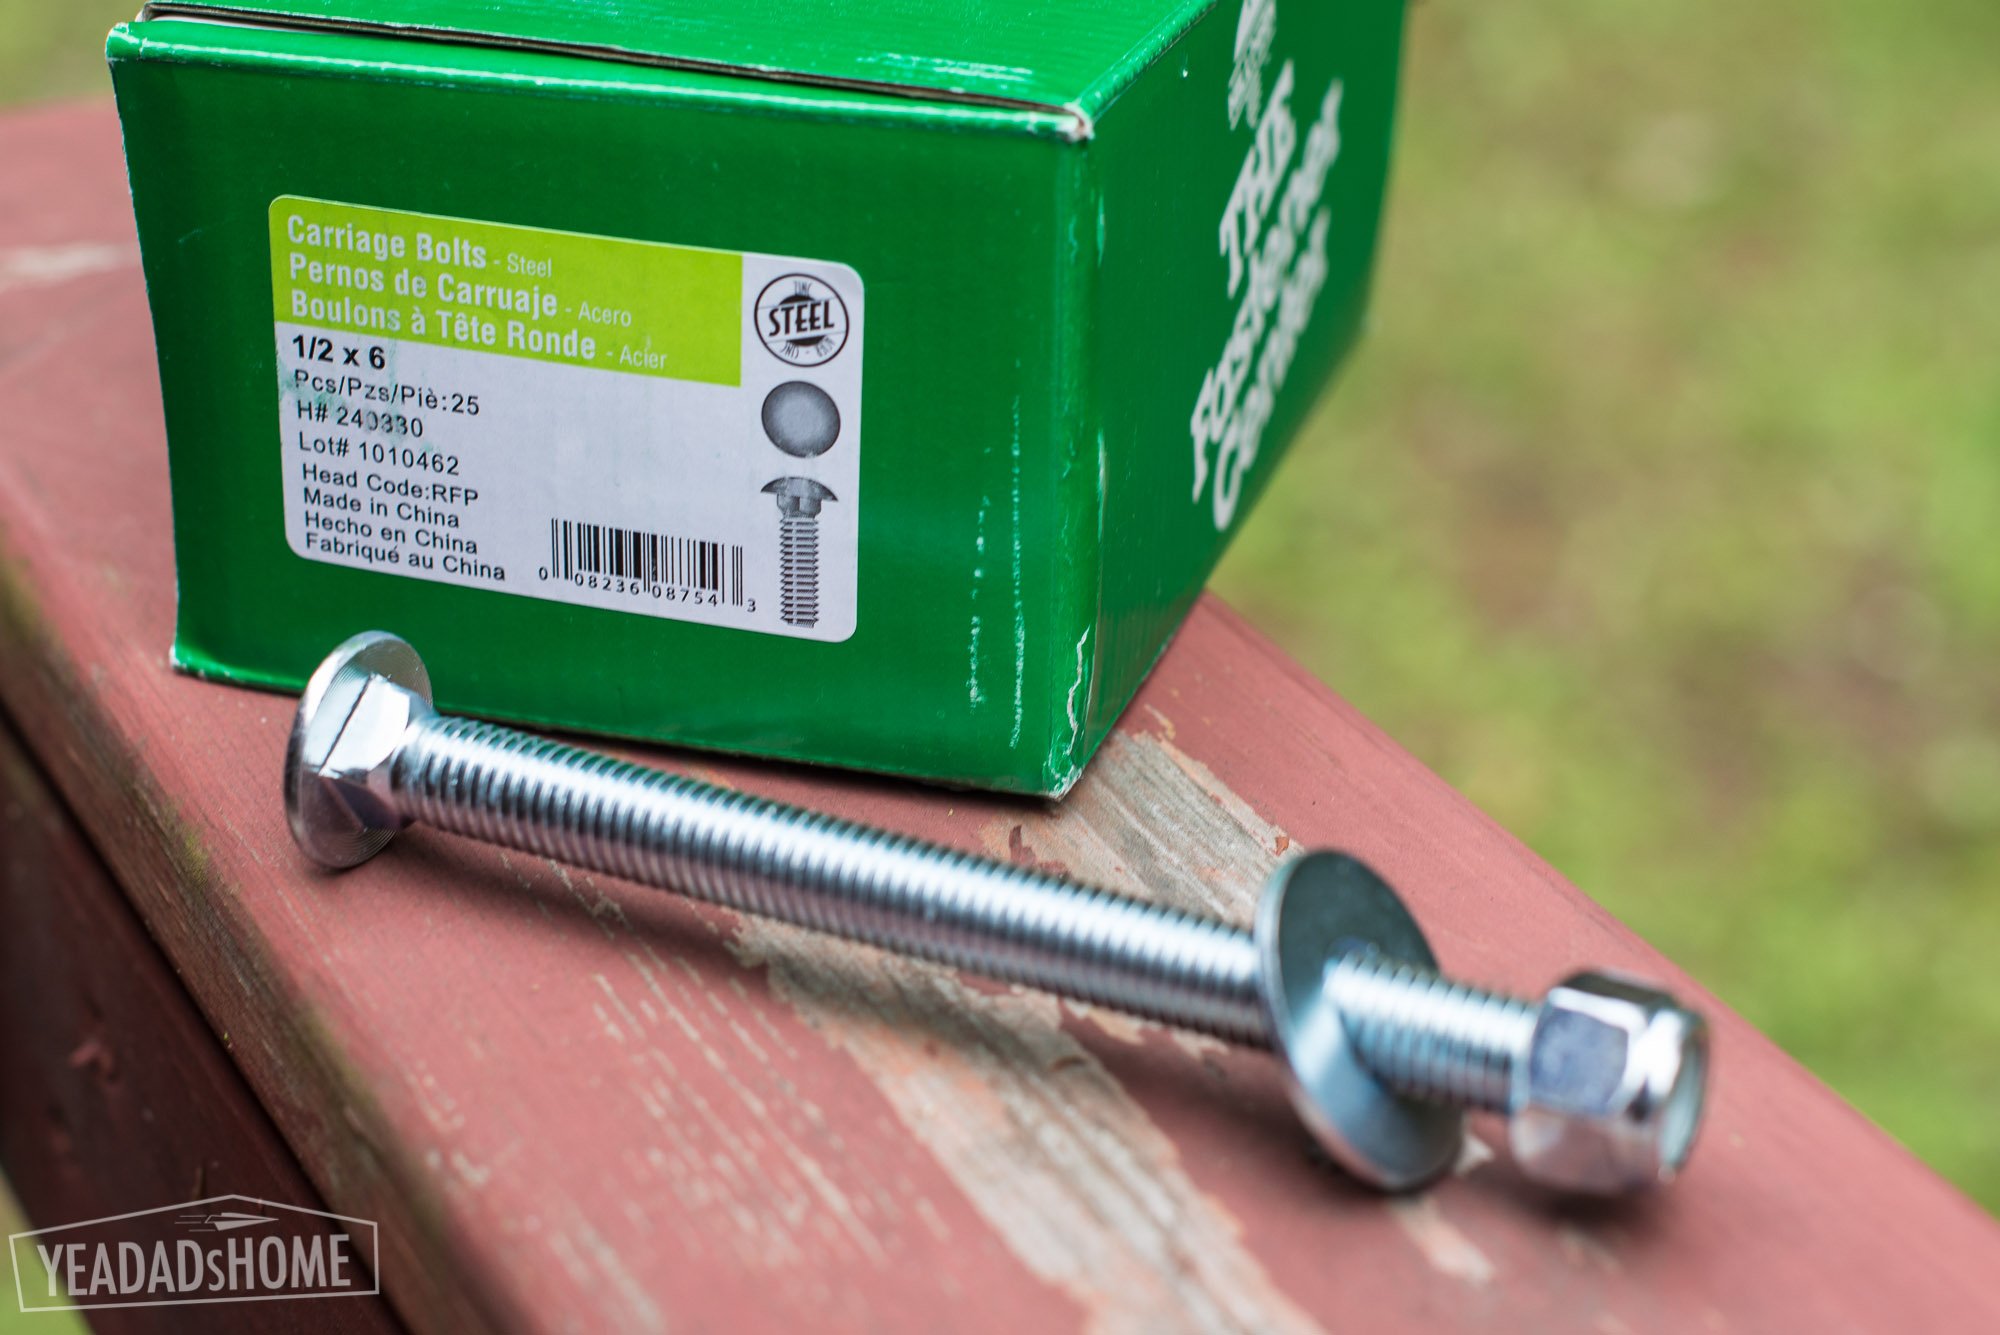
    Stainless Carriage Bolts, Washer, Nut
    Stainless Carriage Bolts, Washer, Nut
    GRK Screws
    GRK Screws

    Pressure Treated Lumber

    2×6 8ft – 13 pieces
    4×4 8ft – 8 pieces
    2×6 12 ft – 2 pieces
    1×6 8ft deck board – 30 pieces


    Cinder Blocks

    8 x 16 x 4 inch solid blocks – 4 pieces


    Total Cost

    $500 = $400 lumber + $100 hardware


    Getting the Lumber

    For my project I was lucky that I found a local lumber yard that would deliver and pick good boards for me. From what I have read, this isn’t always easy to do. Before I found that lumber yard, I thought about getting a delivery from one of the big stores. The more I read their reviews though, the less I liked that option. It sounds like some pick the knurliest pieces for that kind of delivery. Another option I considered was renting a truck for the day, picking the wood myself, and hauling it home. If I hadn’t found the place I did, I would have spent a full day moving lumber. I would have gotten some other things that don’t fit in my car too, but still I saved a bunch of time by working with a local lumber company.


    Building the Treehouse

    Day 1

    Our first day we picked up materials. Choose a site. Then we laid out and leveled the block where the feet would rest.

    To set the blocks. I used a few 12 foot and 8 foot boards to size up a 8×12 ft rectangle. I used a square shovel to dig holes for each that would level the blocks out. We have fairly sandy soil, and it had rained quite a bit, so this was pretty easy. You might need another tool if your ground is harder.
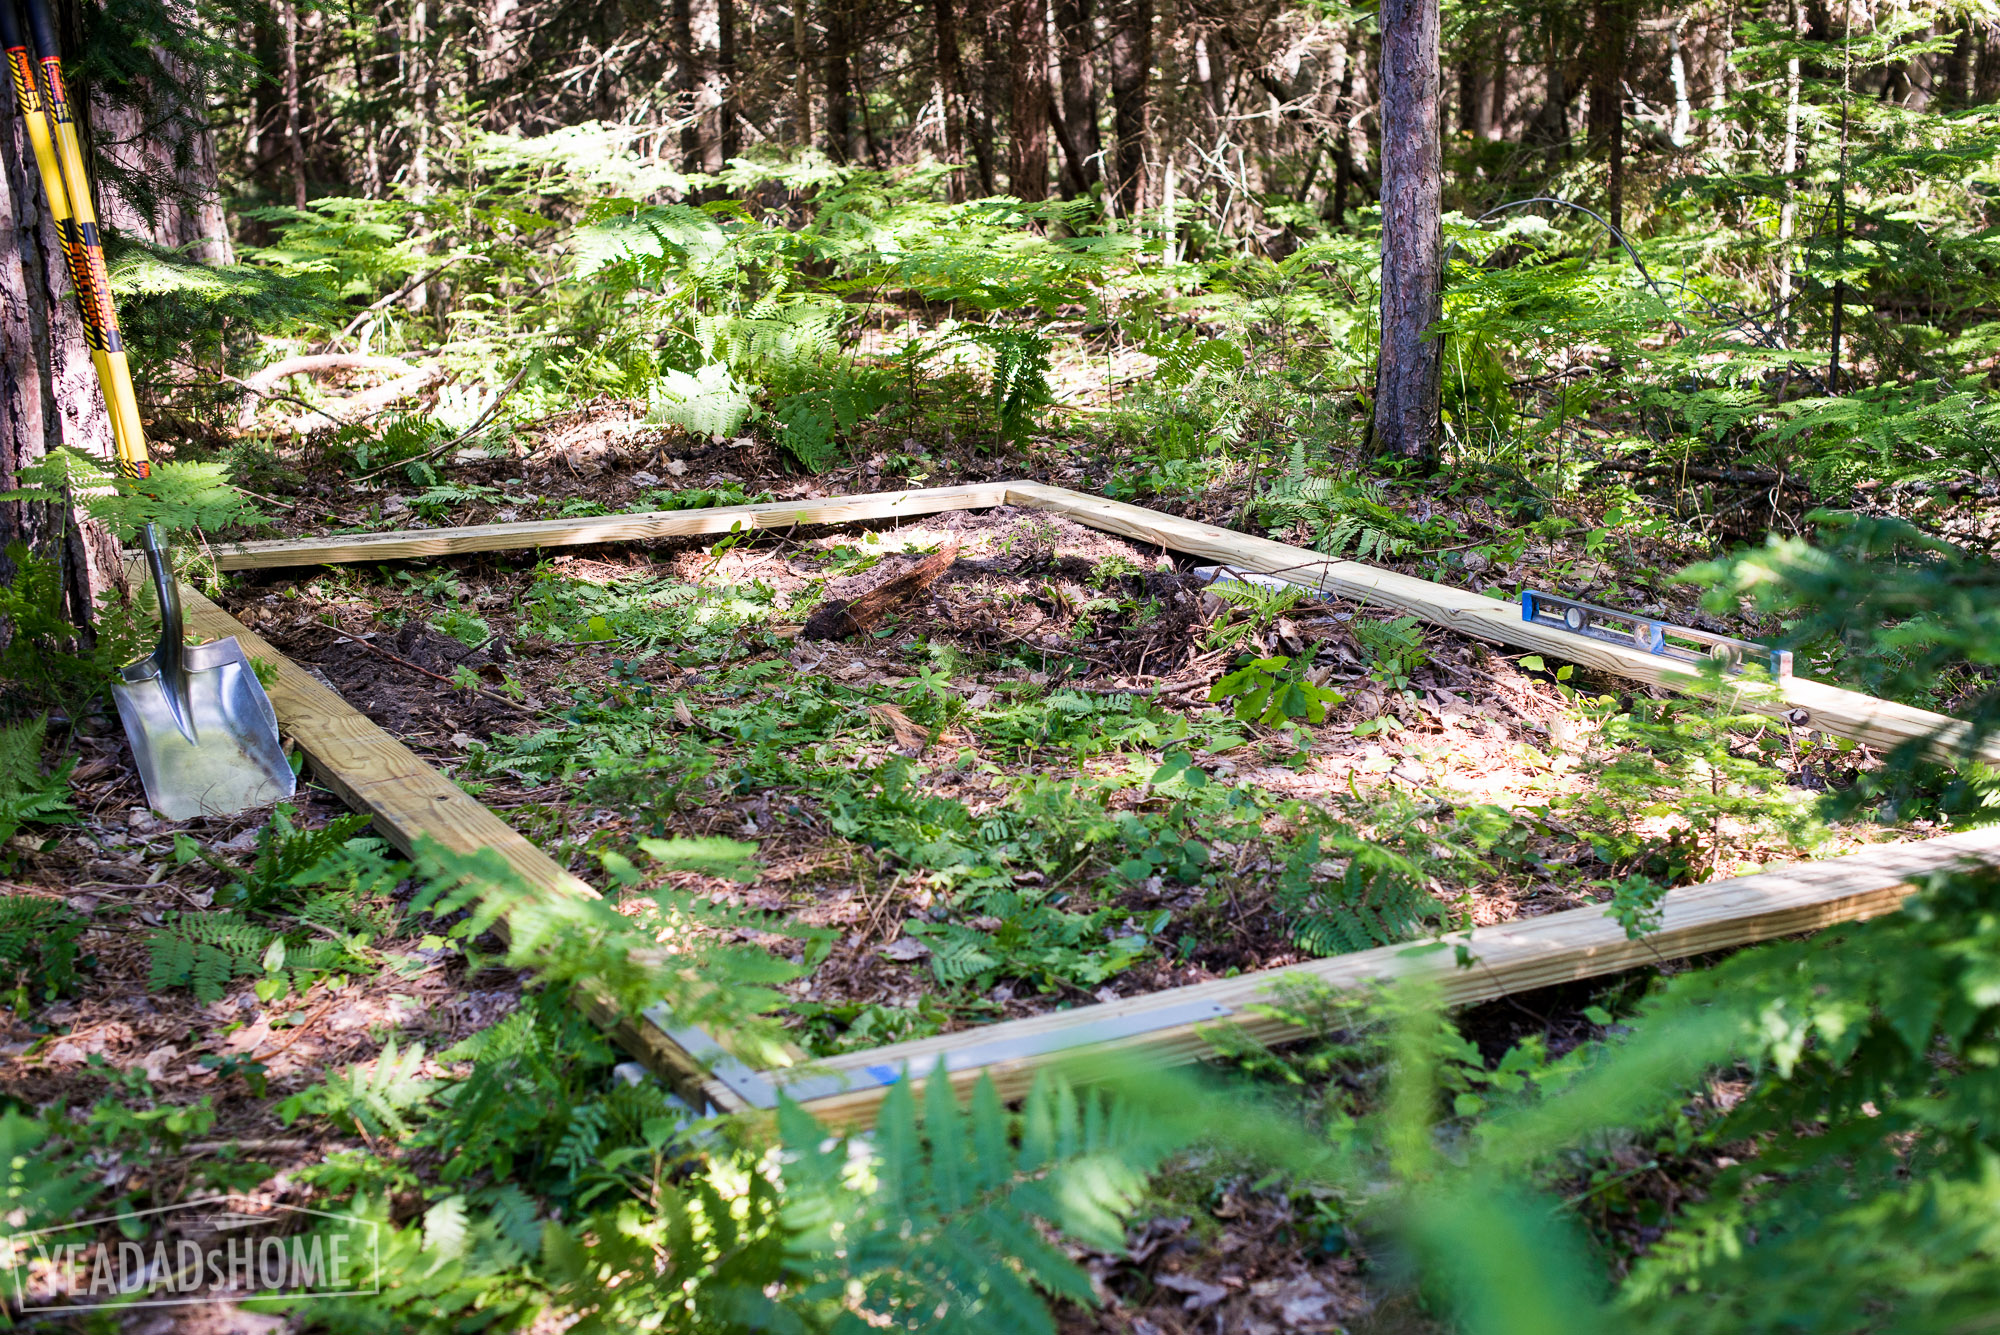
    Leveling Blocks For the Treehouse Feet
    Leveling Blocks For the Treehouse Feet

    Day 2

    To cut the legs, I measured 76 inches along 4 of the 4x4s and then marked a line that angles 1.75 inches from that mark.
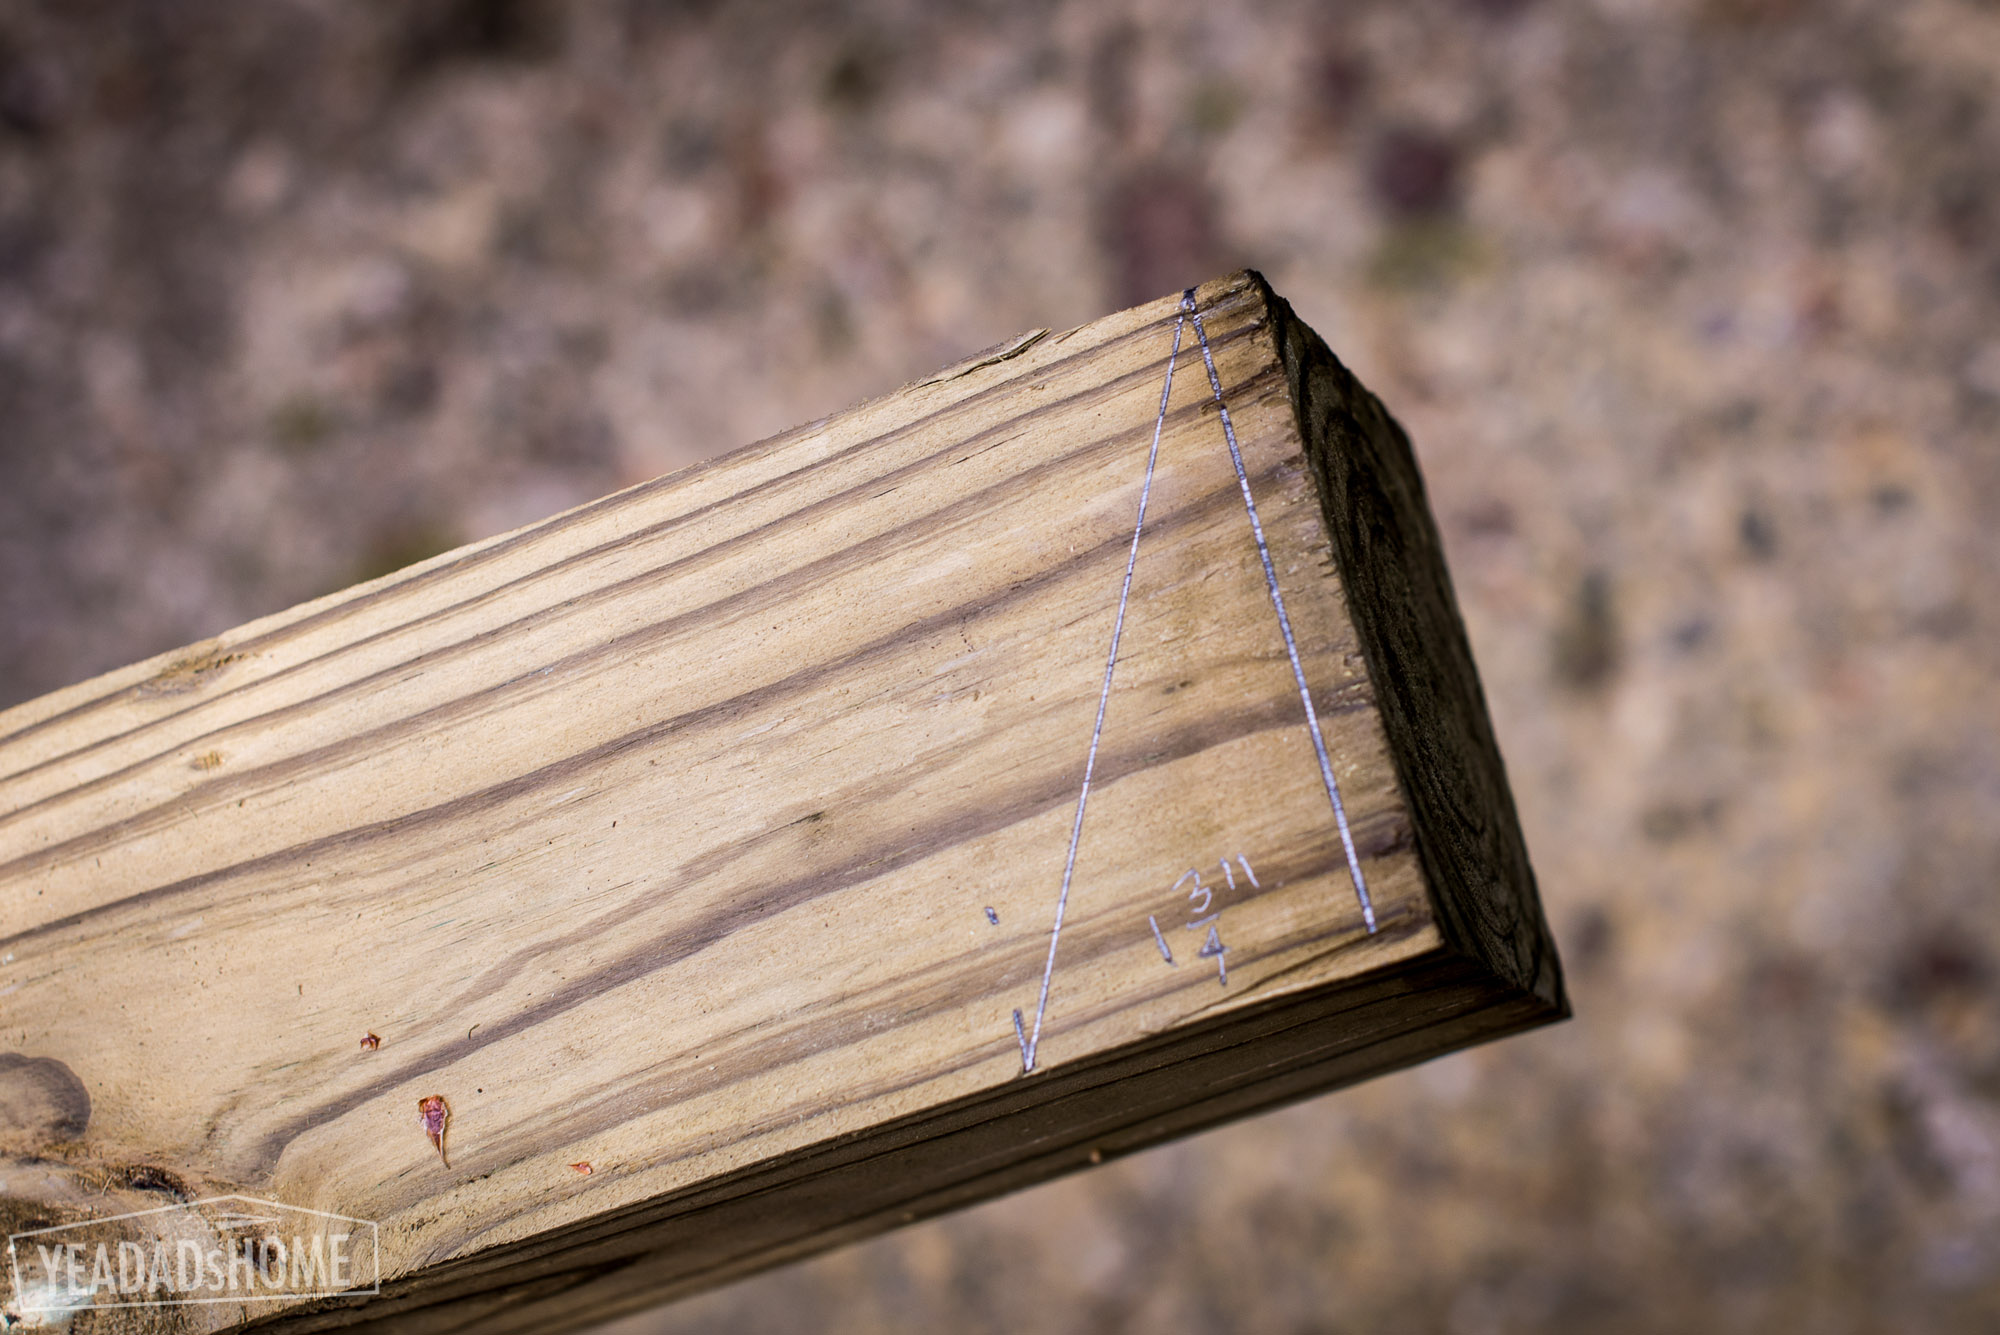
    Marking Cuts for Treehouse Legs
    Marking Cuts for Treehouse Legs


    The platform measured 96 inches square, so we had two 2×6 pieces that measured 96 inches. The other joists were 93 inches.

    Measuring Edge of Treehouse Platform
    Measuring Edge of Treehouse Platform


    Treehouse Joists
    Treehouse Joists


    To make sure I got the legs and treehouse ends exactly the same, we set the on top of each other. I screwed the boards together and then drilled holes for the bolts. We used a hammer to set the carriage bolts into place and then the socket set to tighten then nuts.
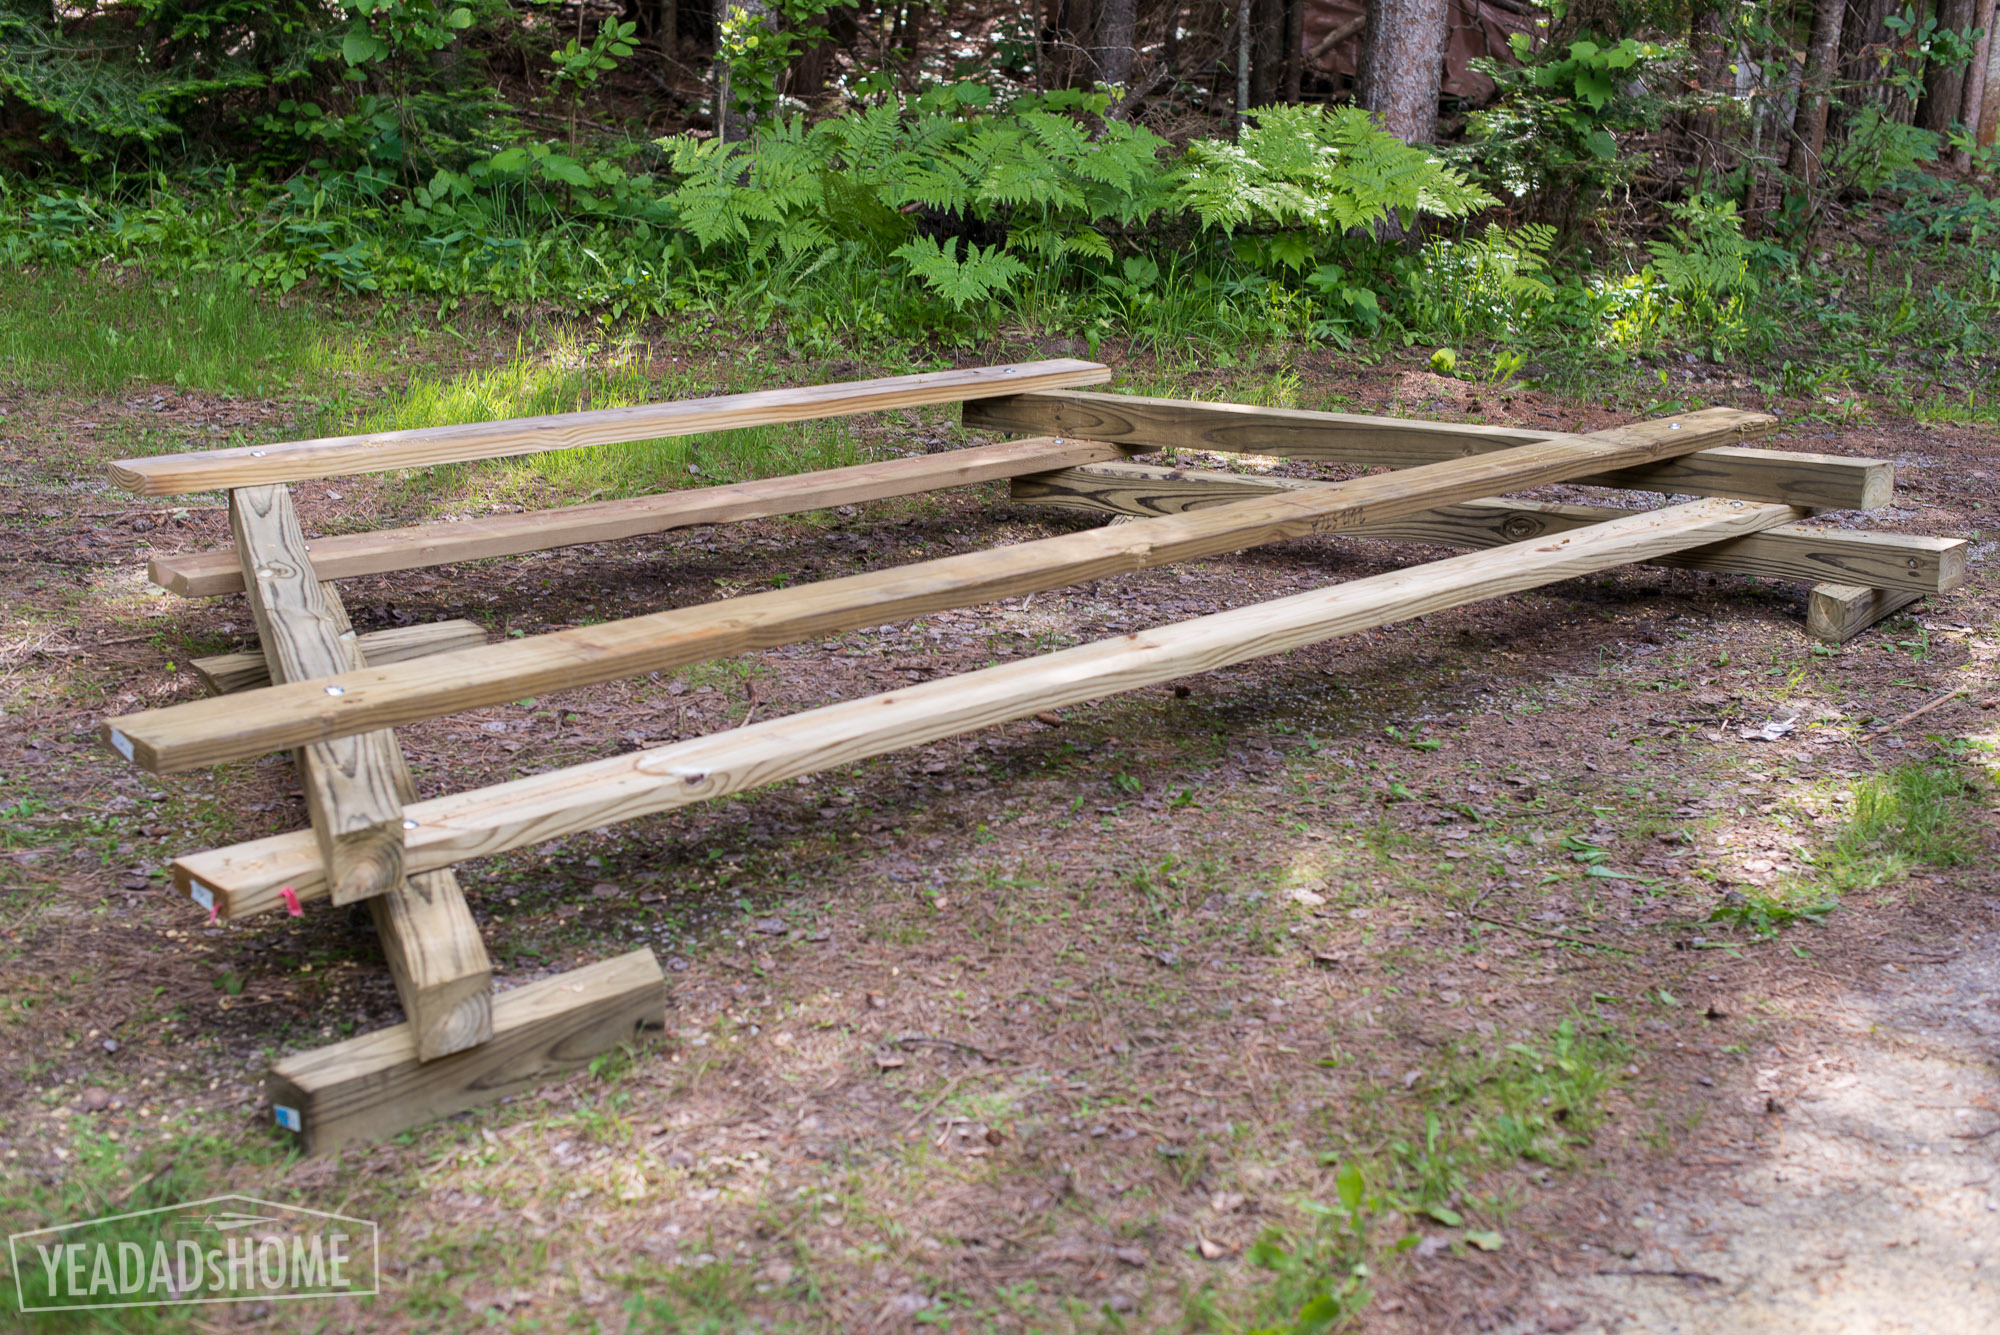
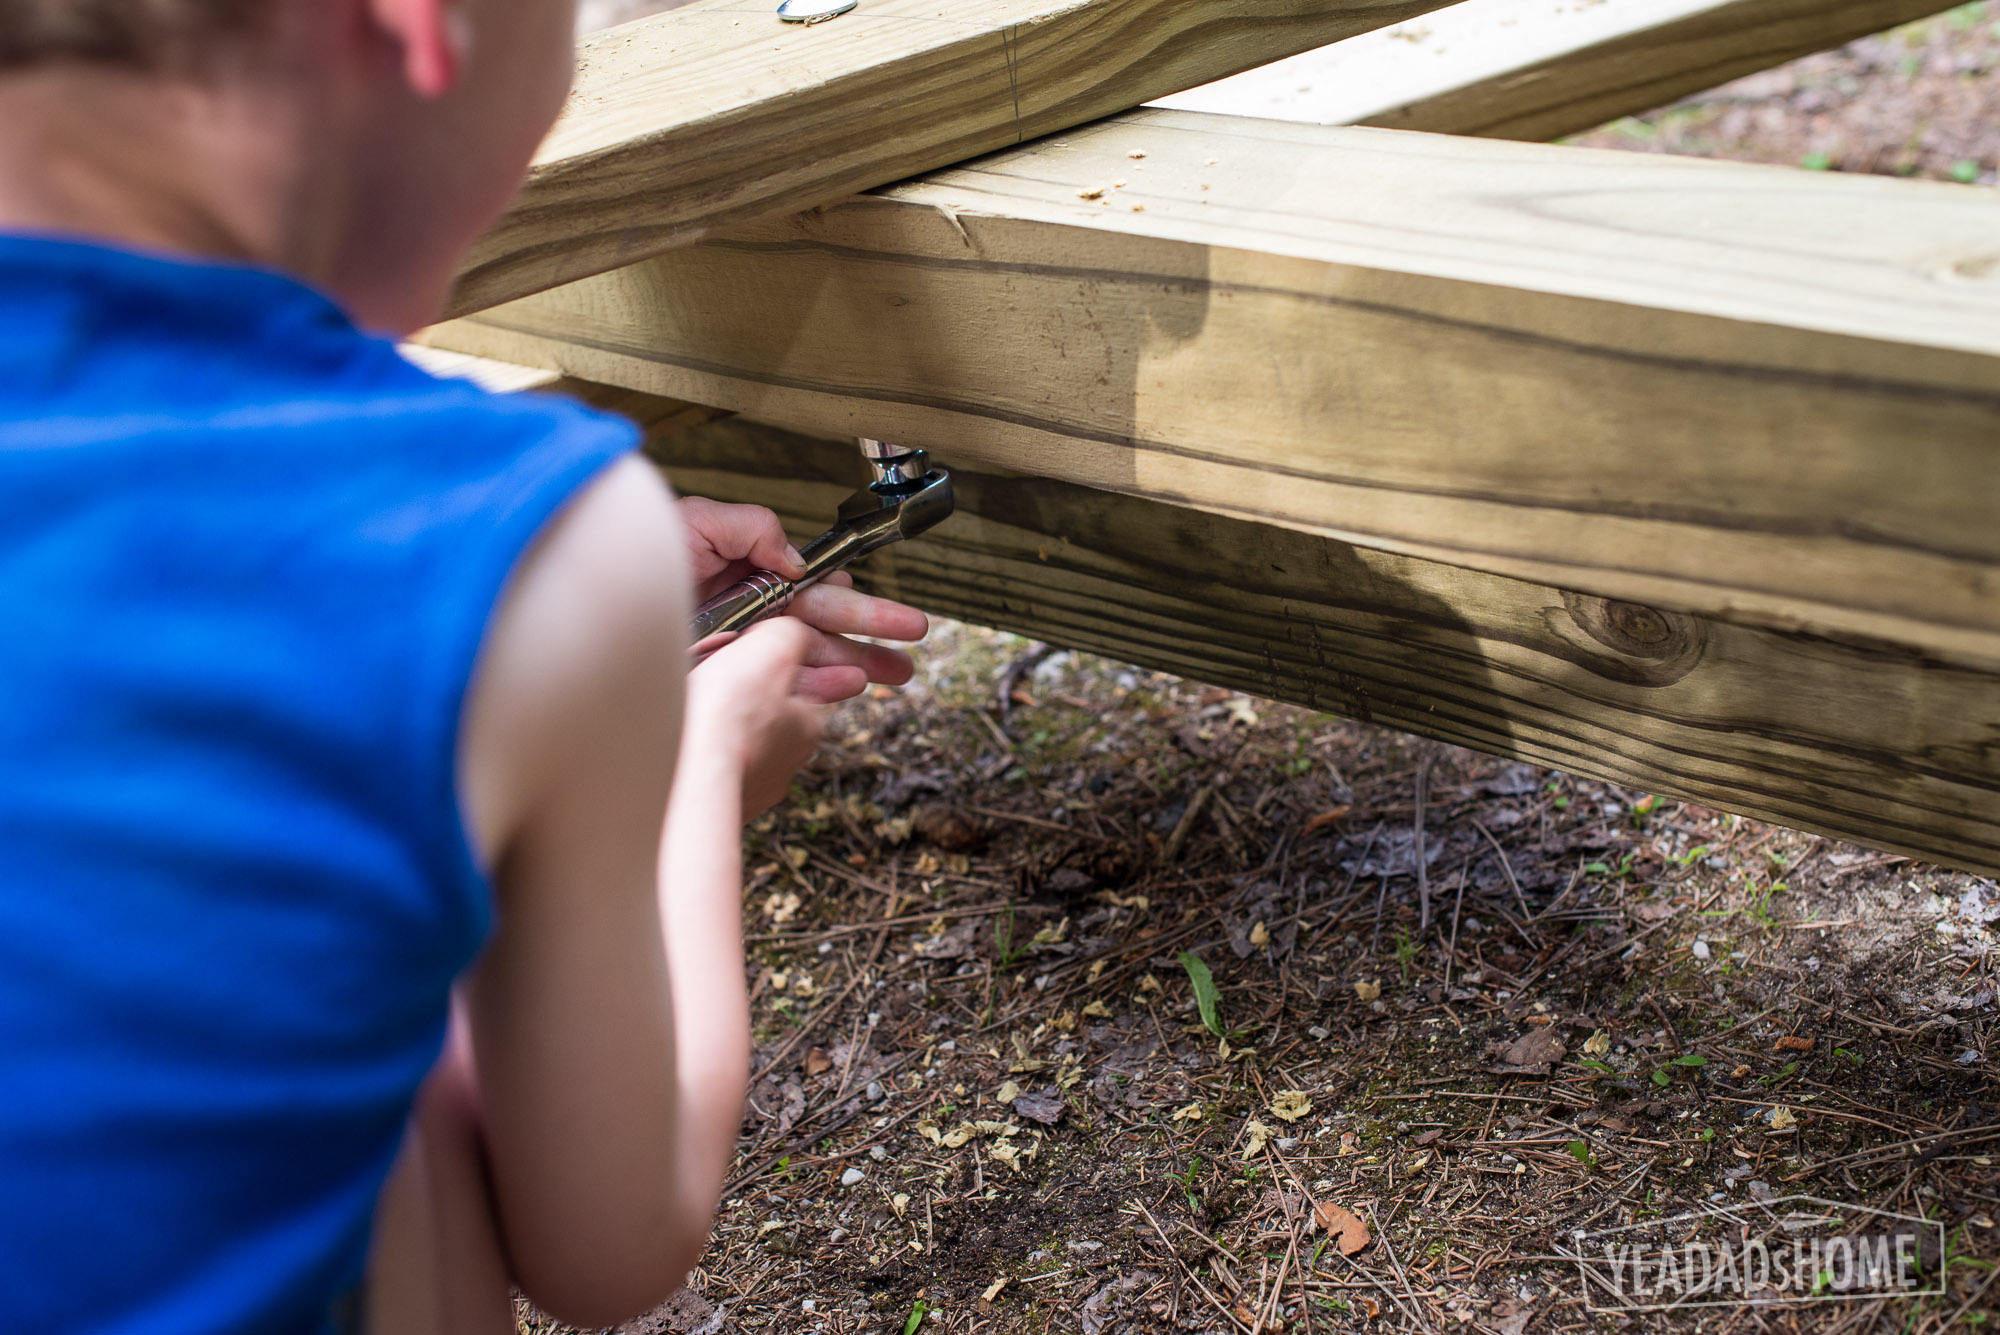
    Assembling Treehouse Legs
    Assembling Treehouse Legs
    Tightening The Bolts
    Tightening The Bolts

    Day 3

    The ends are the first wooden pieces to go into place. I used an extra pieces of lumber to prop  them up on the cinder blocks, and then I added the side supports on the angled side. The side supports were 8 foot long 2×6 boards. I didn’t cut those, but I did mark 93 inches on them, and used that measurement to line up the outside edge of the legs on the end pieces.
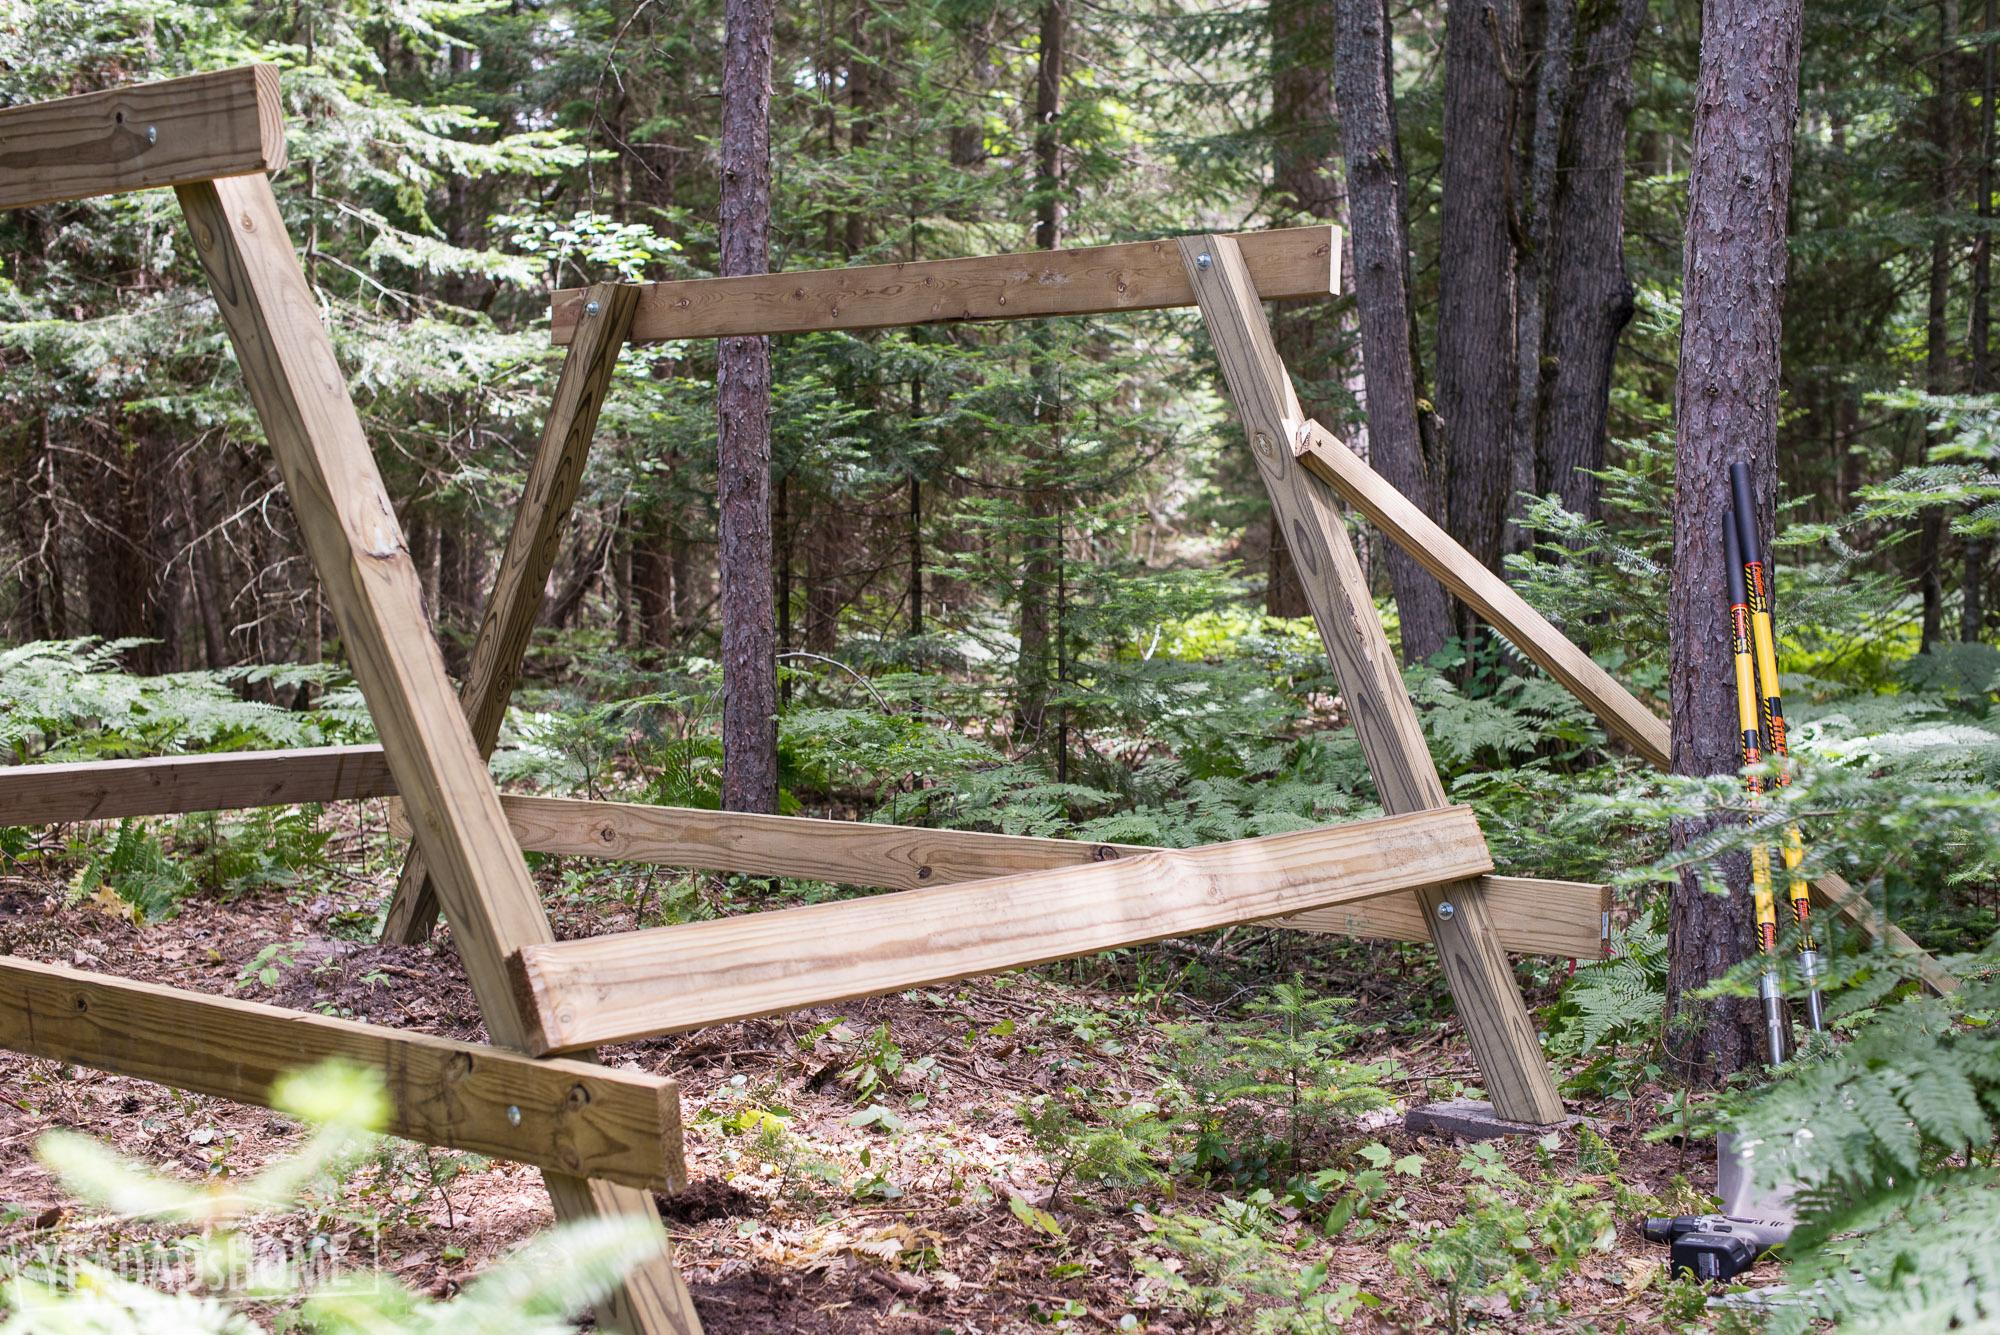
    Setting the Treehouse Legs in Place
    Setting the Treehouse Legs in Place

    Then I added the joists. In my plan legs were attached to two of the 93 inch pieces, and I then set the joists 15 inches from each end and then 15.75 inches apart. Here is a picture of that layout:

    Joist Layout
    Joist Layout

    I attached a deck board under the 2×6 pieces to help set the joists in place. If I wasn’t building on my own, I wouldn’t have needed that temporary piece.
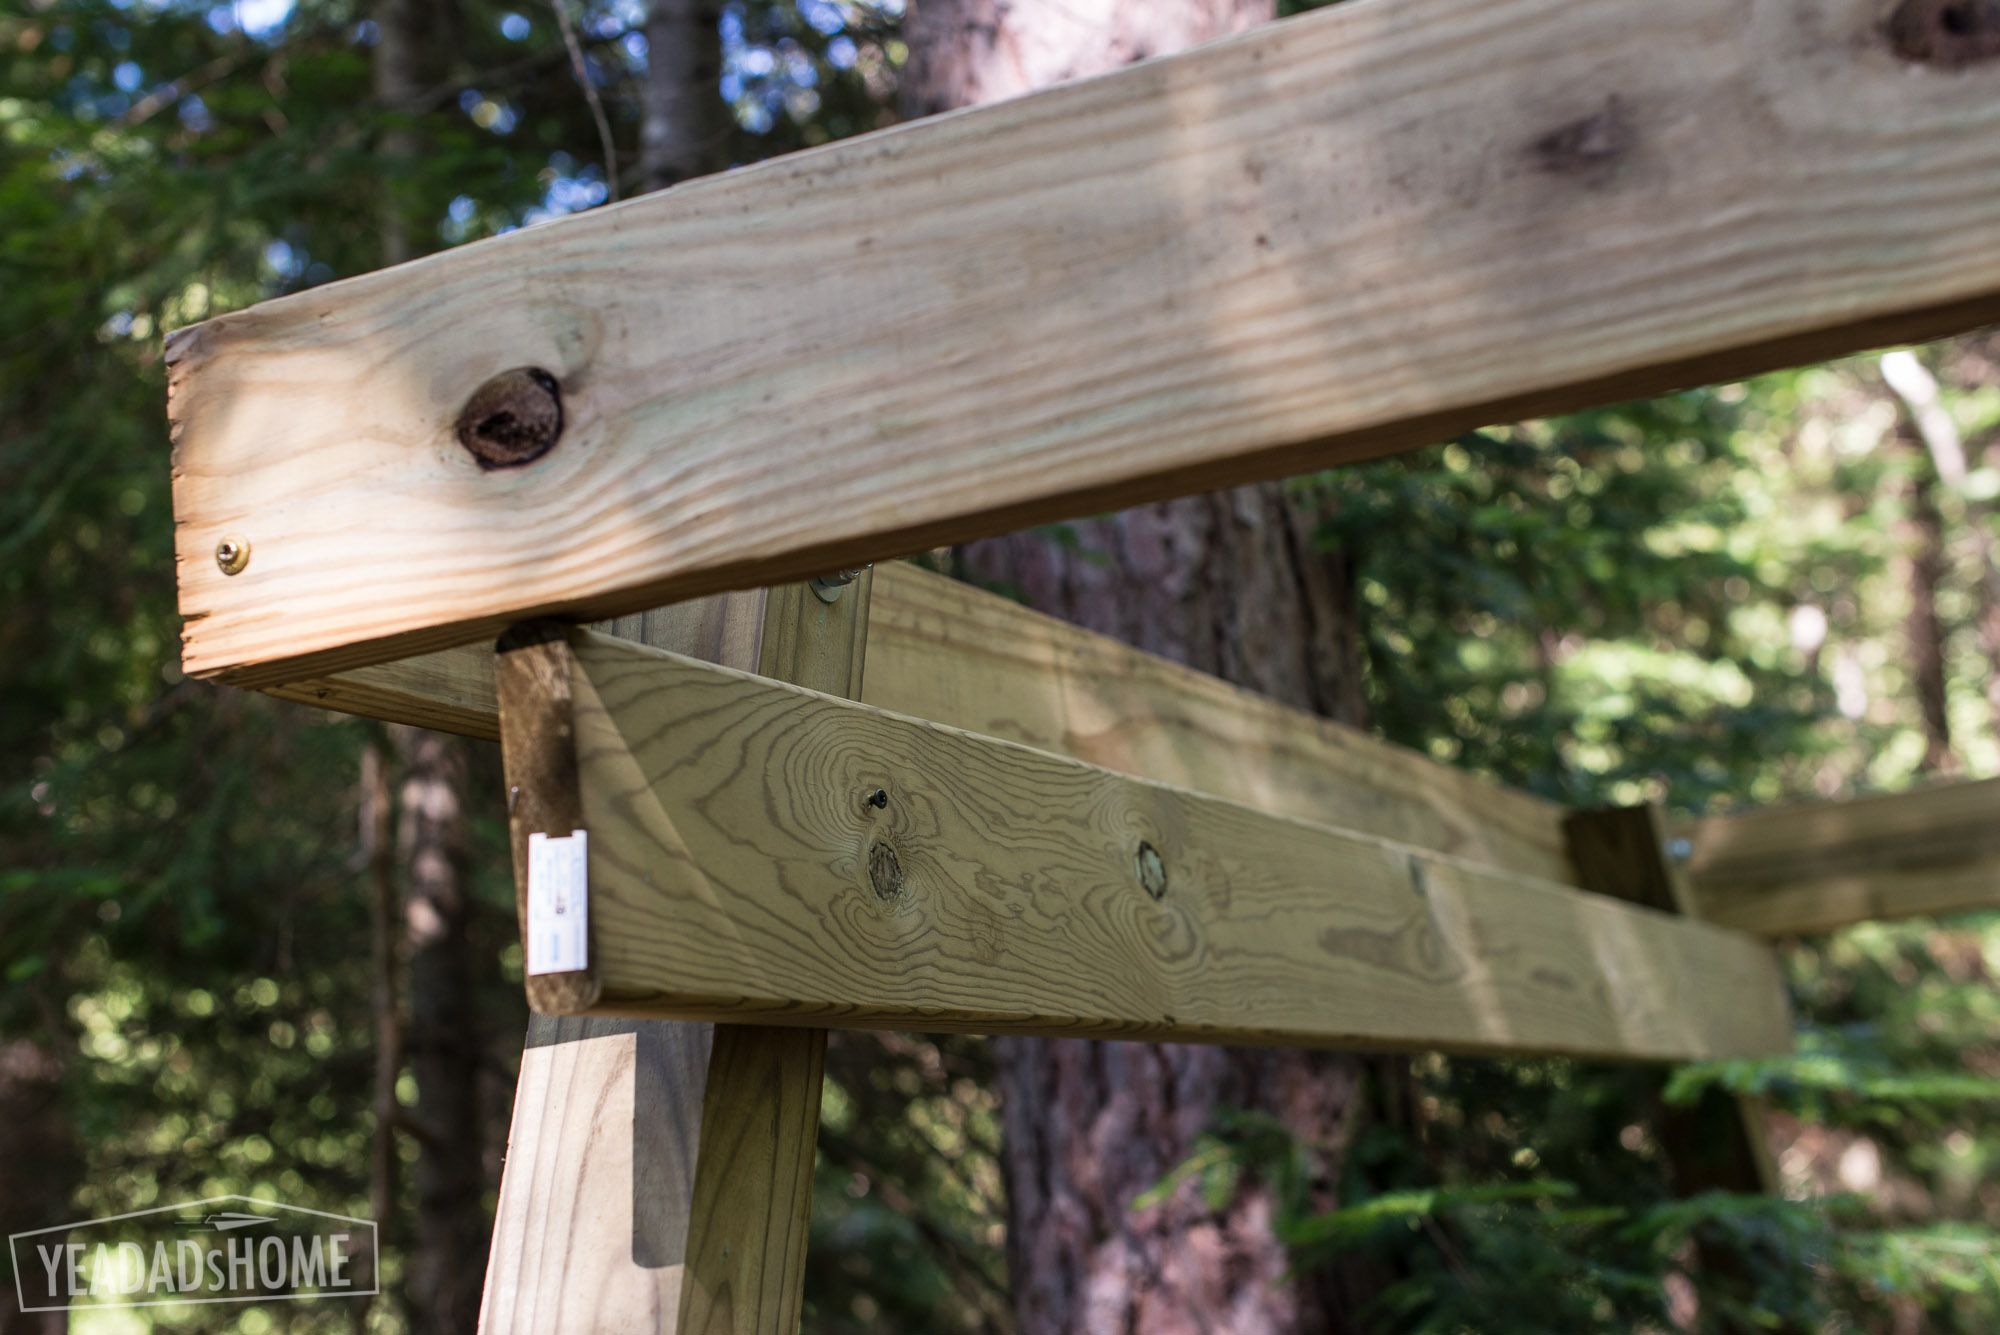
    Support for Hanging the Joists
    Support for Hanging the Joists


    We set the deck boards on the platform, and secured them with a few of the 3 inch deck screws.
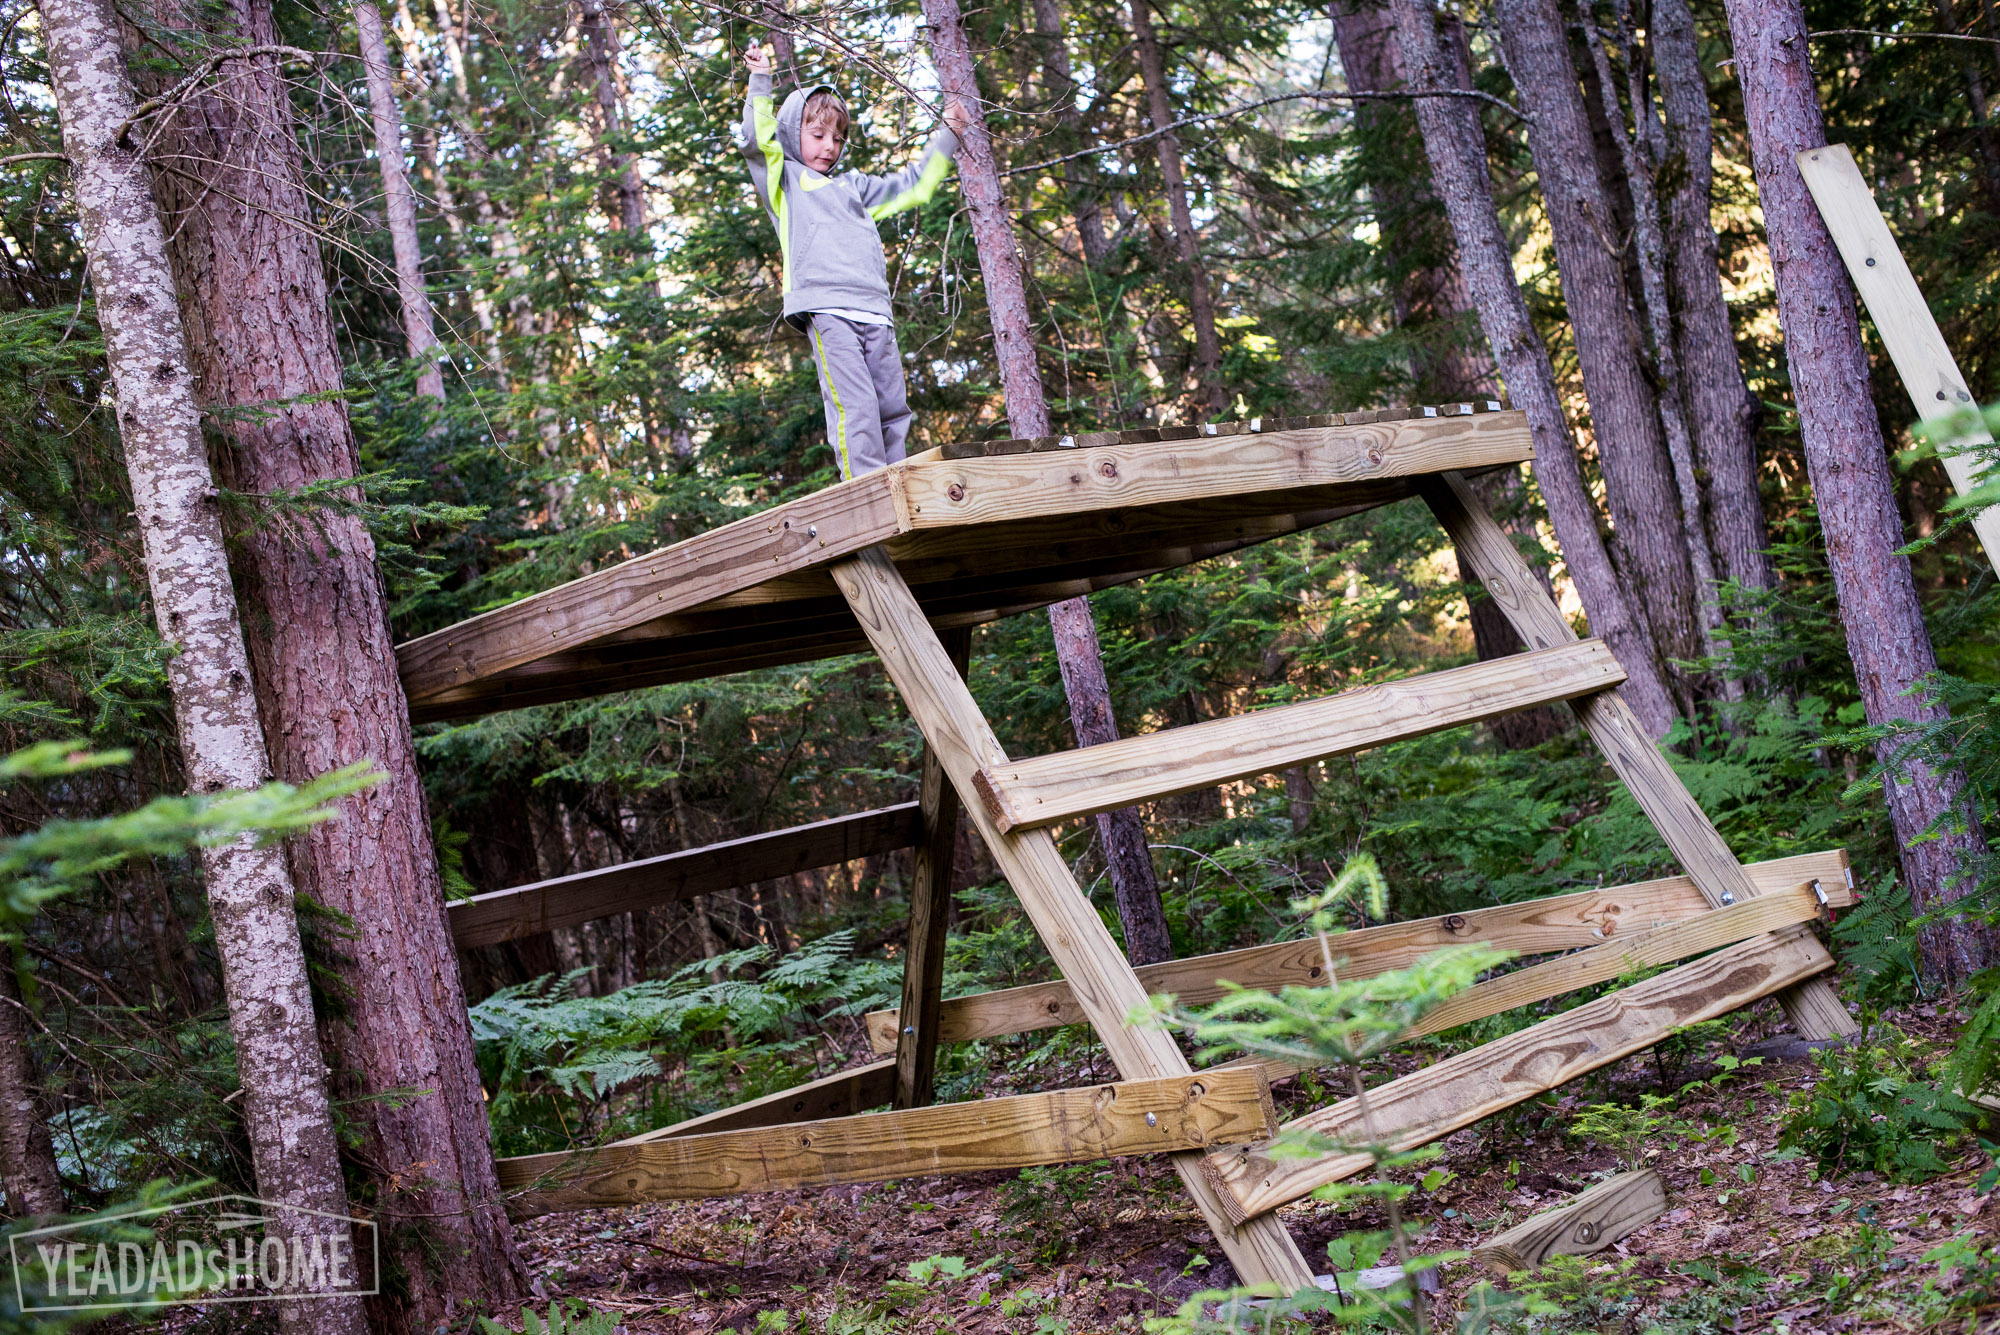
    Treehouse Platform in Place
    Treehouse Platform in Place


    Day 4

    Angling the side supports added stability. Then we added the railings. To keep things simple I cut the 4×4 pieces in half, so each was 48 inches. Then I attached them so that they sat 42 inches above the top of the 2×6 floor structure.
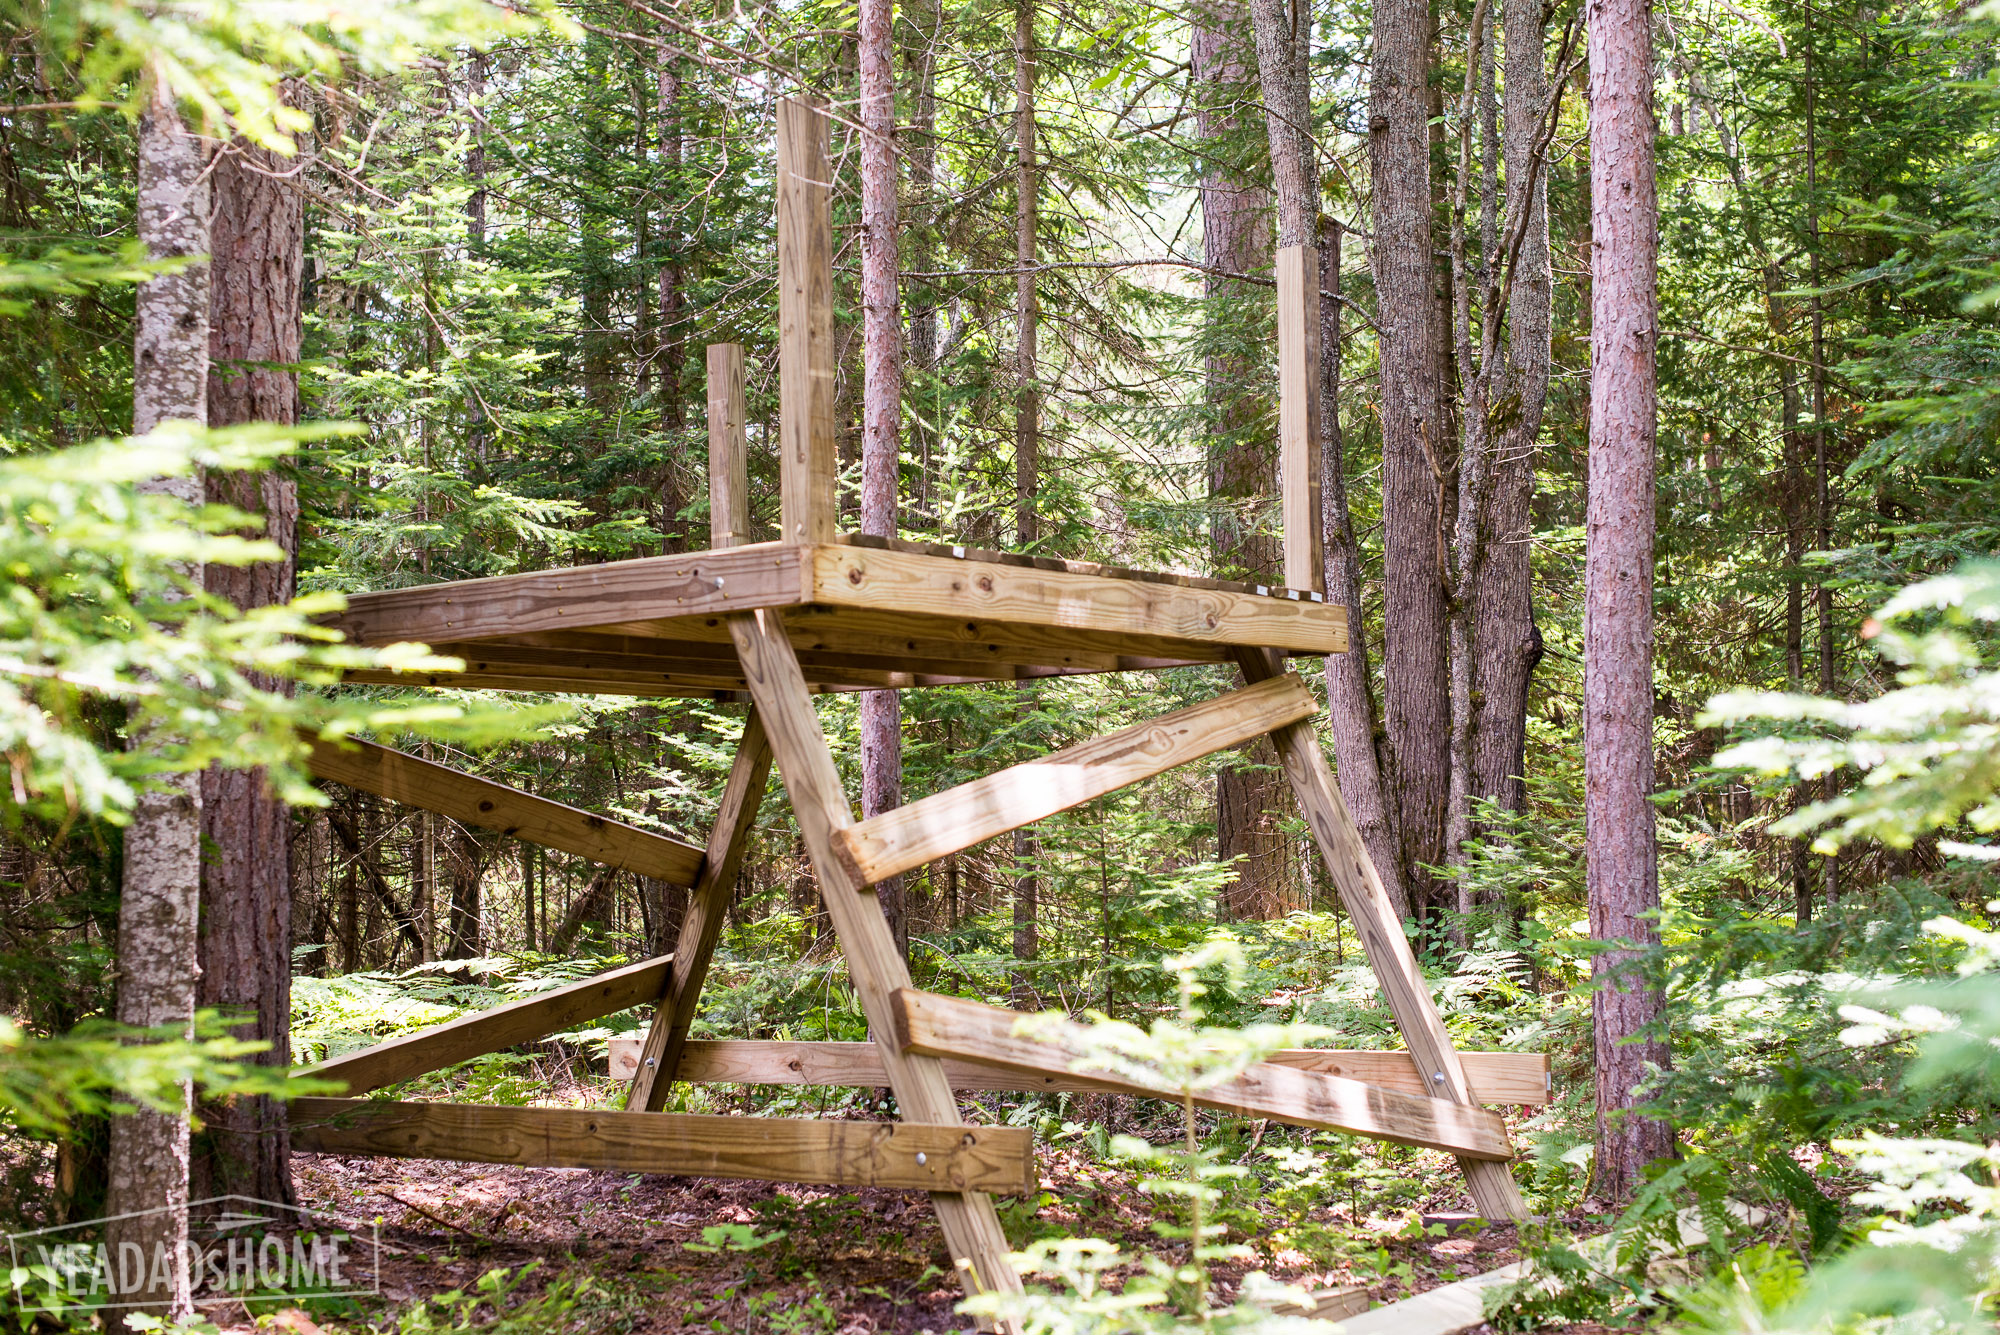
    Aligning the Side Supports
    Aligning the Side Supports


    For the inside railing pieces, I made notches so that they would fit together on at the corner posts.
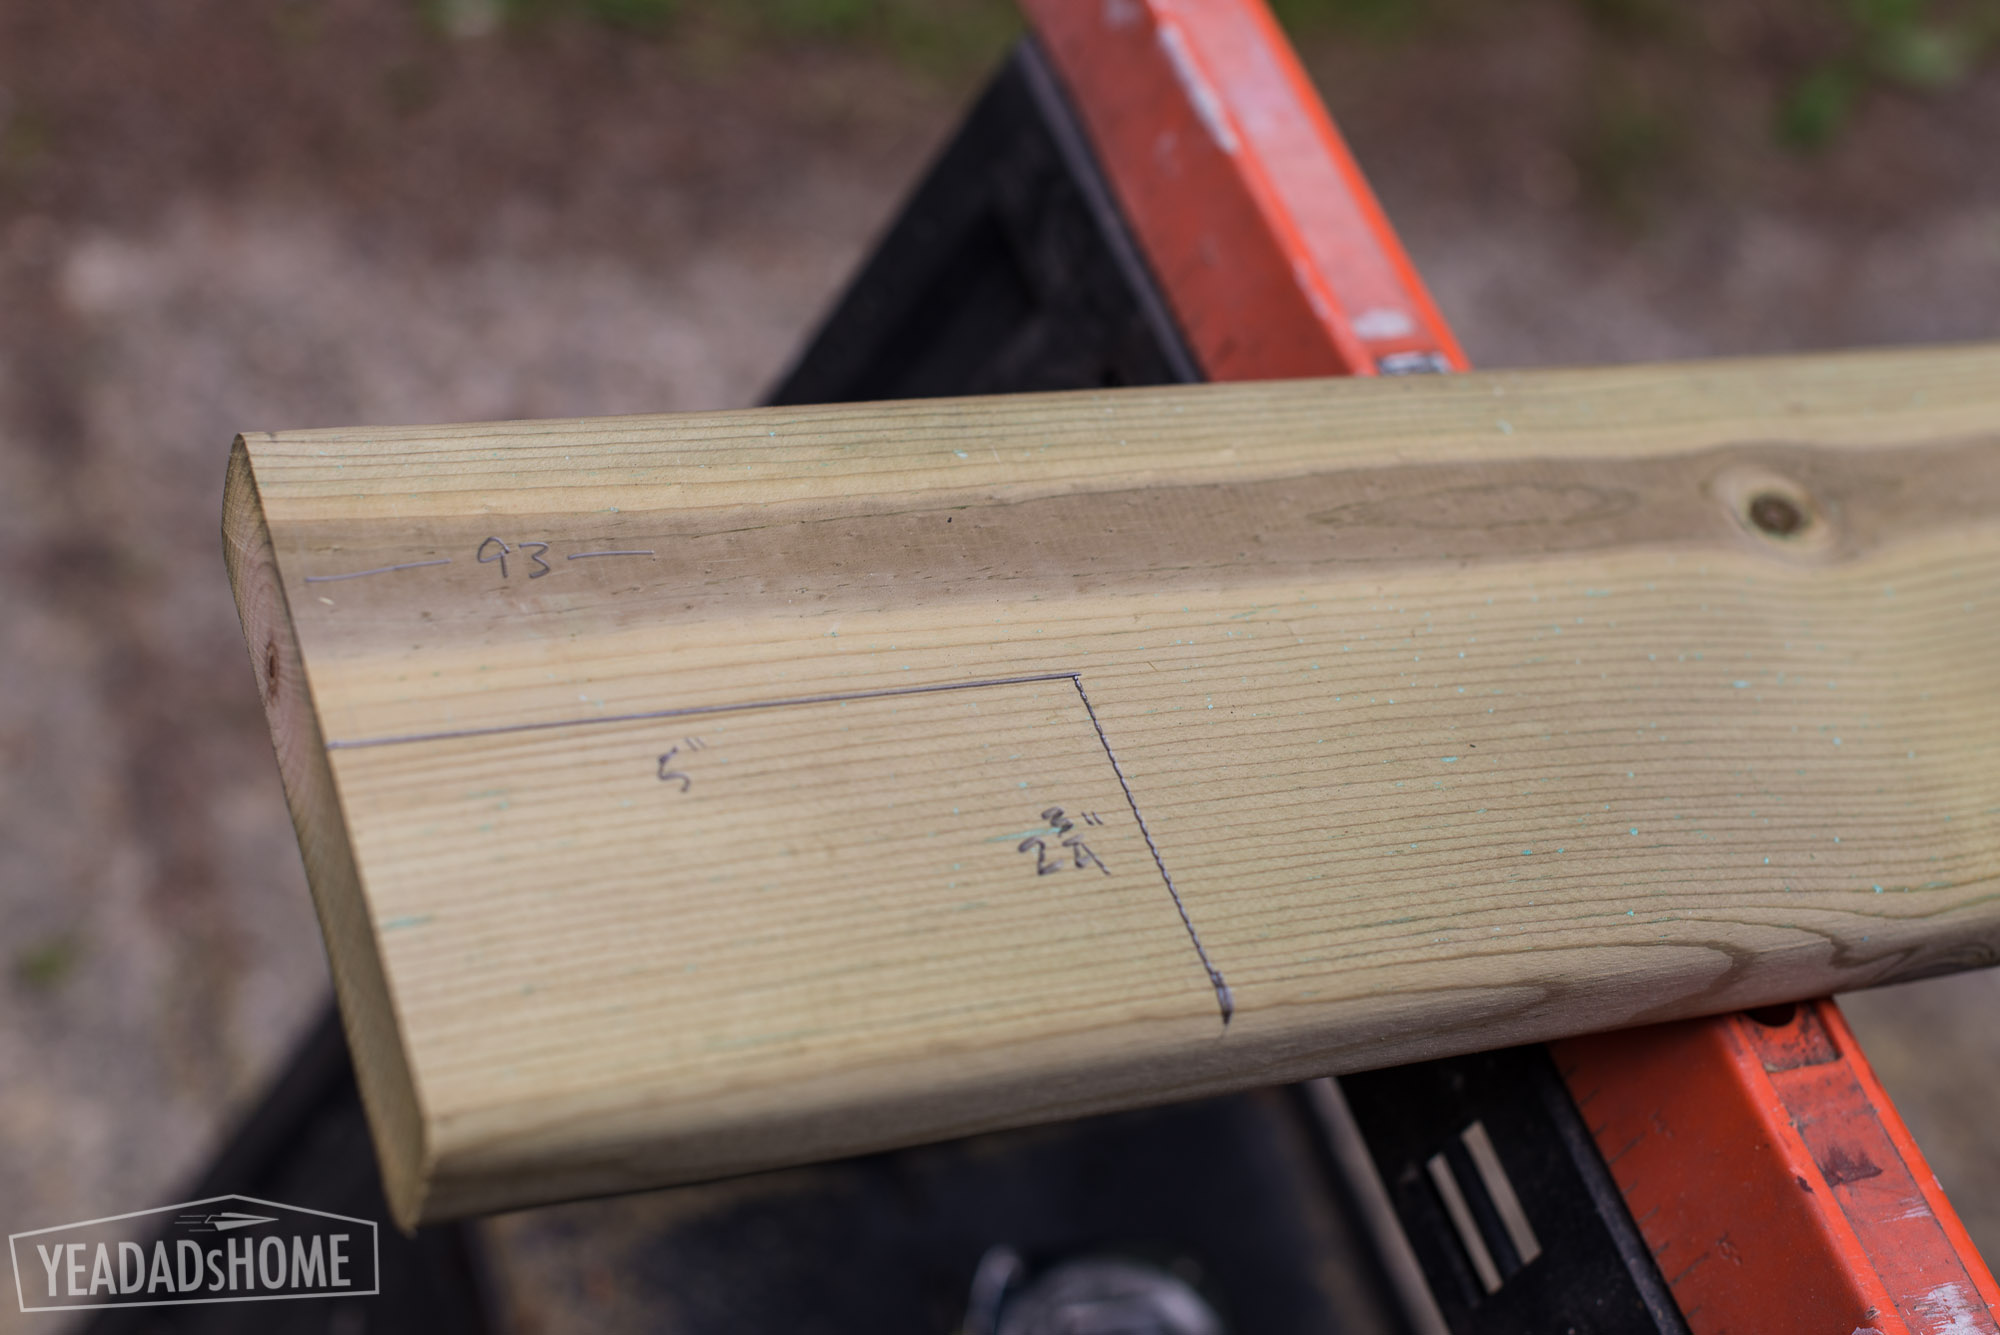
    Treehouse Railing Notches
    Treehouse Railing Notches


    This is how the inside railings fit together.
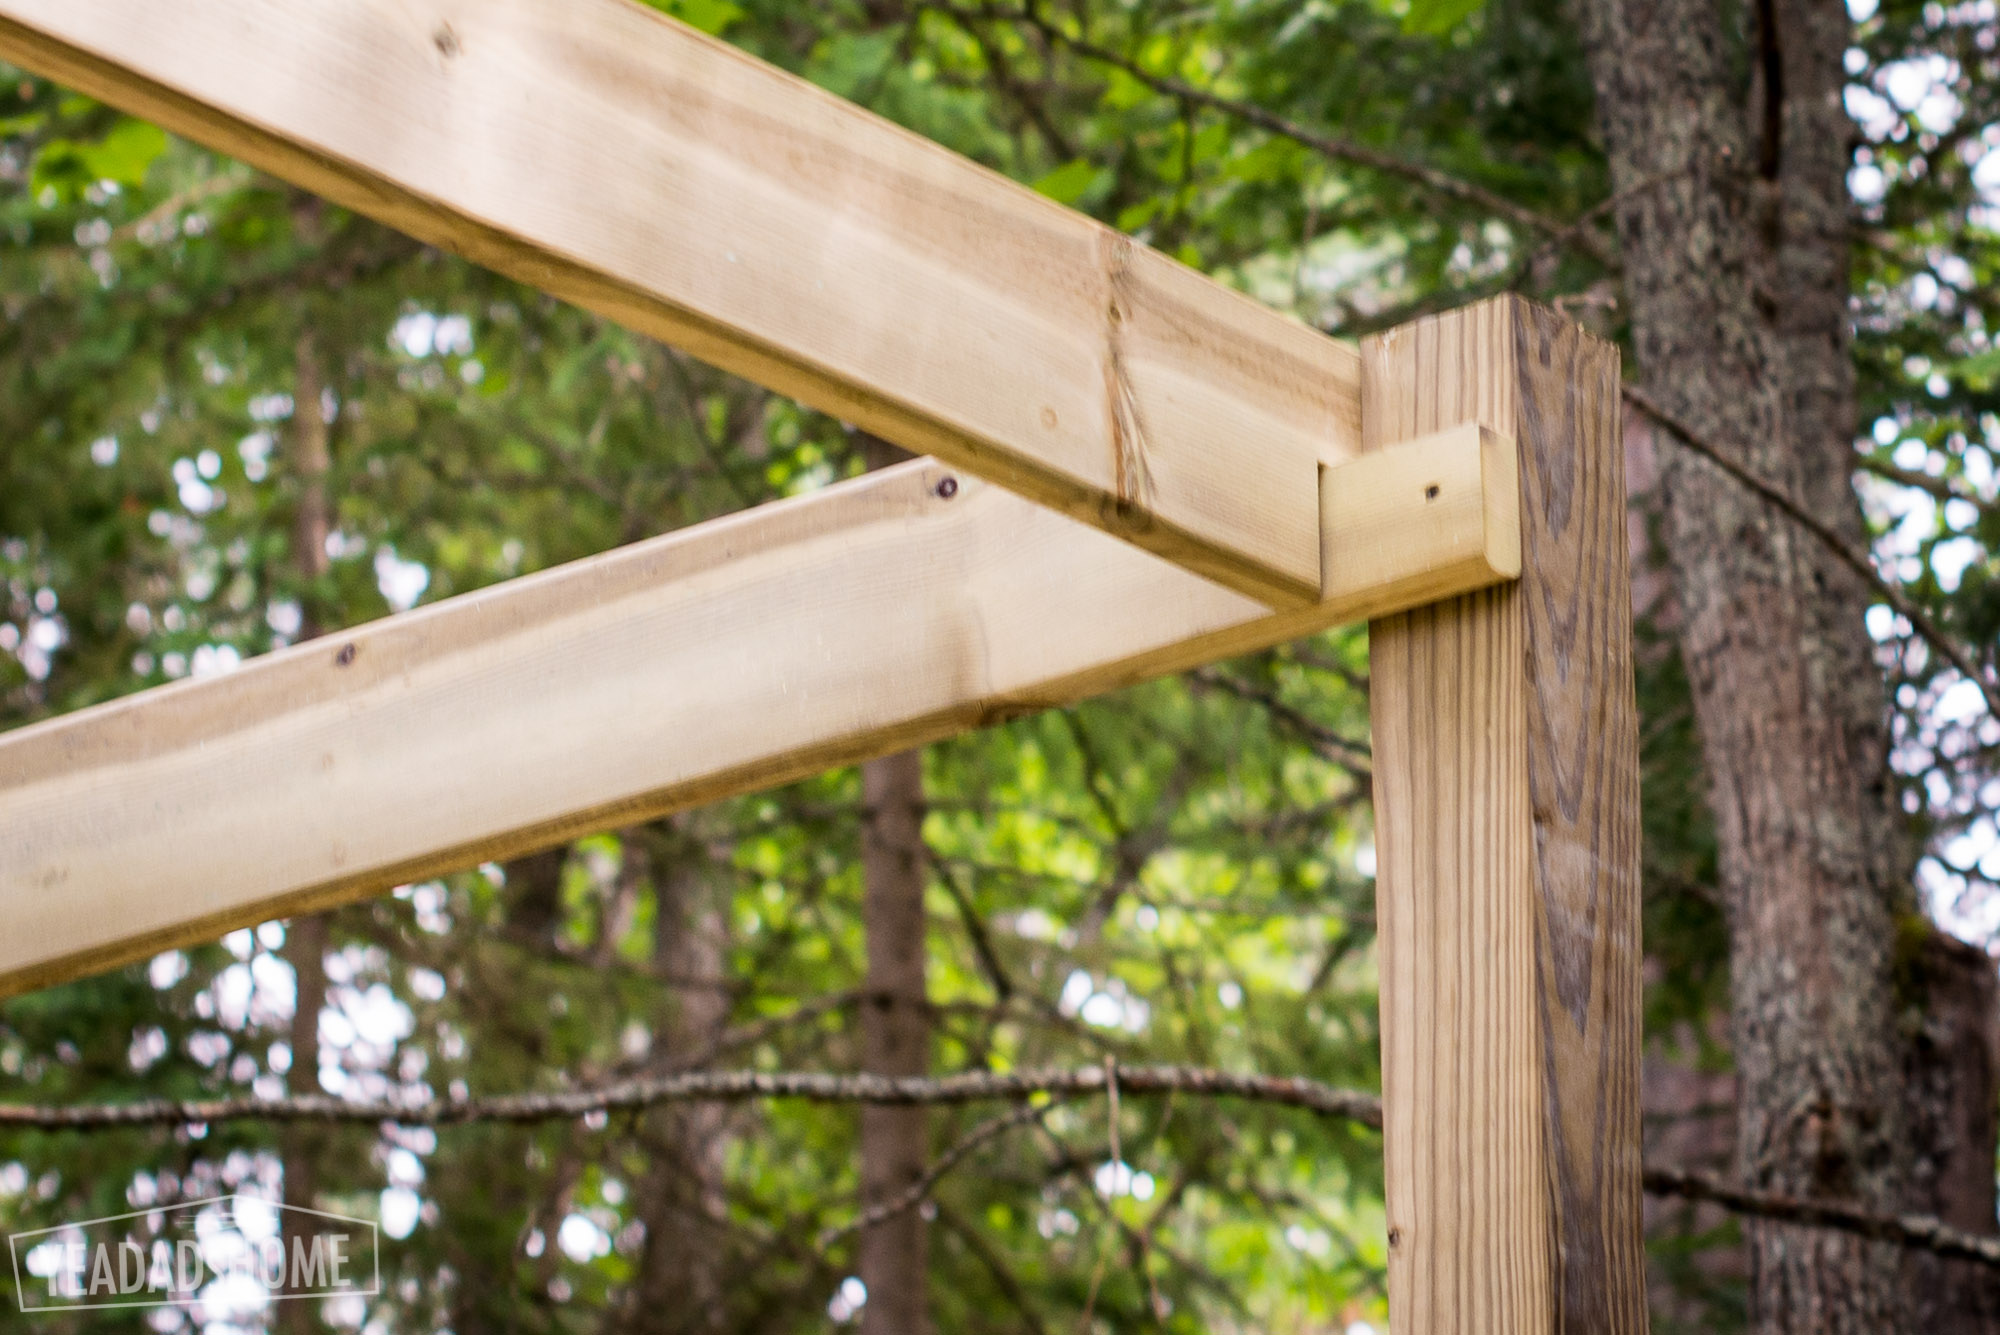
    Inside Railings for Treehouse
    Inside Railings for Treehouse


    Then we added the top railings. I measured the inside corner and added a half inch.
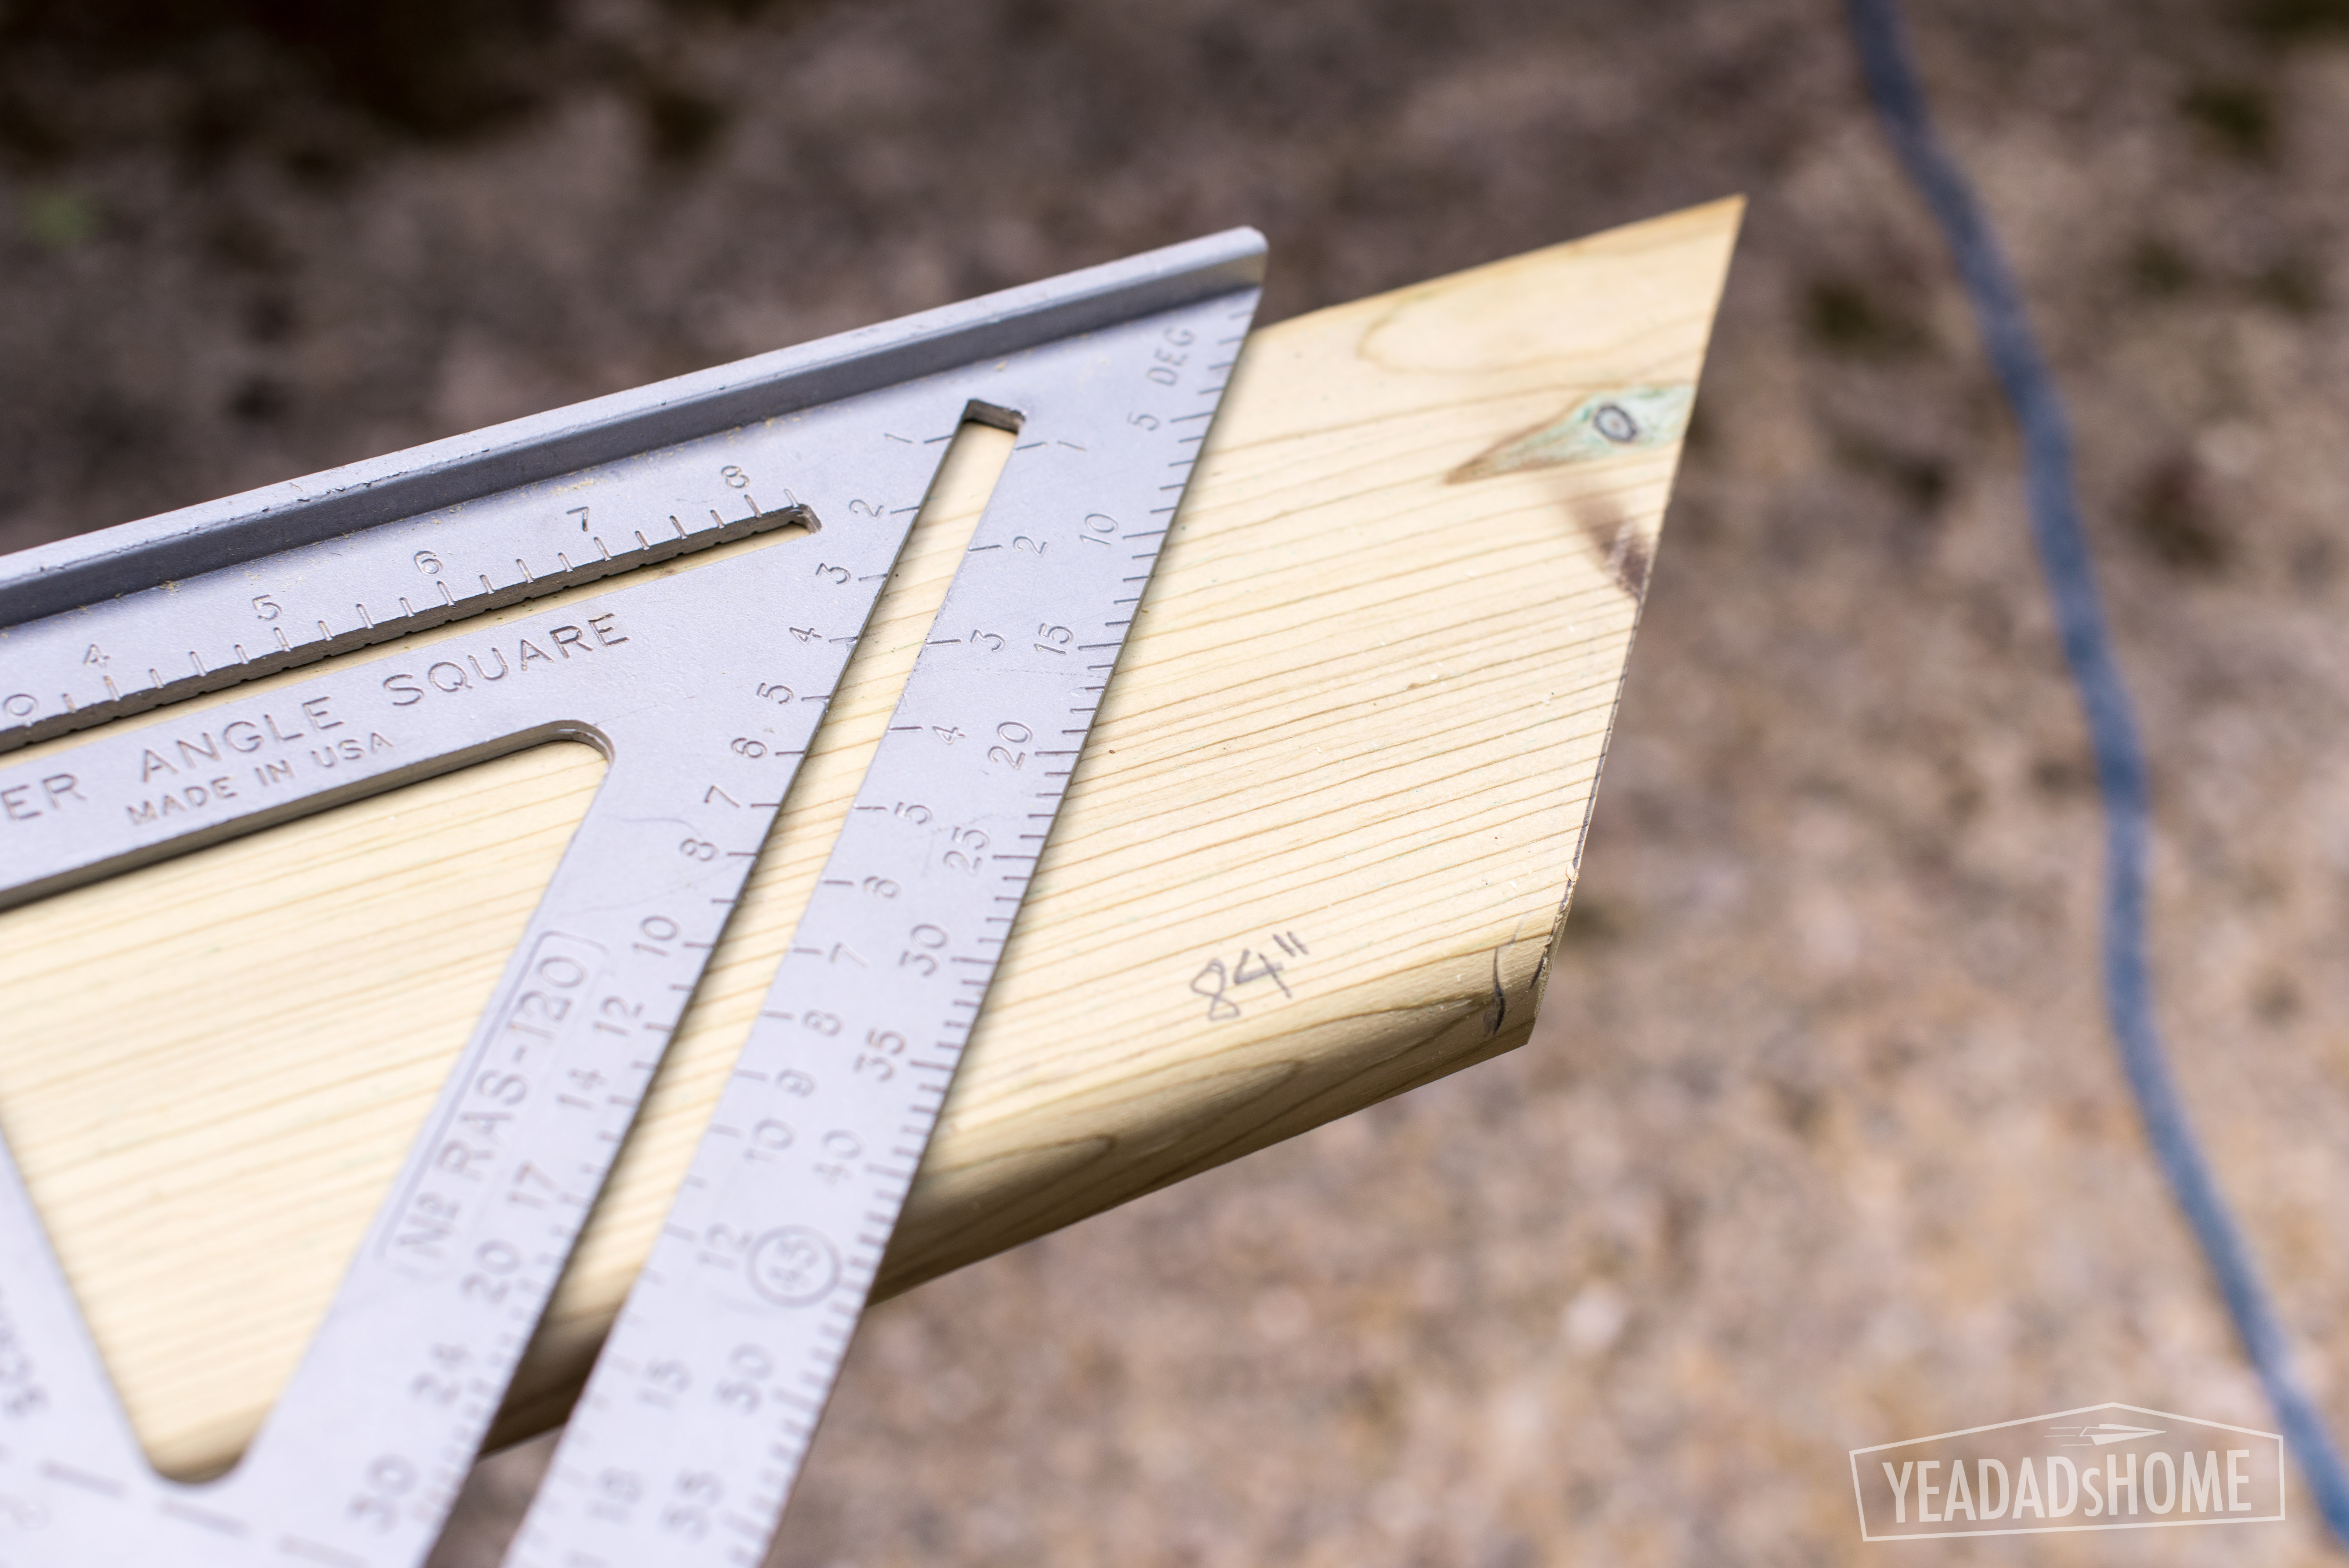
    Treehouse Top Railing
    Treehouse Top Railing


    We added a middle post to firm things up. Those 8 foot 4×4 posts were not cut. I just pushed them up to meet the railing. I screwed them into place and then added a few bolts.
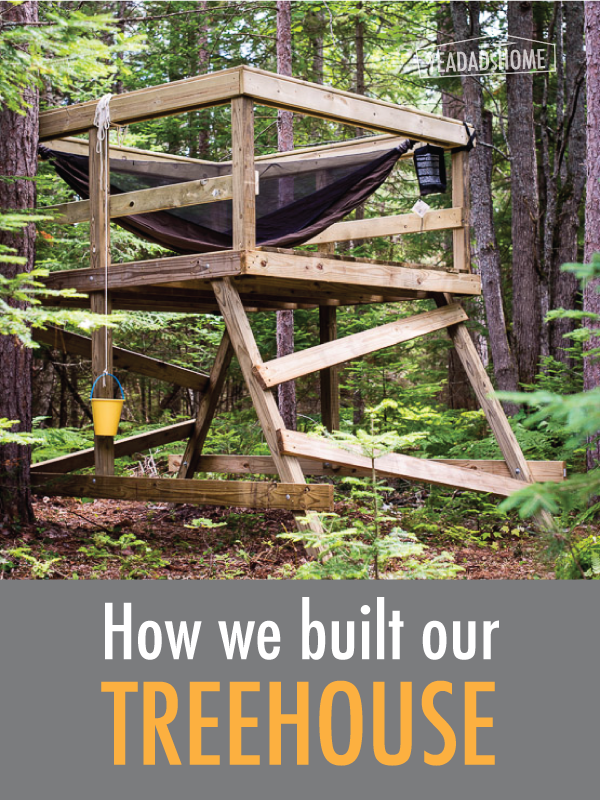
    how we built our simple treehouse
    Our Treehouse


    This is where we completed our simple treehouse build for this year. A bucket on a nylon cord was a handy way to deliver mail, or carry things up/down.

    Treehouse Extras

    We bought a Hennessy Hammock to hang in ours. It has a bug net and you get in/out through the bottom, so there isn’t any risk of someone rolling out. The Explorer Ultralite Asym Classic model was the one that looked best for us. It comes with a snake skin that makes packing it up really quick.


    We bought a tent that fits on the platform. This MSR model was the one we picked. It fits on the platform, and it is light enough that we could use it for backpacking.

    https://www.rei.com/product/865347/msr-elixir-3-tent
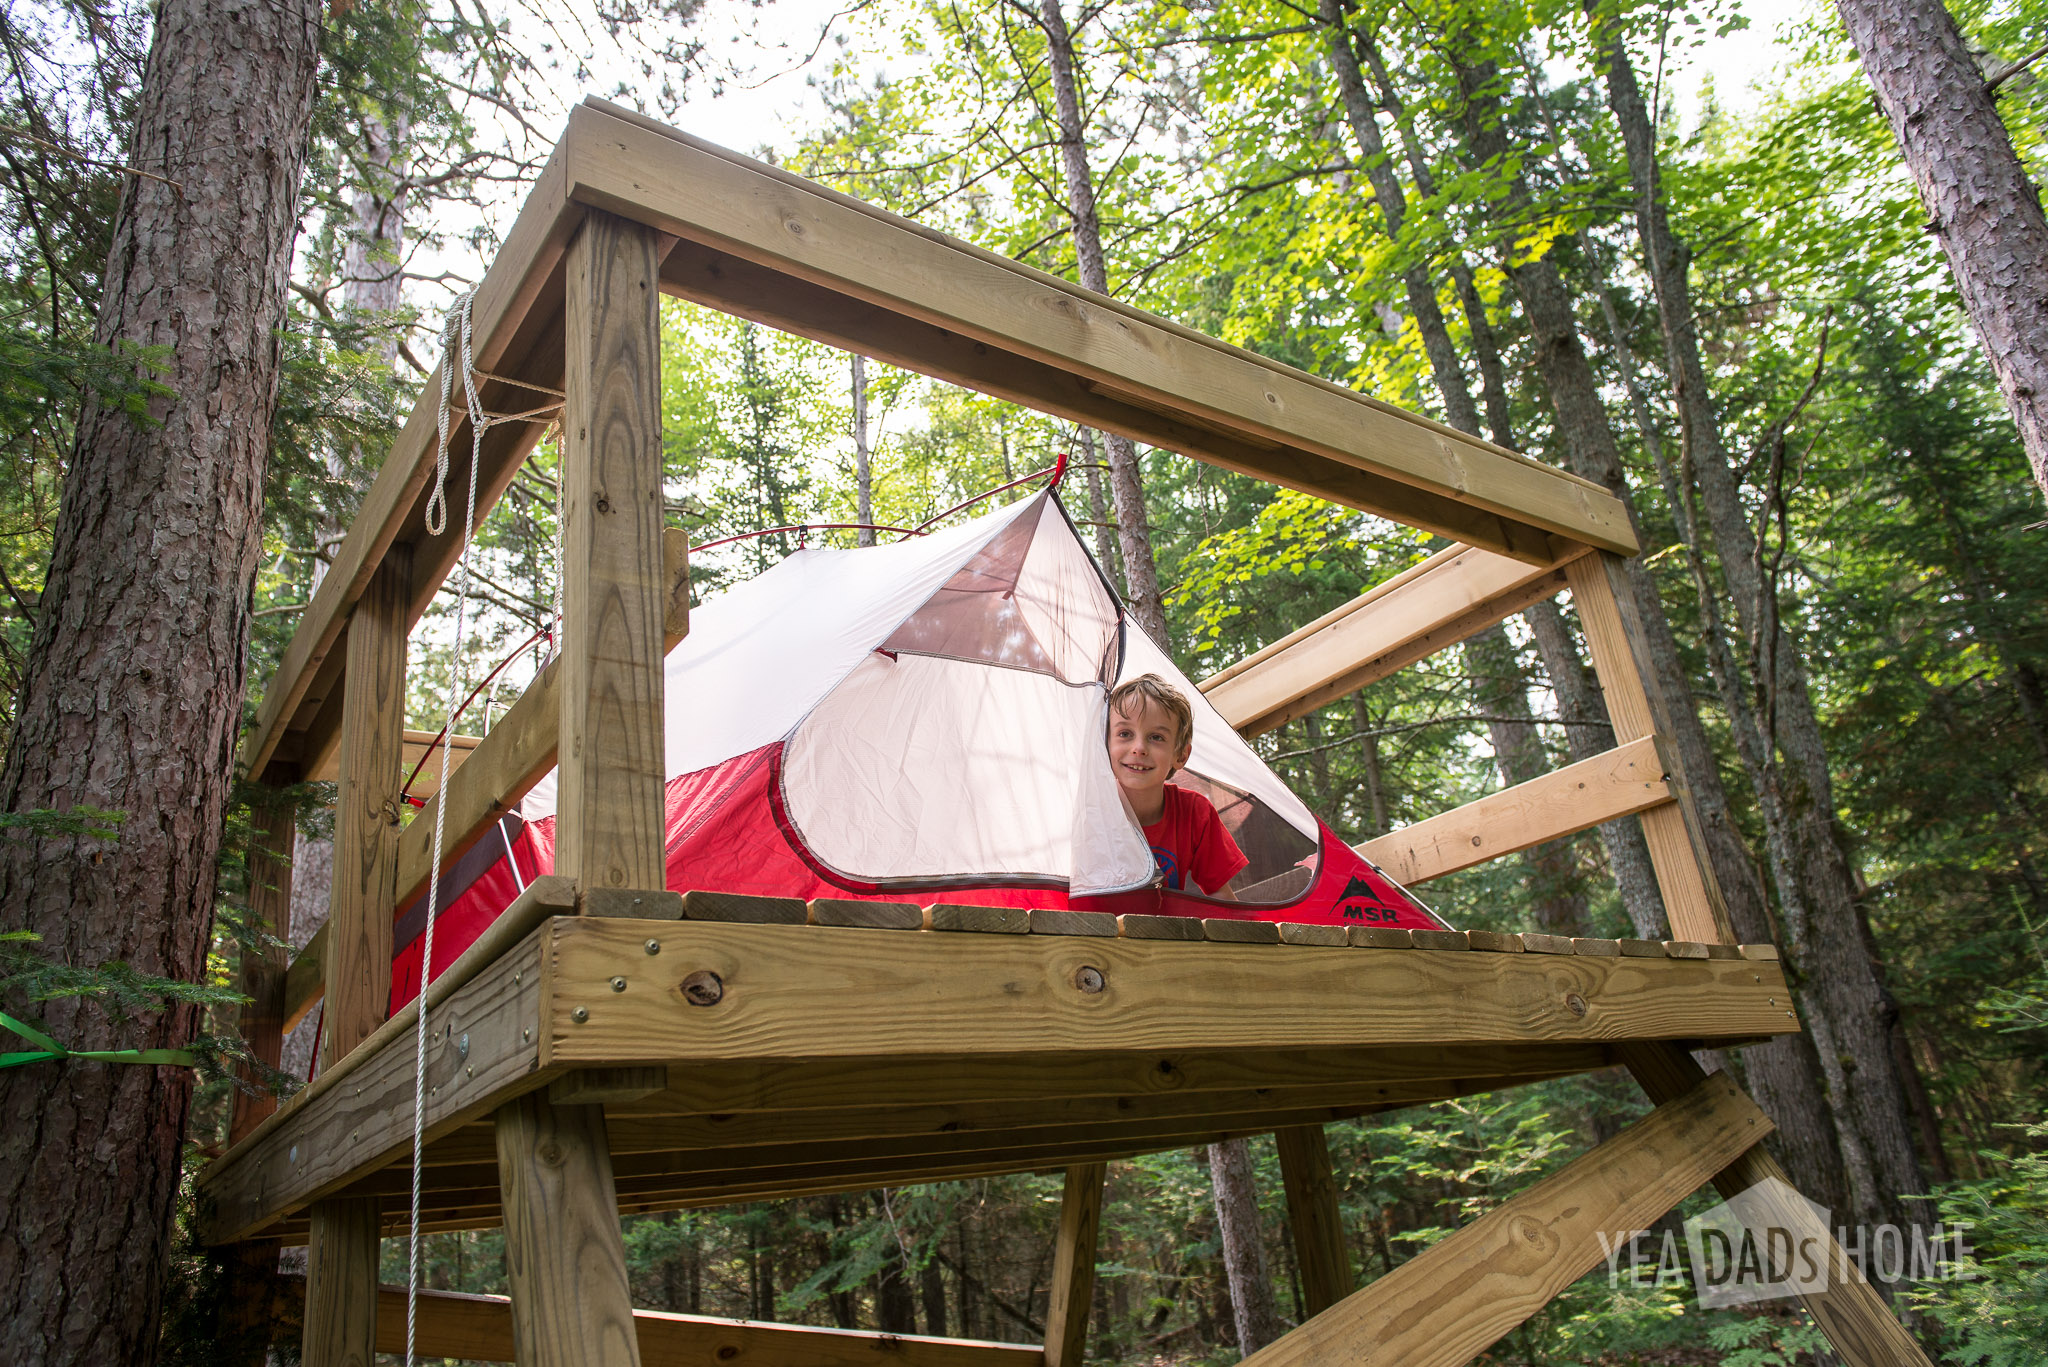
    Treehouse-0256-2


    We added a slackfline this year. We string this from two tree near the treehouse to practice our balance. I wouldn’t anchor to the treehouse directly since that could move it off of its blocks.

    http://slackersline.com/product/classic-green/
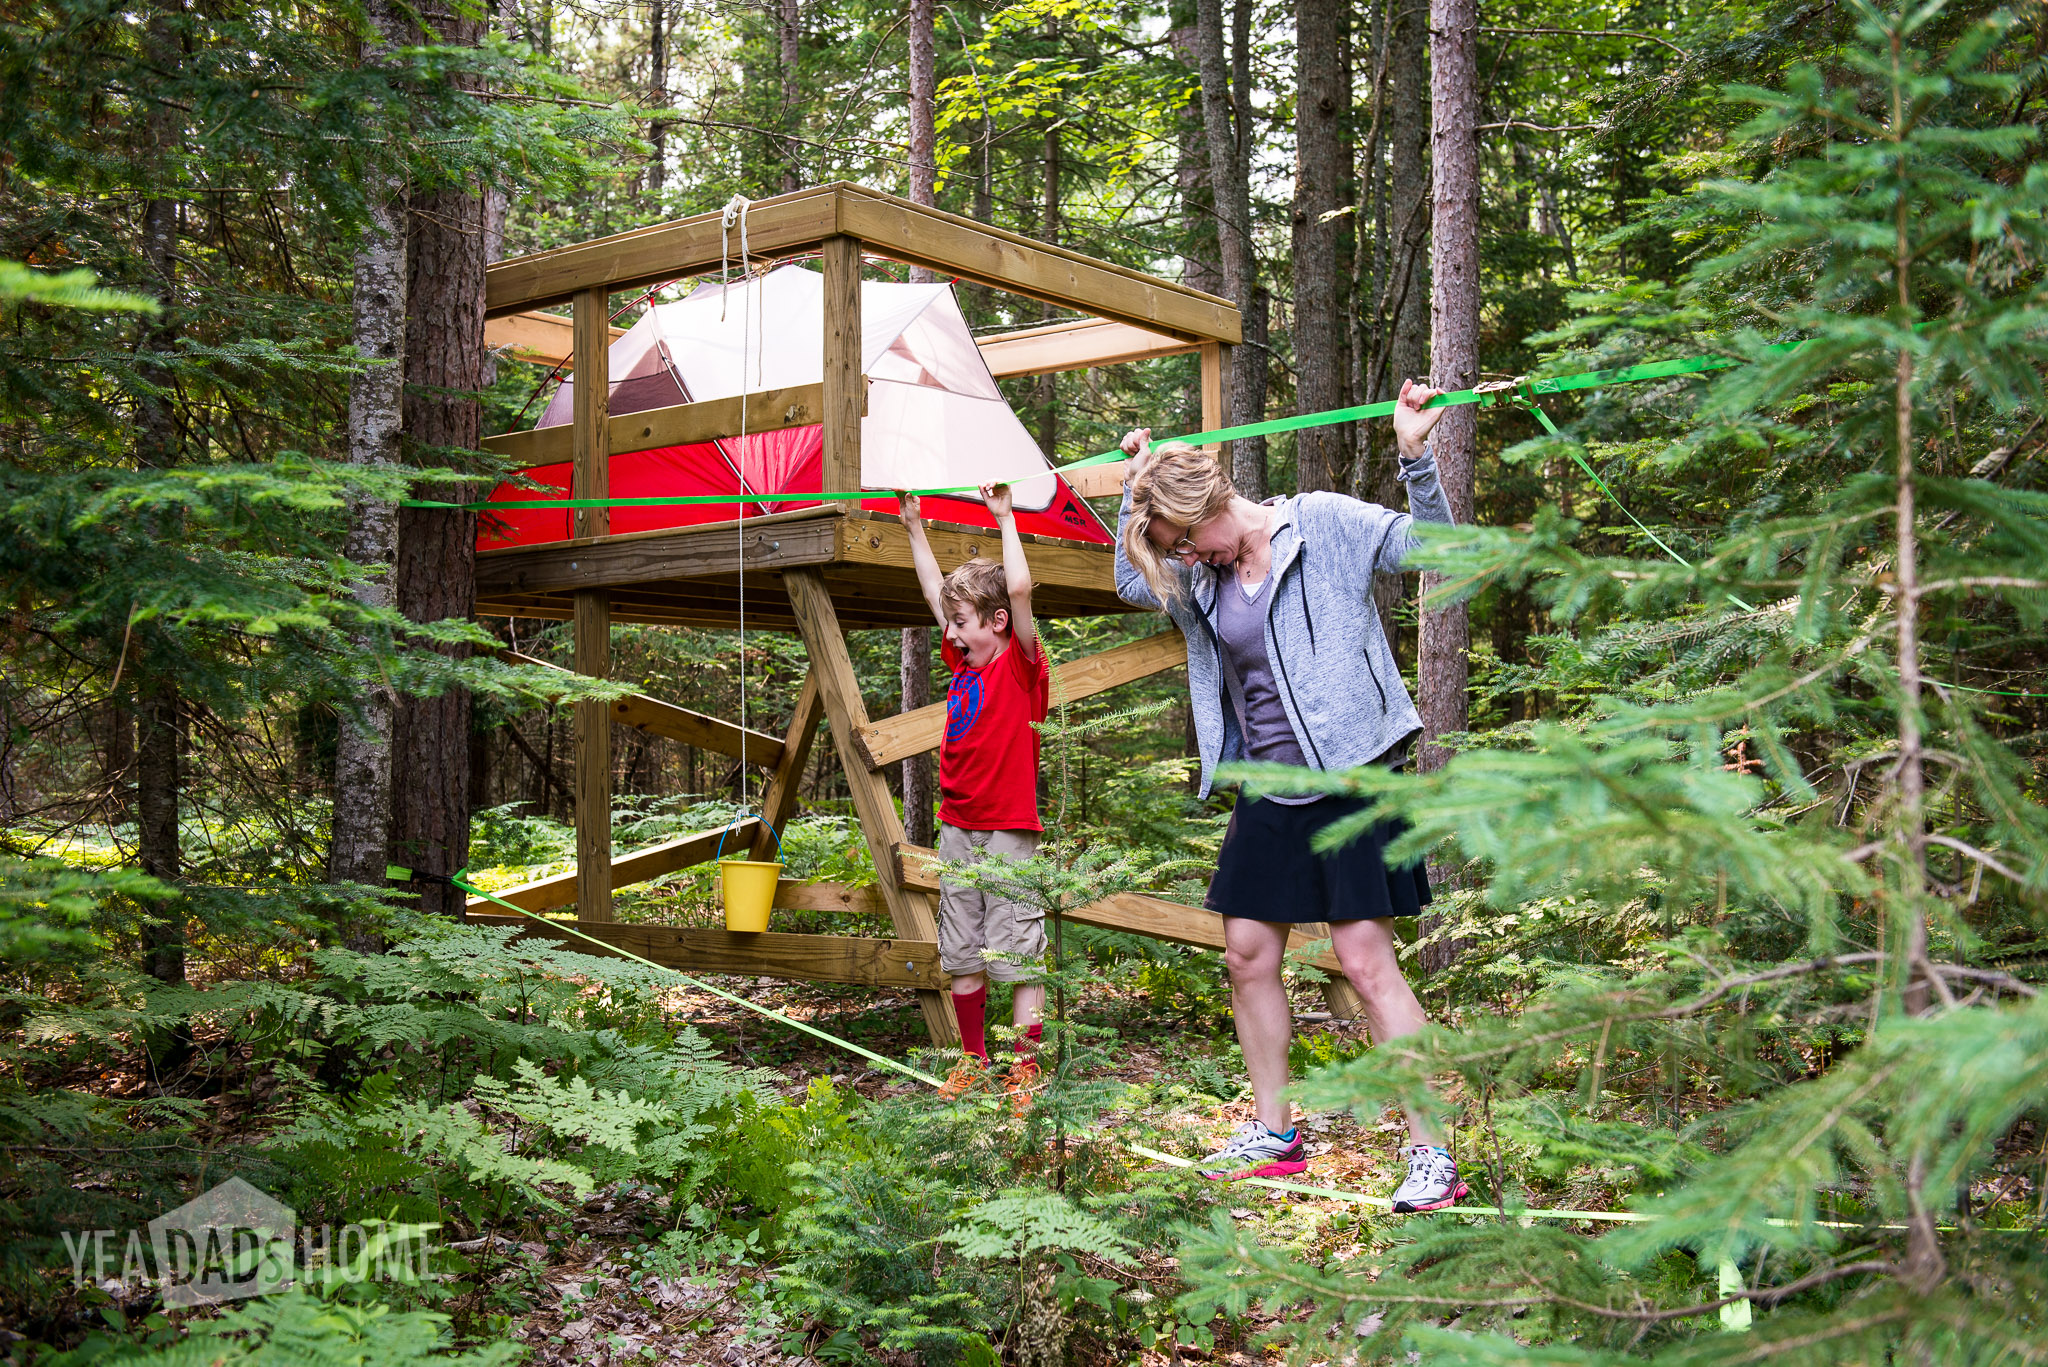
    Treehouse-0274

  • Flying Arc Paper Airplane

    Flying Arc Paper Airplane

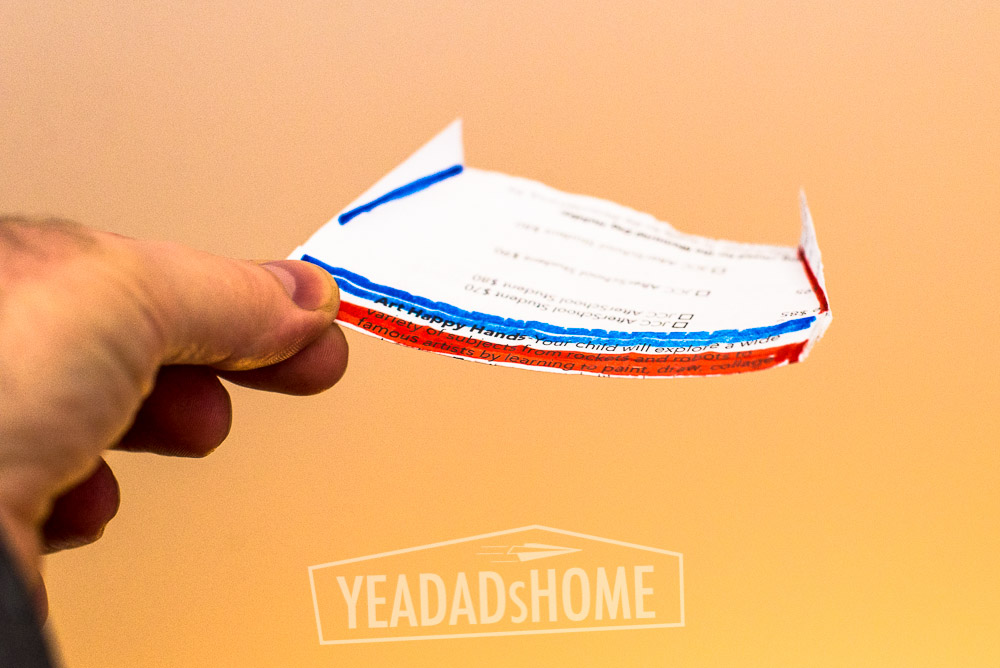
    Paper airplanes are a hit in our house, and this the one that we had fun with over the weekend. This flying arc paper airplane is similar to a design I found in The Great International Paper Airplane Book that we got a long time ago at the Smithsonian in DC. We modified ours to include stabilizers. On a rainy day they can burn some energy climbing stairs as we launch them over and over. Of course you can take a break from the stairs and decorate them too. We like to make a several at a time.
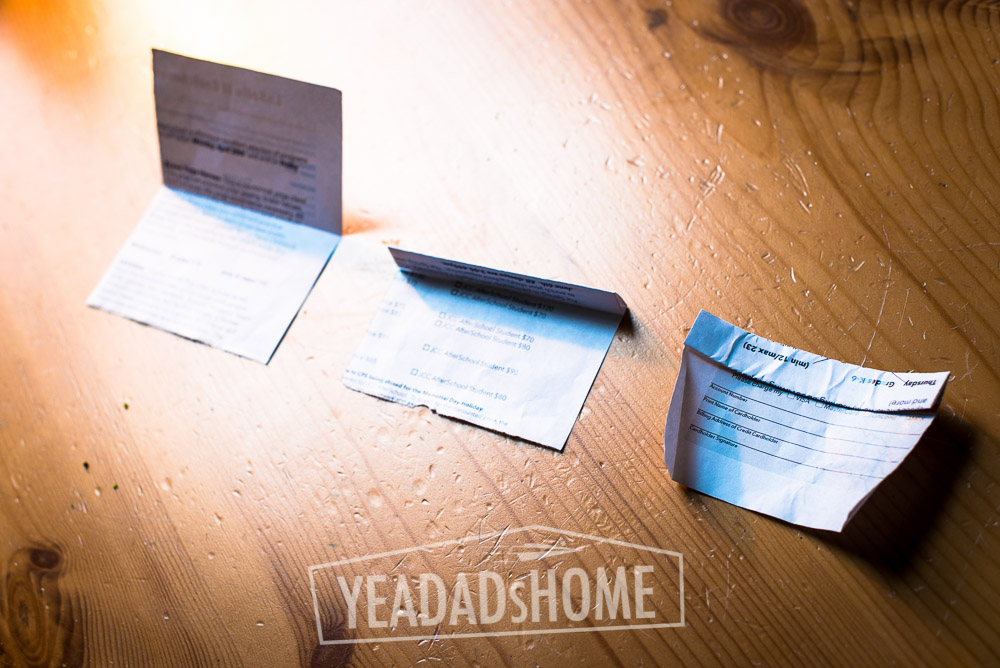
    The best part about this paper airplane is that you can modify it as you play and it will change how it flies. If you tilt the tail stabilizers, it will turn differently. You can also change how much lift it has by changing how tight the arc is. If the arc is really tight, very curved, it will descend more quickly. If the arc is slight, almost straight, it will try to climb. The fun is trying to figure out how much arc will make it glide for the longest.

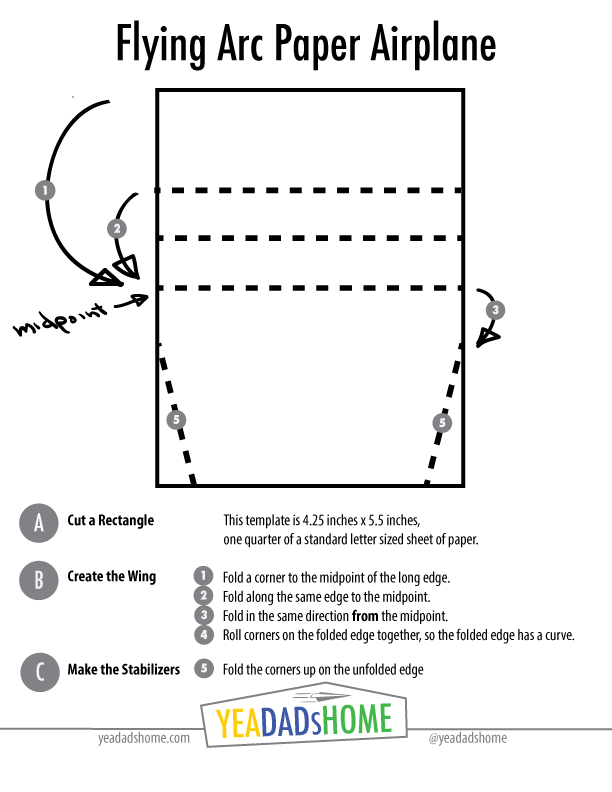
    This template shows the folds and steps. Once you get the hang of it, you can make four from a standard letter sized piece of paper. it works with a full size piece of paper too., although we have more fun when we have lots of flying arcs to launch.


    Tools and Materials

    • Paper
    • Scissors (optional)


    Instructions

    Cut a Rectangle

    • This template is 4.25 inches x 5.5 inches, the size of a quarter of a sheet of letter sized paper.


    Create the Wing

    • Fold a corner to the midpoint of the long edge.
    • Fold along the same edge to the midpoint.
    • Fold the thick edge in the same direction from the midpoint.
    • Roll corners on the folded edge together, so the folded edge has a curve.


    Make the Stabilizers

    • Fold the corders up at the unfolded edge. These are about 0.5 inches tall.


    Flying the Arc

    • The front of the plane is the folded edge. To launch this plane, you hold it in the middle of the back edge. Thumb and forefinger works well. Let the front drop a bit lower than the back. Then let go.
    • If the plane drops too fast, try straightening out the arc.
    • If the plane climbs and stalls, then climbs and stalls, try bending the arc a bit more.
    • You can also play with the stabilizer fins to make it turn at different angles or go straight.


    Flying Arc Paper Airplane Template

    This is just a guide with proportions that work well. You could make 4 of these from a standard sheet of paper. Click the graphic below for PDF of this template to print.


    Flying-Arc Paper Airplane--YeaDadsHome

    Pictures

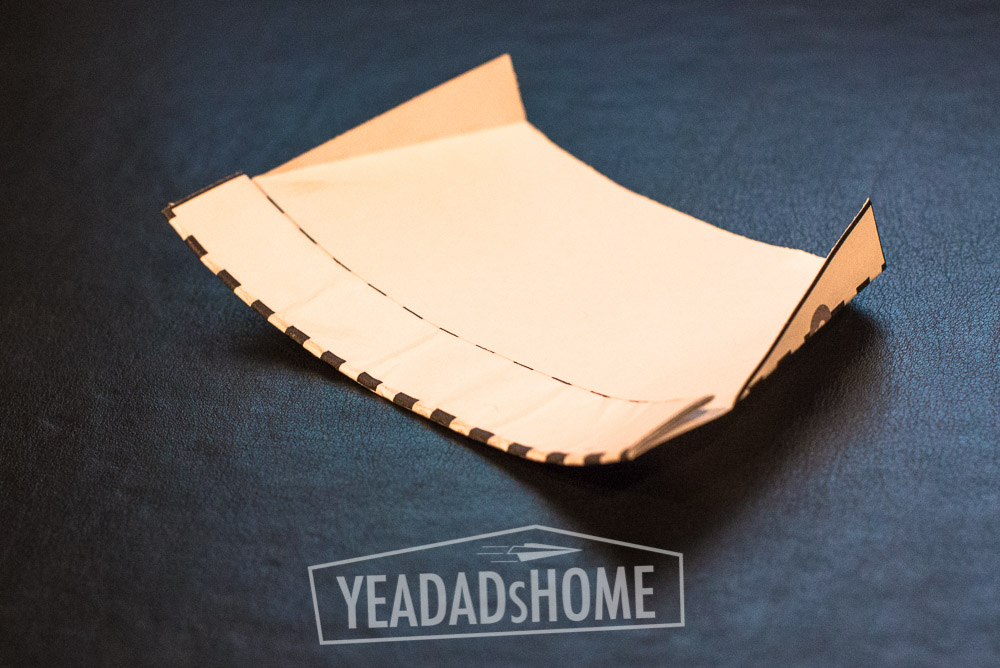
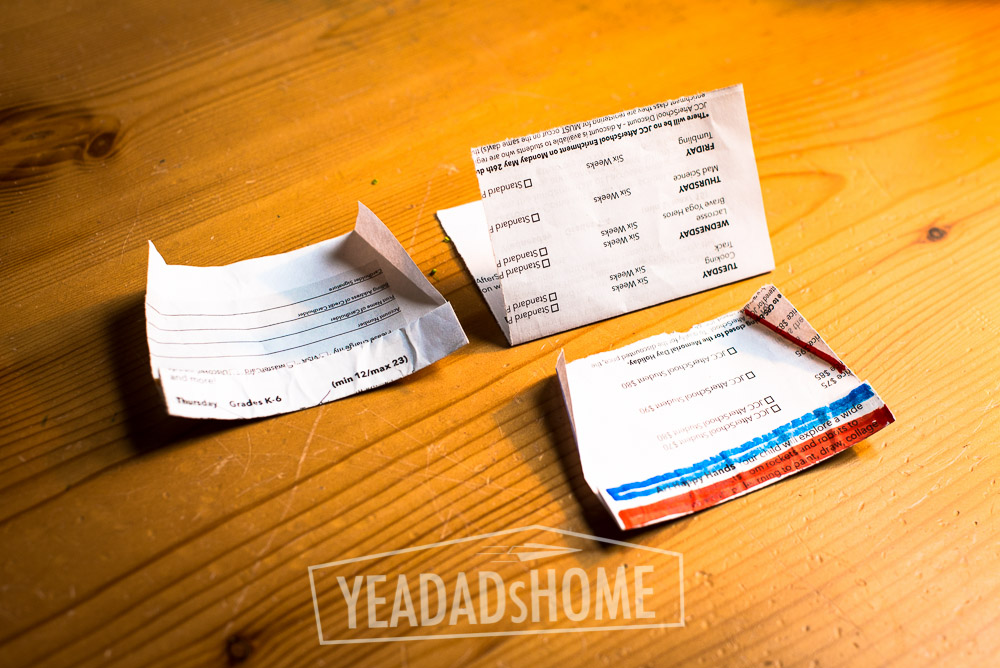
    This is how it looks fully assembled. We used scrap paper for this one. Usually that is pretty easy to find in our house. As you can tell, we also didn’t use scissors, we just creased the paper and tore it into the rectangle we needed.


    Flying Arc Paper Airplane - YeaDadsHome-9821


    Flying Arc Paper Airplane - YeaDadsHome-9851


    Flying Arc Paper Airplane - YeaDadsHome-9840


    This is a version made from the template. I started with the printed side down so I could see the dashed lines in the template as I folded.

    Flying Arc Paper Airplane

  • 9 Tips for Container Gardening

    9 Tips for Container Gardening

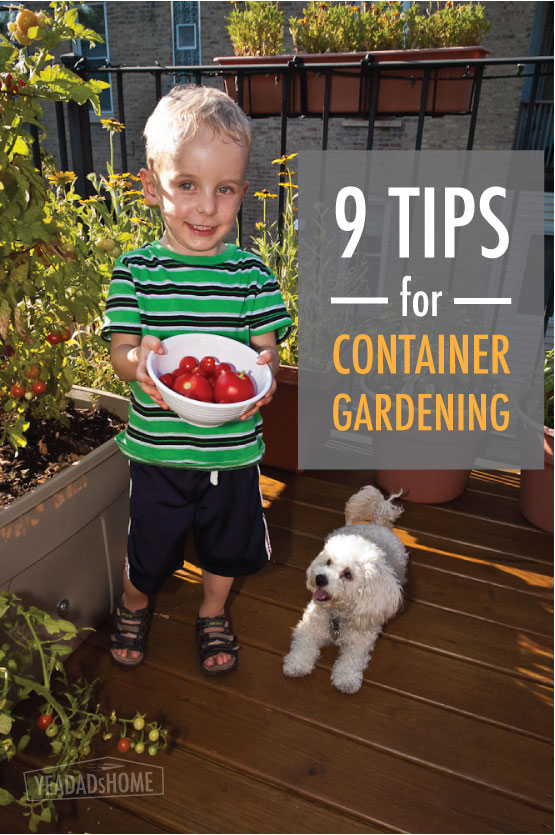
    We have been growing a garden at our place in Chicago for several years. We don’t have a large yard. We do have some outdoor space that gets good sun, and we have found that container gardening works well for us. Over time we have adjusted a few things as we have learned what works and doesn’t work for us. Following are 9 tips for container gardening. FYI. We were not paid for any of this. We just wanted to document what we have learned.

    Gardening - Yea Dads Home-400


    Where to plant a container garden?

    We checked around our house on a weekend to see when direct sun would hit in the morning and then when it got shady at the end of the day. It turns out that is was a spot on our deck that worked. About 8 hours per day is what most references recommend, and we were lucky to have a spot that got good sun. Bonus…it didn’t interfere with the space that we use for outdoor games, and that meant it wouldn’t get trampled. In all, we use a 6×8 ft space for the garden.

    This site has some ideas on what growing tomatoes requires.
    http://www.gardeningknowhow.com/edible/vegetables/tomato/how-much-sun-do-tomato-plants-need.htm

    Tip 1 – Find a spot that gets 8 hours of daily sun

    Container Gardening - Yea Dads Home-155


    What to plant in a container garden?

    Deciding what to put in garden focuses on two things. Obviously we we wanted things that we like to eat, but we also had to figure out what would grow in limited space. It was also important to find things that either better than we could get at our local grocery or that were a lot less expensive. For us the winners were herbs, tomatoes, and a few other vegetables.

    Tip 2 – Herbs give you the biggest bang for the buck

    We use all sorts of herbs in our cooking, and the are great to add variety to salads. Often we only need a bit for a recipe. Other times herbs come in handy when we have ingredients but haven’t decided how to use them yet. The options for how to cook the carrots or potatoes today are more interesting if you have fresh herbs. A pack costs us somewhere between $3-7 each time we buy one, so herbs of all sorts are at the top of our list.  We plant lots of basil and mint. Our herb garden also includes chives, dill, rosemary, and tarragon.

    Tip 3 – If you can only choose one type of tomato pick small ones. They grow quickly and produce for several weeks.

    We love tomatoes, but good ones are not always easy to find in the store. They can be pricy too. For our garden we plant four types of tomatoes. The grape and cherry ones produce the most and seem to work through the hot and cold variations in temperature. For larger varieties we have had the best luck with the early producing kind like early girl. After that the heat resistant type works best for us. July is pretty hot here, and it slows the big tomato plants down. When we have planted large tomatoes that take 80-90 days to mature, they are just making fruit as Fall starts. Some didn’t really mature before we got cold Fall weather.

    Here are our tomato picks for this year:

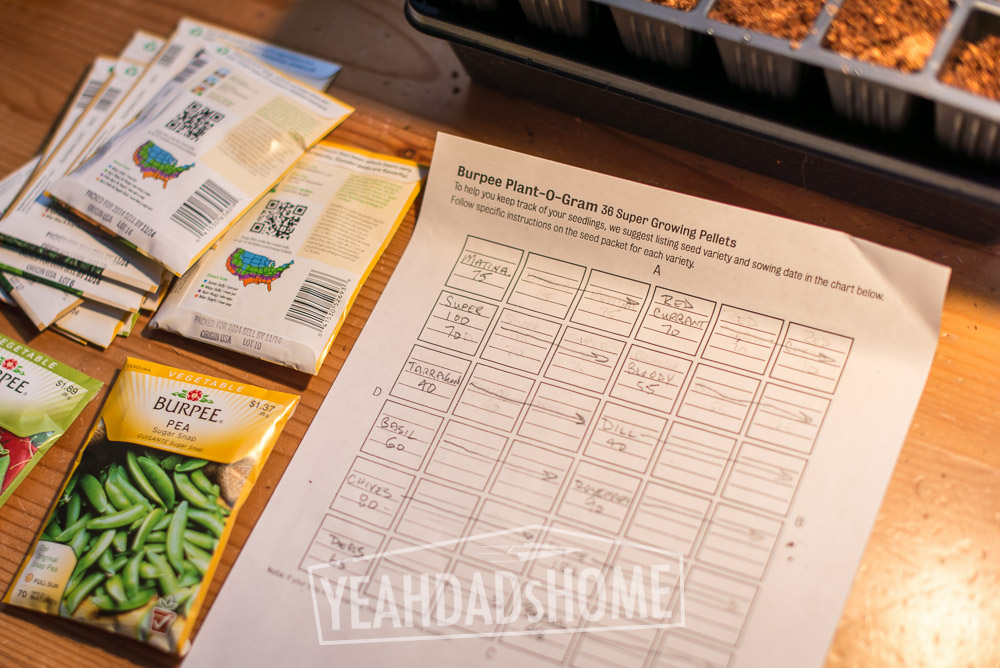
    Bloody Butcher are early yield. They mature in 55 days and are indeterminate, meaning they produce fruit over a several weeks vs all at one time. Their fruit is about 2” in size.

    Red Currants are grape tomatoes that mature in 60 days and are indeterminate.

    Super Sweet 100 are heat tolerant cherry tomatoes. They mature in 70 days, and are indeterminate.

    Matina are bigger, and should be about 3” when mature. They take 75 days to produce the first fruit, and are indeterminate after that.

    Lettuce and arugula are kind of like herbs in that sometimes we need a bit for a recipe or for topping hamburgers. They both grow super fast too. We can get a good crop in a few weeks, and as that gets old and tough, we re–plant through the summer. Here are the varieties that we are planting this year:

    Loose Leaf Lettuce works best in our garden. This pack of seeds has some variety of colors and textures. We just trim off the tops.

    Arugula is great for salads and for hamburgers.

    Peas and Beans are next on our list. They grow quickly and are fun to eat off the plant. After people graze around the plants, we usually don’t have enough for a side dish. Last year a local squirrel liked them more than we did. If we can figure out how to keep squirrels from eating them, we may have to figure out a way to plant more.

    Tip 4 – Skip carrots and peppers

    Carrots take up a bunch of space, and when we tried them they didn’t produce what we expected. Our carrots had really pretty tops, so they looked promising. Then we pulled them up to find that they were stubby, only about an inch long, and looked like a crazy fork. It seems they like sandy soil which is a lot different from what we use for everything else. We prefer to keep one type of soil and rotate plants around to different pots year over year.

    It could be that we picked a bad type of peppers for our climate, but peppers didn’t work for us. They took too long to grow. When we finally got something, they were really small. It could be that the summer heat kept our plants from producing decent peppers. We may try these again sometime with a heat resistant variety, but they will have to beat out the things that we know will work for us.


    How to start?

    In previous years we would just buy seedlings from a friend who grows tomato seedlings or from a local nursery. The cost per plant was pretty high though. It seemed like it cost as much for a plant as it did for a pack of herbs at the grocery. Still it got the job done.

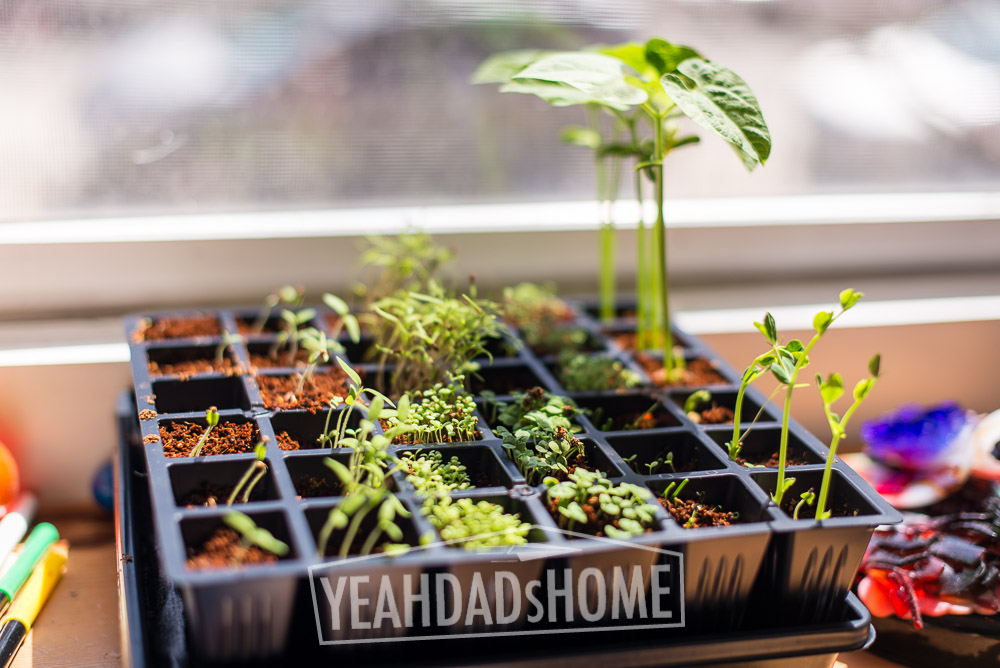
    Starting from seeds is less expensive, between $1-$2 per packet of seeds. It is also fun for kids to see the whole process. We planted everything from seed this year. Lettuce, arugula, and mint are going to be planted outside, but we planted the tomatoes, and other herbs in a seed starter. We also planted the peas and beans in the starter, but they outgrew it in a week. They could have been planted in a larger container. The package says direct sow, meaning you can plant them outside, but if we plant them out too early when there aren’t a lot of other plants outside the squirrels gobble them up.

    Tip 5 – This $12 seed starter really works

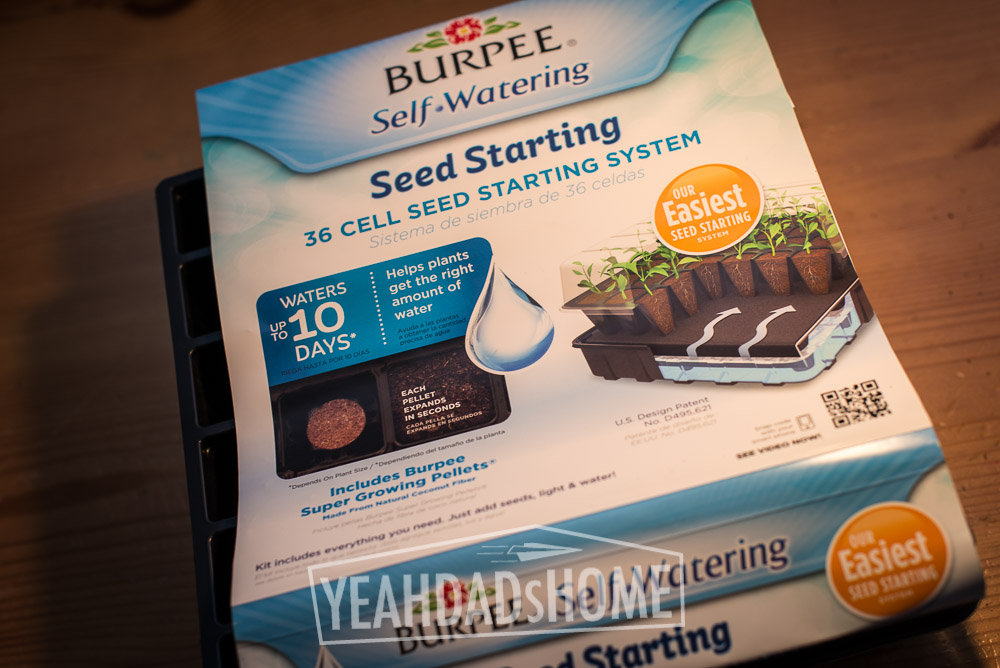
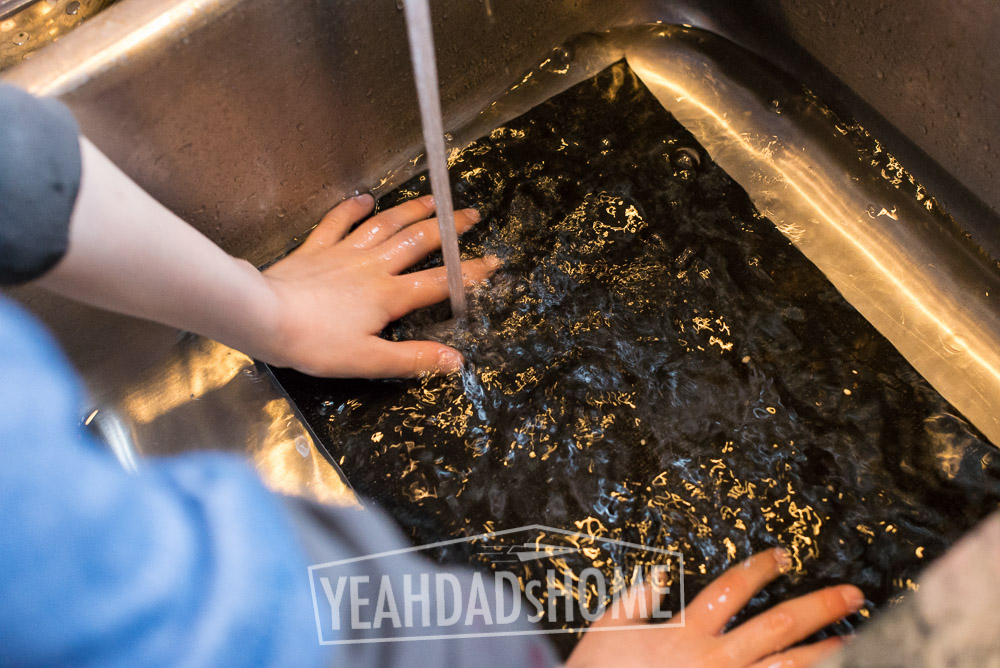
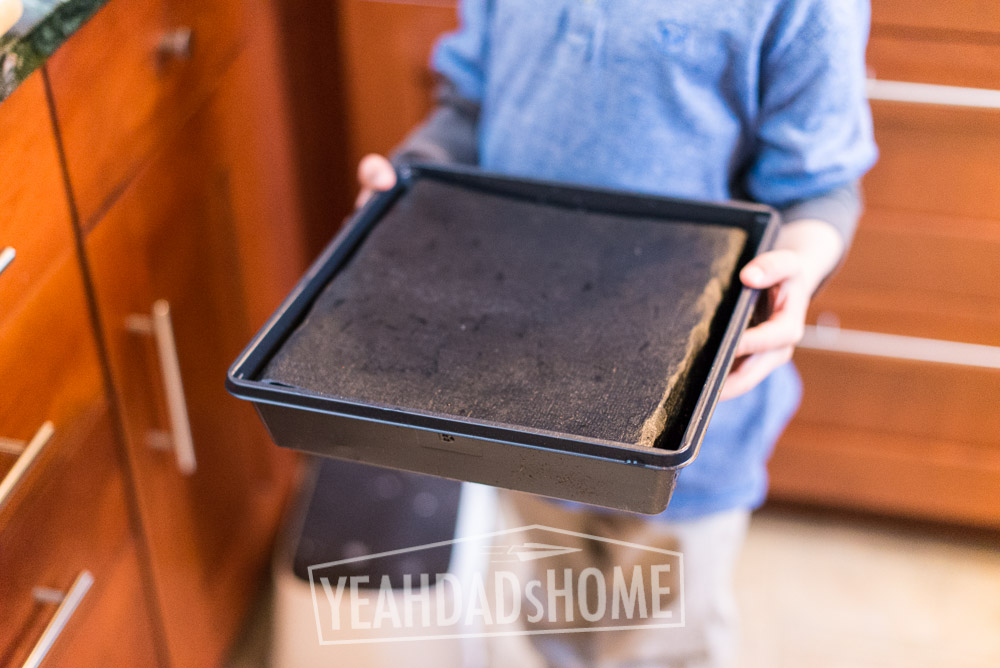
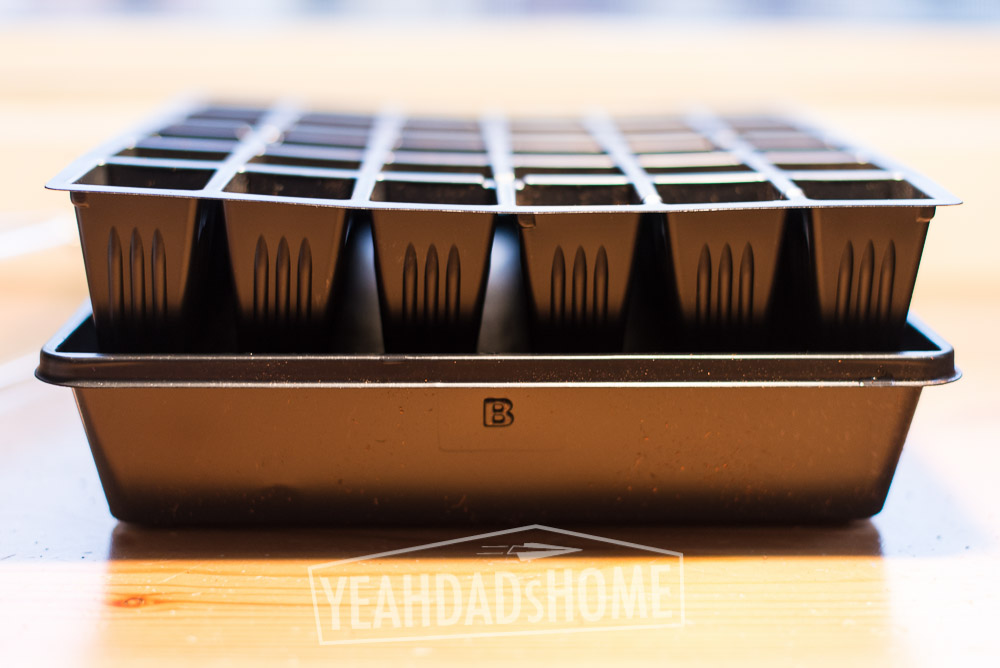
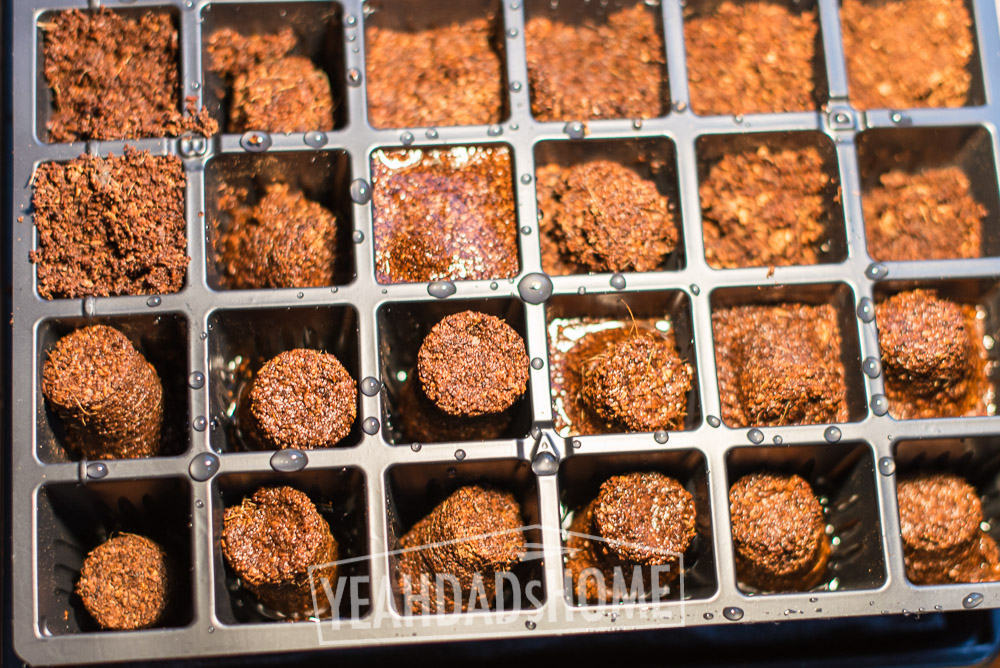
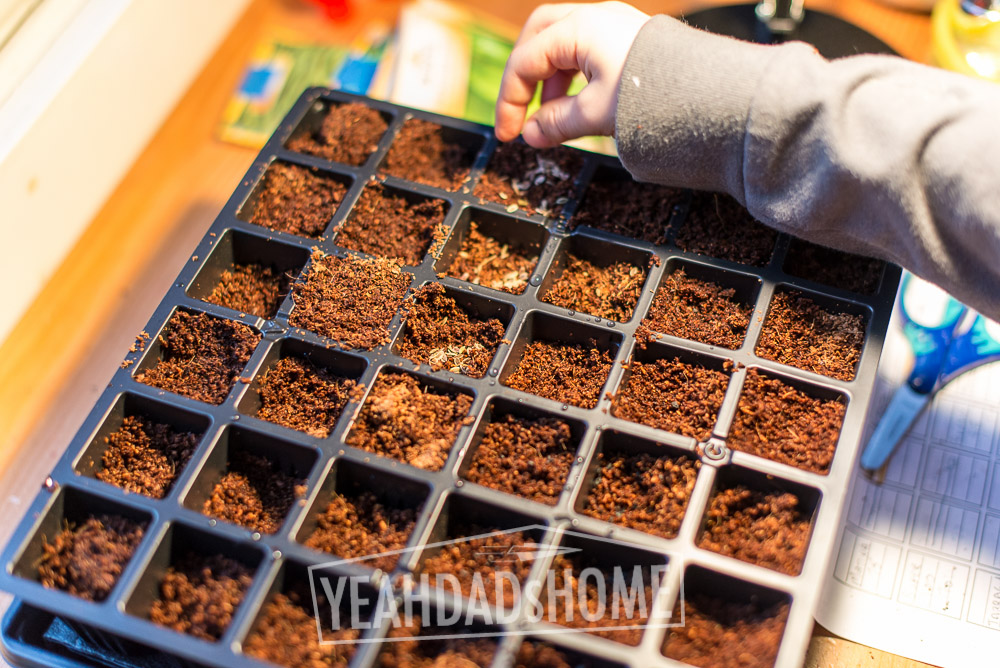
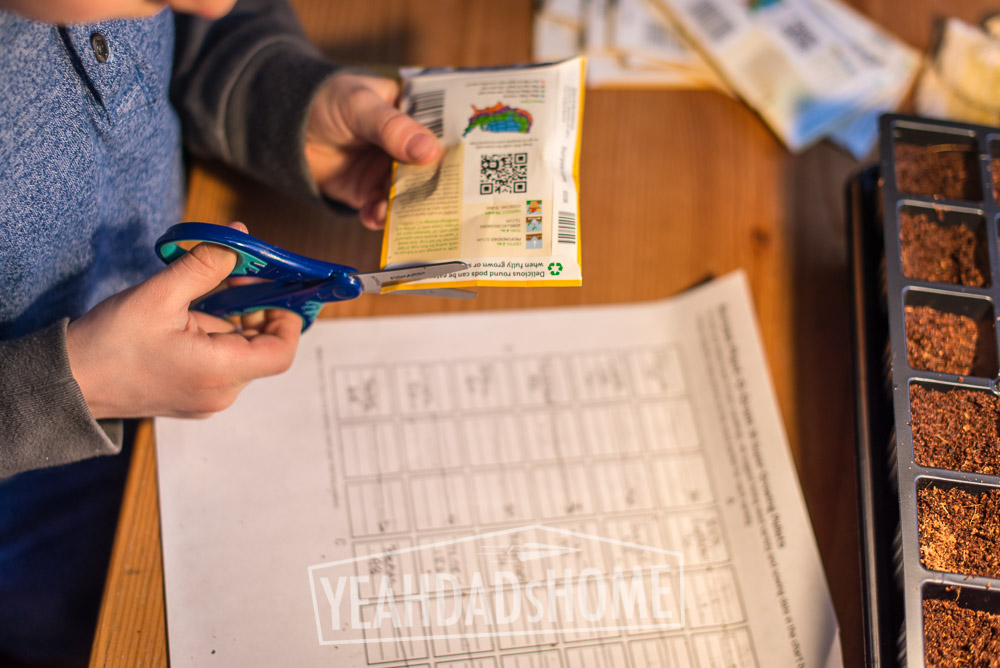
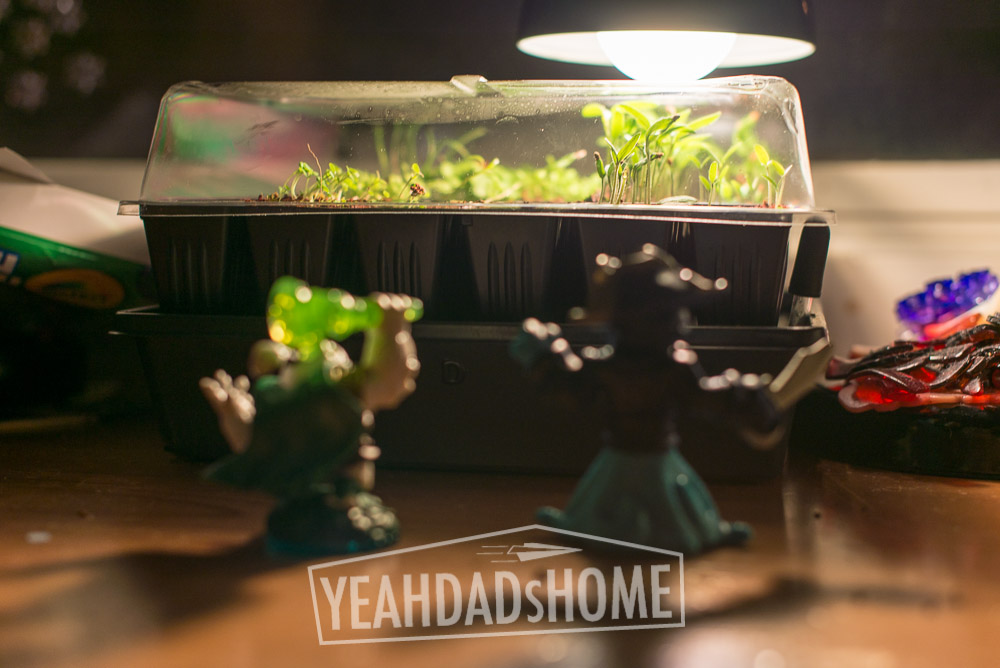
    We found this Burpee seed starter at Home Depot. It is self watering and worked even as adults involved had to be away for a few days. The Burpee kit has a tray for water, and a mat that draws the water up to just under the seed compartments. You saturate the mat with water, stack up the sections, and put a pellets of special dirt in each one. We poured water over each of the pellets and made sure that each one expanded to fill it’s “cell” in the tray. Then we added a few seeds to each. The kit has a sheet you can use to keep track of what you plant. We set this up in a sunny window and rotated it every day.


    When should you start a container garden?

    Our target for getting everything planted outside is May 15. Based on how long our plants take to mature, we planted seeds in the first week of April or about 6-8 weeks before our target. These sites give some good advice on when to plant seed and when to move things outside.

    http://www.burpee.com/vegetables/tomatoes/

    http://faq.gardenweb.com/faq/lists/tomato/2005015135020413.html

    http://gardenplanner.almanac.com/


    What if it is still cold outside when seedlings outgrow the starter?

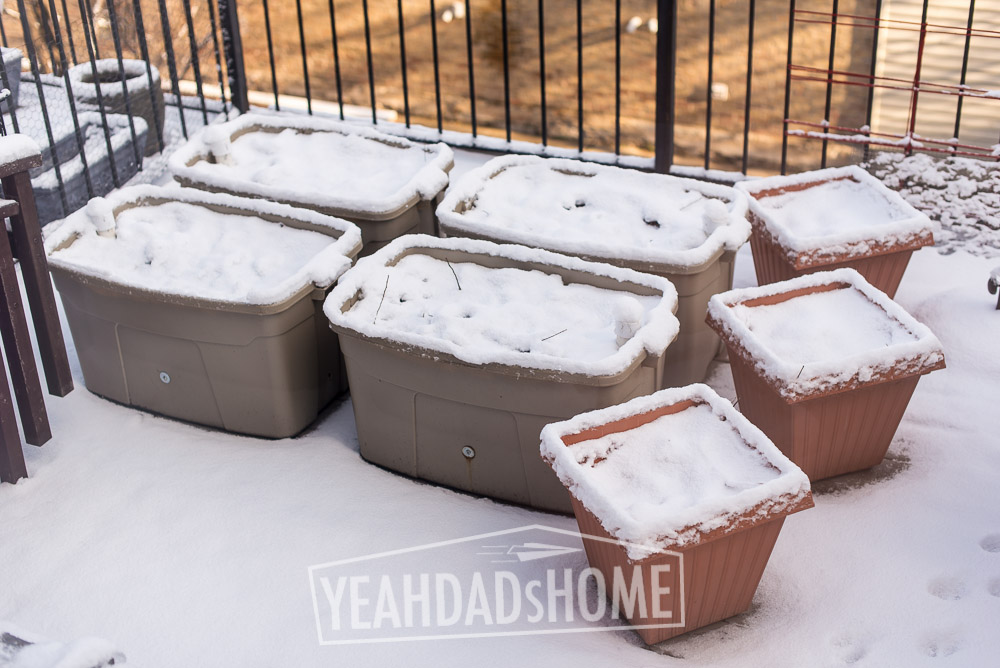
    This season I uncovered the boxes and set them up, and then we got one more snow. Obviously seedlings wouldn’t survive this sort of thing. Outdoor planting isn’t really a good idea around us until mid May.

    Gardening - Yea Dads Home-201


    Tip 6 – Self watering flower boxes can move inside/outside in early season weather

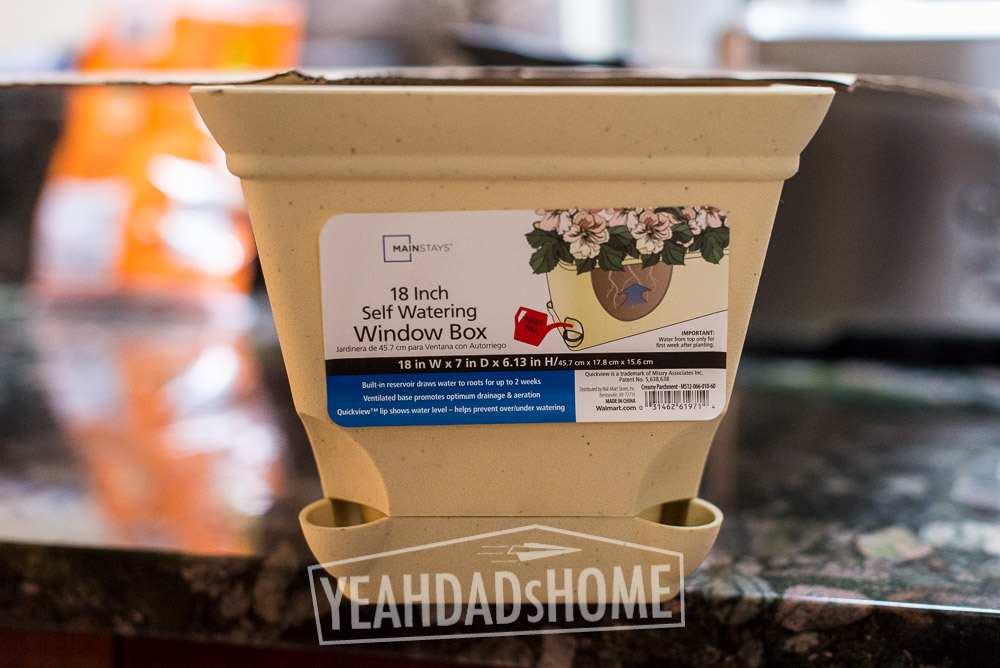
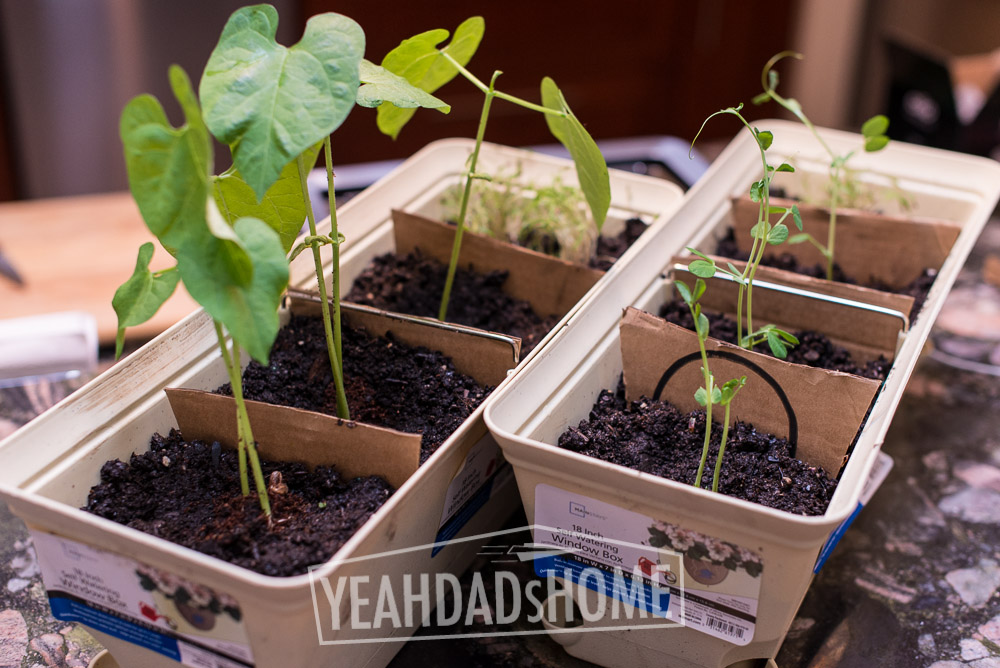
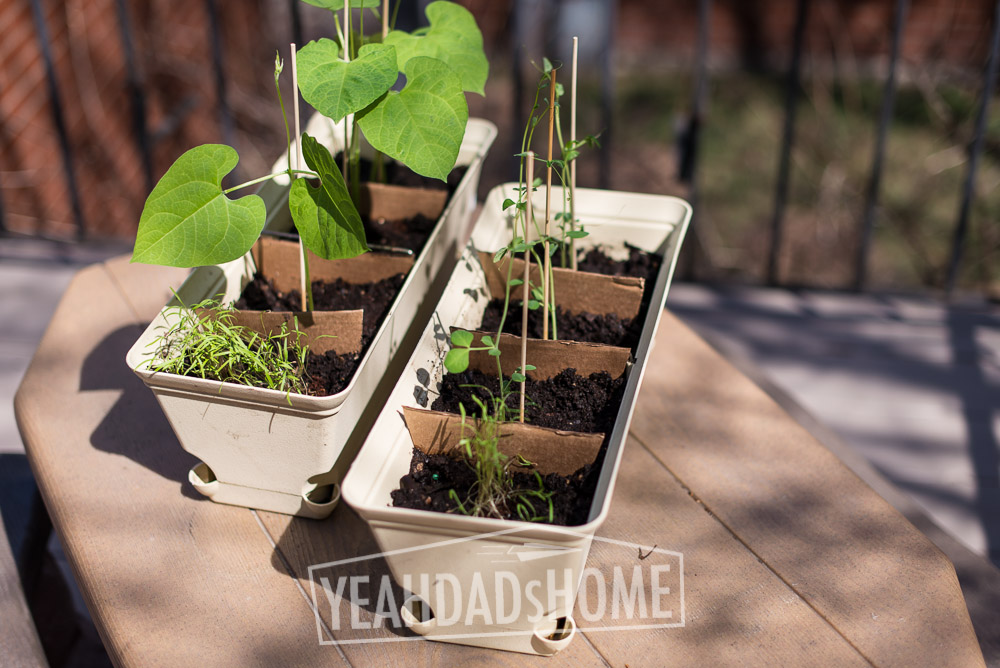
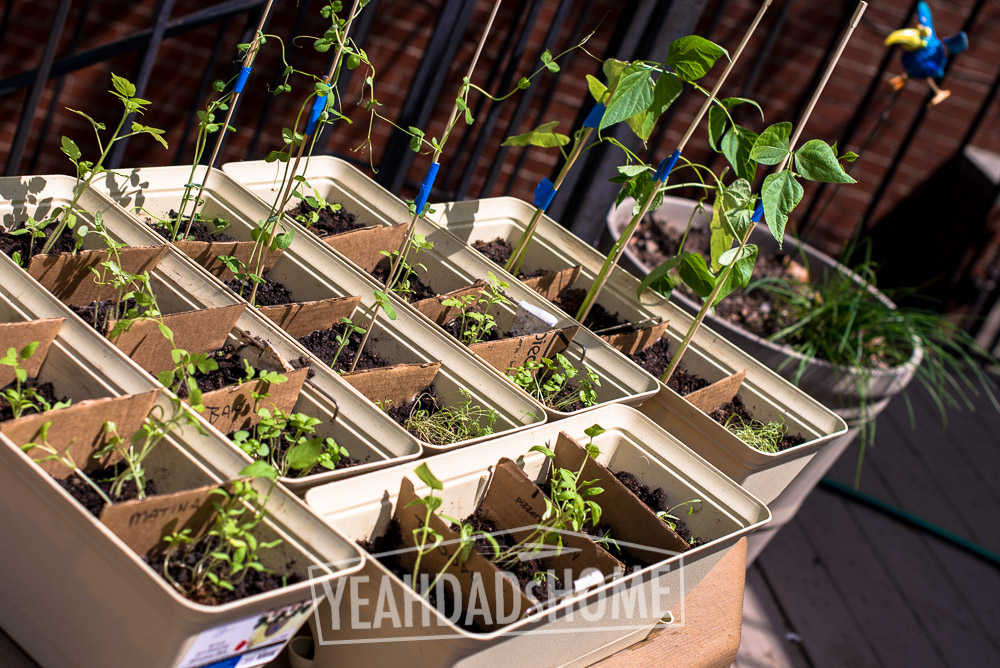
    These 18 inch boxes worked well as a next stop for the seedlings. I cut cardboard dividers to keep the roots from getting tangled, and then we could fit four seedlings in each. Actually the peas and beans could have started in these. They each out grew the seed starter in about a week. It took about three weeks for the tomatoes to graduate to the bigger containers. We use these to move the plants outside for sunny days and then inside at night. So far we have found that squirrels don’t bother them during the day.

    This site has some advice on when to transfer to bigger containers.

    http://awaytogarden.com/tips-for-growing-better-tomatoes-from-seed/


    Ourdoor planting

    Ok so it is getting warm and the seedlings are ready to be outside full time. Here is how we set things up. Mint gets two 16 inch containers. We like Apple Mint which has big fuzzy leaves.  I expect the plants we had last year will sprout up soon. It has lasted for a few seasons, but we had a really cold winter. We also have seeds for Spearmint this year. Once it is in place it grows like crazy and will consume any space you give it, especially if it gets lots of water. Two containers produce enough mint for our drinks and desserts through the summer.

    Tip 7 – Plant mint in it’s own container. It can really take over your garden otherwise.

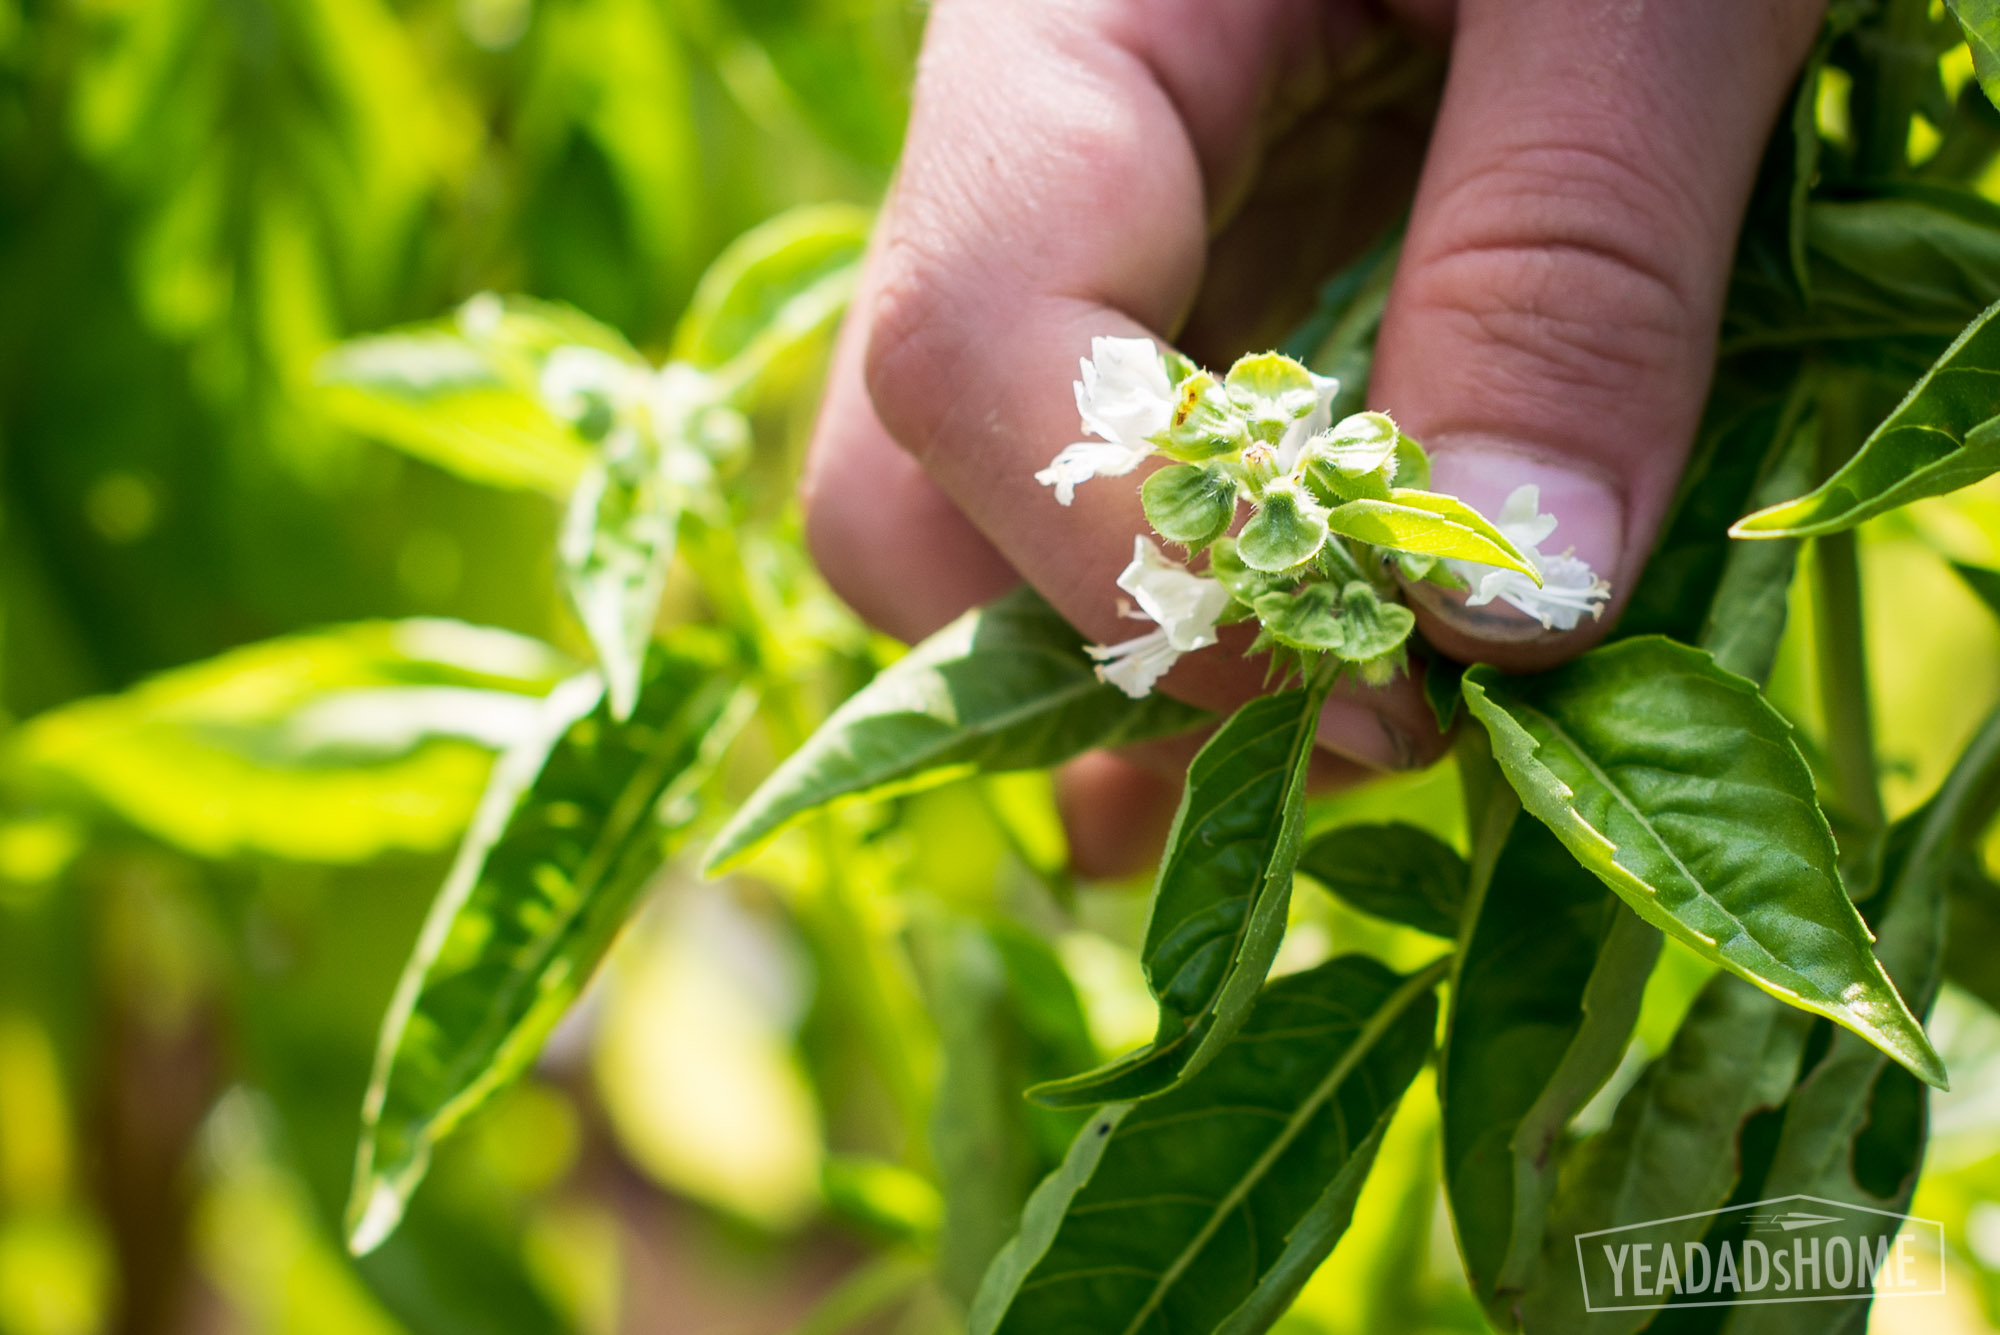
    Basil gets two 16 inch planters. That is enough space for each plant, and it allows the basil to be moved around. We find that it grows best in full sun early in the season, and then likes a bit of shade as it gets really hot in July. Make sure to pinch off the flowers as the emerge so that the plant grows more leaves. It is also good to put a reminder on your calendar to make pesto before the cold weather returns in the Fall. Check your frost date calendars, but I am setting October 15 as our make pesto date.

    picking flowers from basil-2979

    Tip 8 – Pinch the flowers from basil as it grows to you get more leaves.

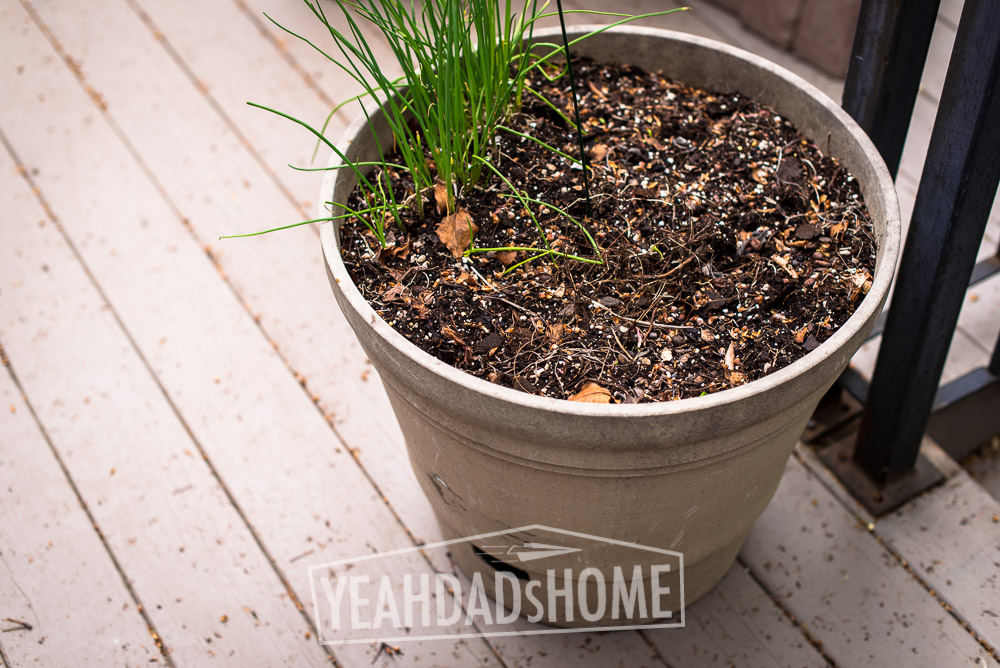
    The herb garden is a 20 inch planter that is really close to the kitchen. Chives survived our winter and are already getting things started.

    Gardening - Yea Dads Home-150


    Tip 9 – Earthtainers work really well for tomatoes

    Then we have some really cool homemade self watering planters for the rest. These are called Earthtainers. We get really good results from these. I also made these for my Mom and sister, and plants in these did a lot better than the ones they grew in the ground.By self watering they keep the tomatoes from cracking as we get heat and rain through the summer. The instructions also have a great recipe for mixing up the soil to suit tomatoes.

    http://earthtainer.tomatofest.com/

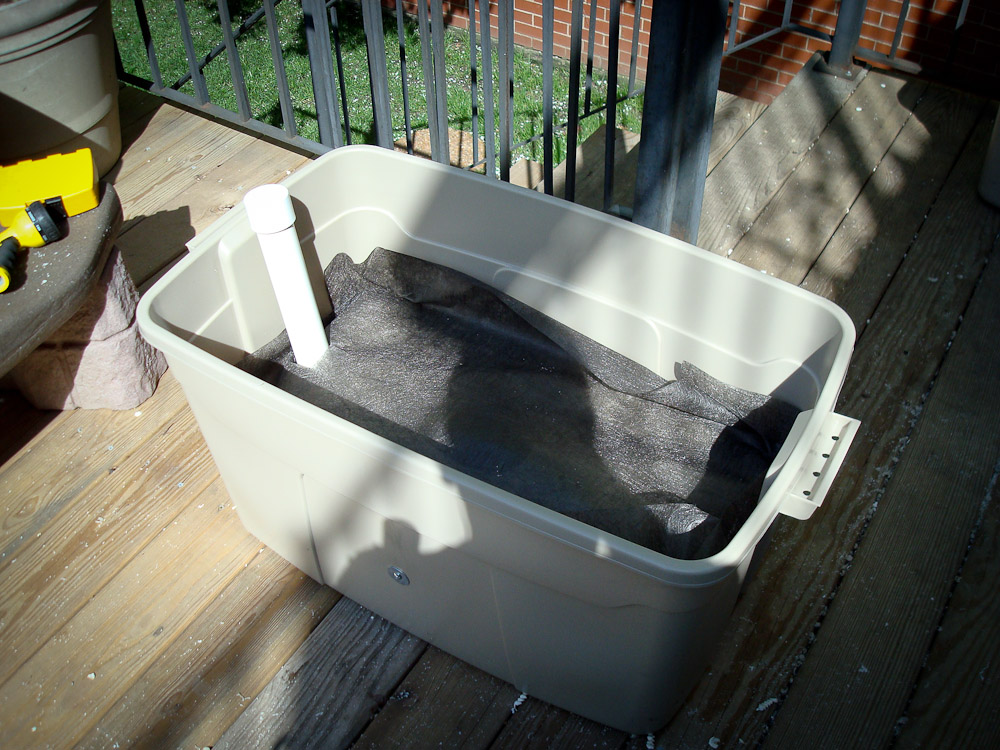
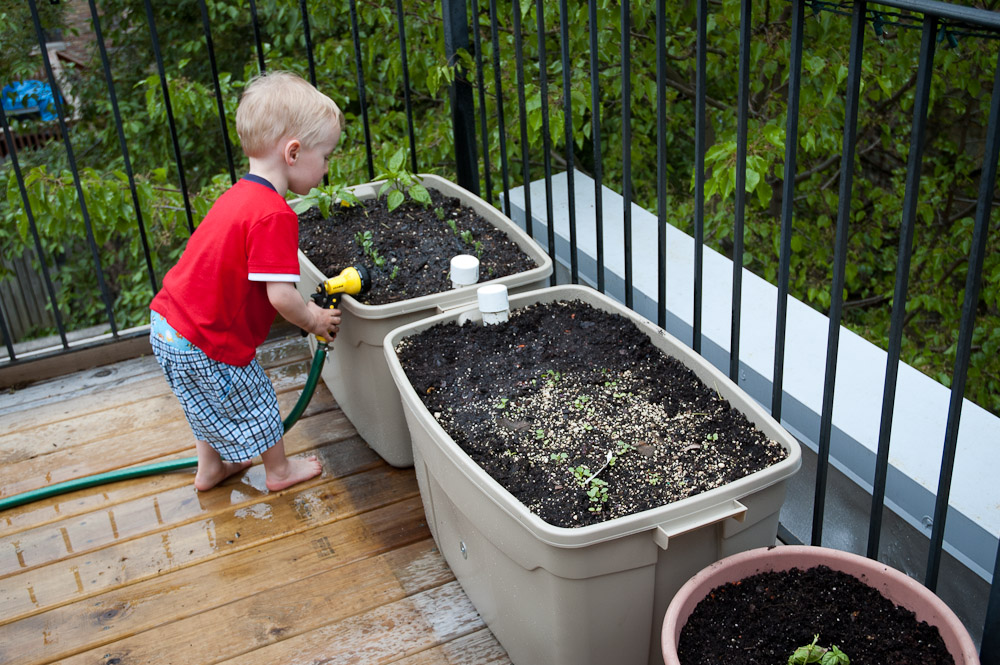
    These planters are made from 32 gallon storage containers. One is the planter. A second container is cut up to make a shelf that creates a water reservoir. They hold about 10 gallons of water when full. I put about 2.5 bags of potting soil in each. Set them up where you want them to stay for a while because each weighs about 120 lbs when filled with soil and water.

    Gardening-810


    Garden fabric keeps the roots from getting down into the water, and the PVC tube is what lets you fill the reservoir without saturating the plants.

    Gardening-811


    So far we have four made four Earthtainers for our garden, and we use two for tomatoes, one for lettuce, and one for the other veggies. This year peas and beans are in container number four. My son really enjoys watering and harvesting.

    Gardening-800

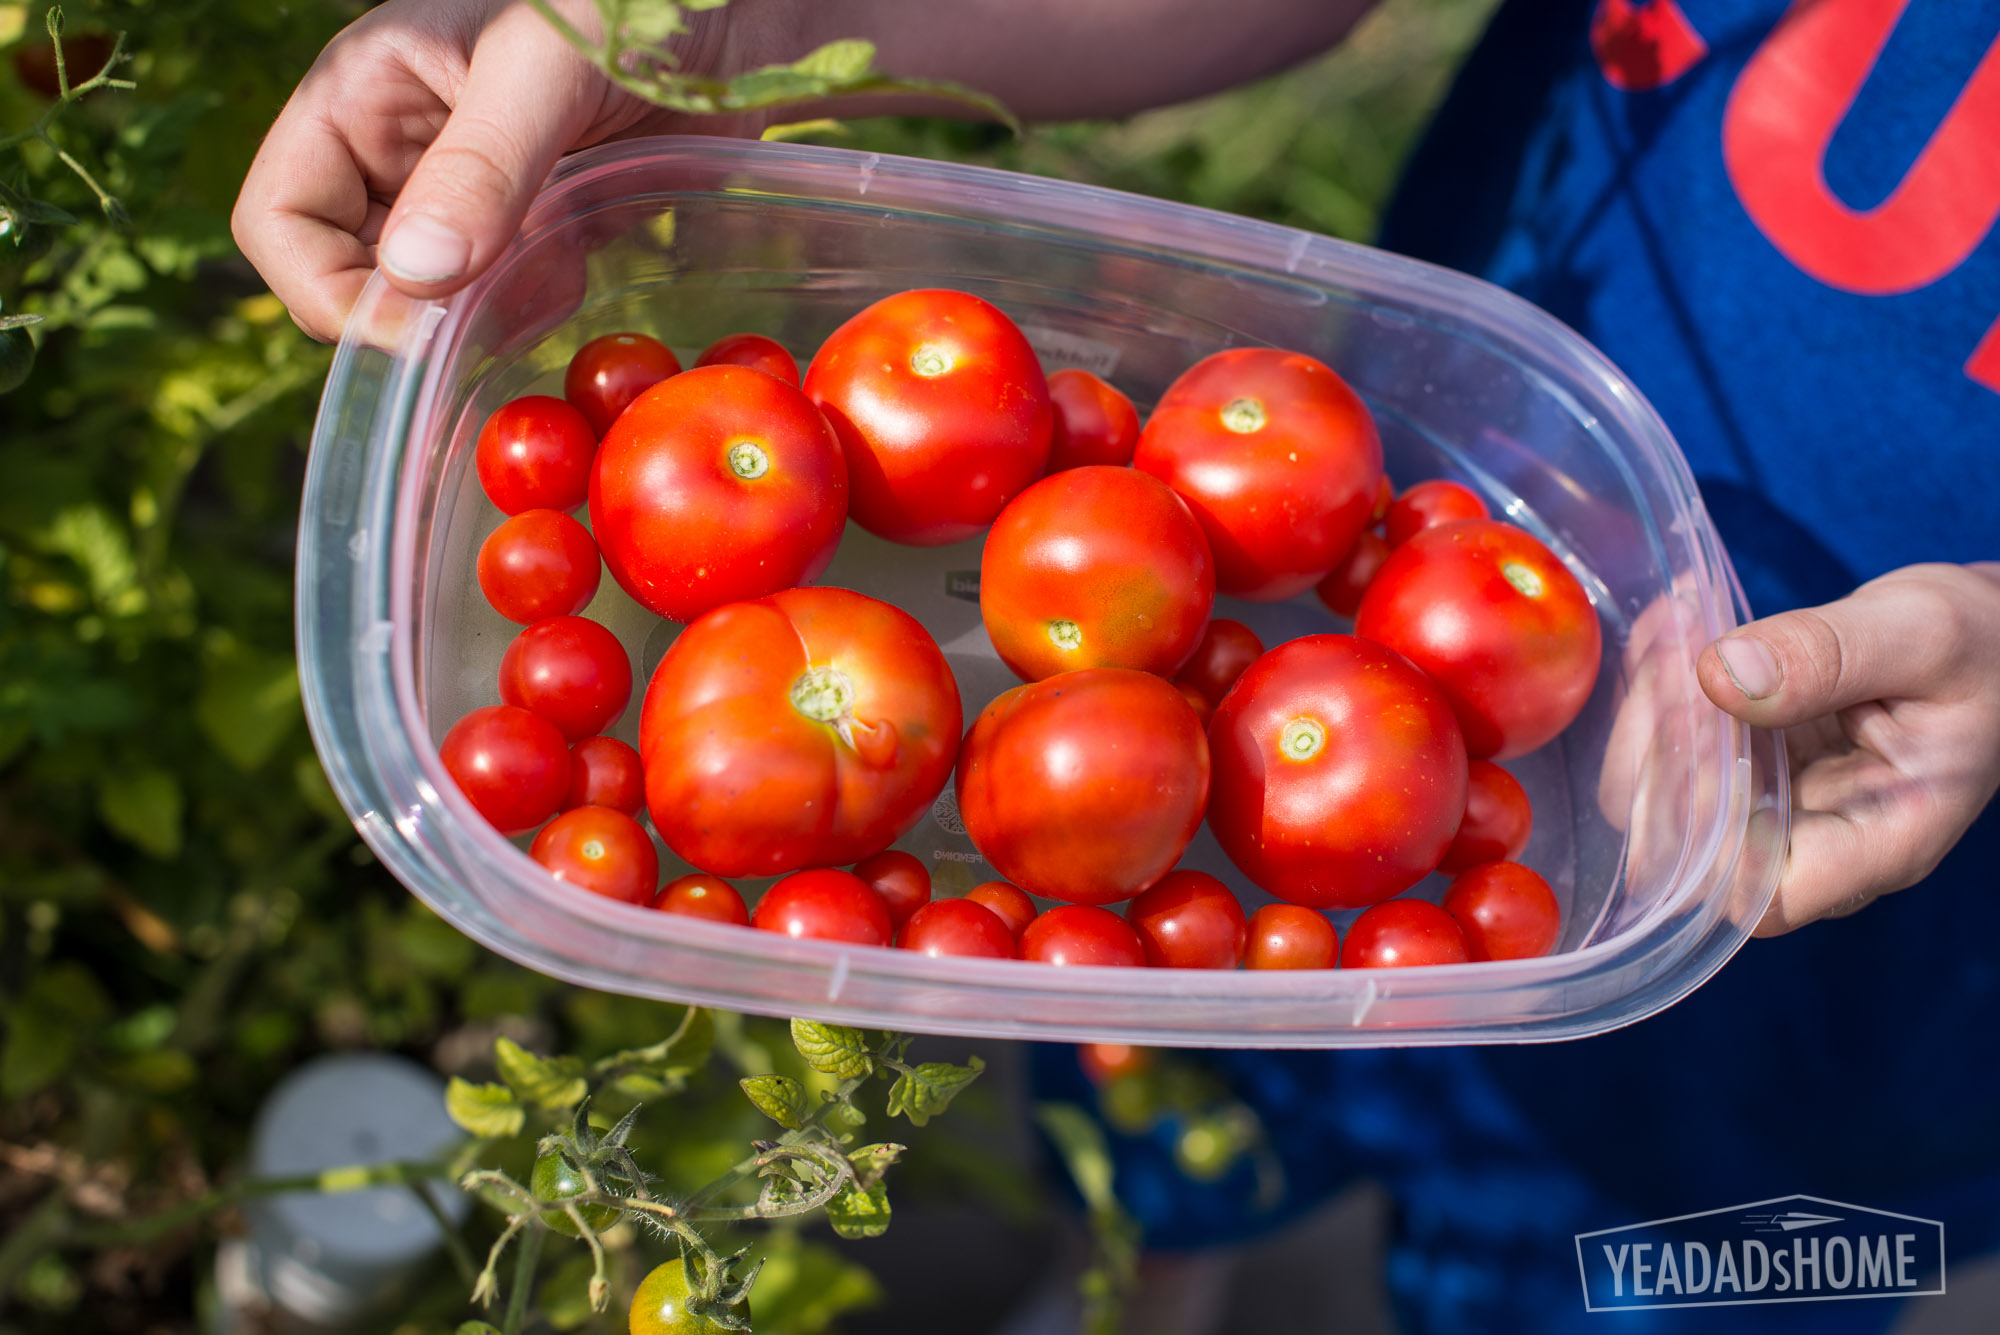
    As we get our outdoor planting done, and then when we start to harvest, I will add a few more photos. Please let me know if you have questions.

    tomato-harvest-2982

    Here is a recap of our advice:

    9 Tips for Container Gardening

    9 Tips for Container-Gardening

    1. Find a spot that gets 8 hours of daily sun
    2. Herbs give you the biggest bang for the buck
    3. If you can only choose one type of tomato pick small ones because they grow quickly and produce for several weeks
    4. Skip carrots and peppers
    5. The Burpee self watering seed starter works really well
    6. Self watering flower boxes can move inside/outside in early season weather
    7. Plant mint in it’s own container
    8. Pinch flowers off of basil to grow a bigger plant
    9. Earthtainers work really well for tomatoes and other veggies