Category: Activities

  • Paper Helicopter Template

    Paper Helicopter Template

    When I was a kid we bought The Great International Paper Airplane Book at the Smithsonian in DC. It had several cool designs. The paper helicopter template that it included was one of my favorites. It was different from other paper airplanes, and fairly simple to make. Creating a paper helicopter requires a pieces of paper, a few easy cuts, and a few  folds.

    Over the years I have tuned the helicopter design a bit. Following is a template with the dimensions that we prefer to use. The “blades” spins faster than the original design. The template has one helicopter plus instructions. Once you get one made, you will see how you could cut 5 out of one horizontal sheet of paper. If you are really careful, you can even tear the cuts. I have done that at a few wedding rehearsals when we needed to entertain kids.

    The best part is paper that paper helicopters can be flown, then adjusted, and then decorated. We like to make a few with longer “blades” then a few with shorter ones. A quarter inch shorter in length makes a difference to the amount of spinning they do. That is a fun experiment. For decoration, you can draw different stripes on the “blades” to see what happens. Helicopters are super fun to drop from a high place.  It turns out that getting to a high place requires a lot of trips up/down the stairs.

    Tools and Materials

    • Paper
    • Scissors (optional)

    Instructions

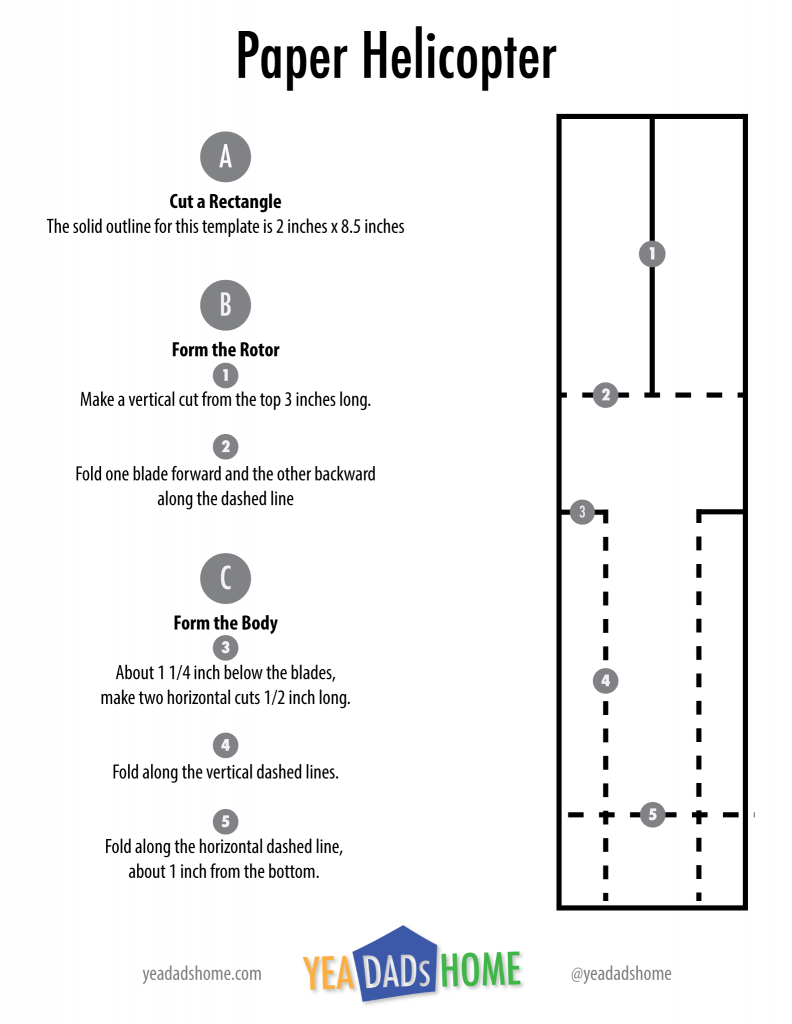
    • Cut a strip of paper 2 inches x 8 1/2 inches.
    • Make a vertical cut 2 1/2 inches long into the rectangle. Then fold the rotor blades, one forward and one back.
    • Make 1/2 inch cuts horizontally, about 1 1/4 inch below the rotor blades.
    • Fold the sides of the body in along those 1/2 inch folds.
    • Fold about 1 inch up from the bottom. 

    Paper Helicopter Template

    This guide has proportions that work well. Click the graphic below for PDF of this template to print.
    YDH-Paper-Helicopter-Template


    Pictures

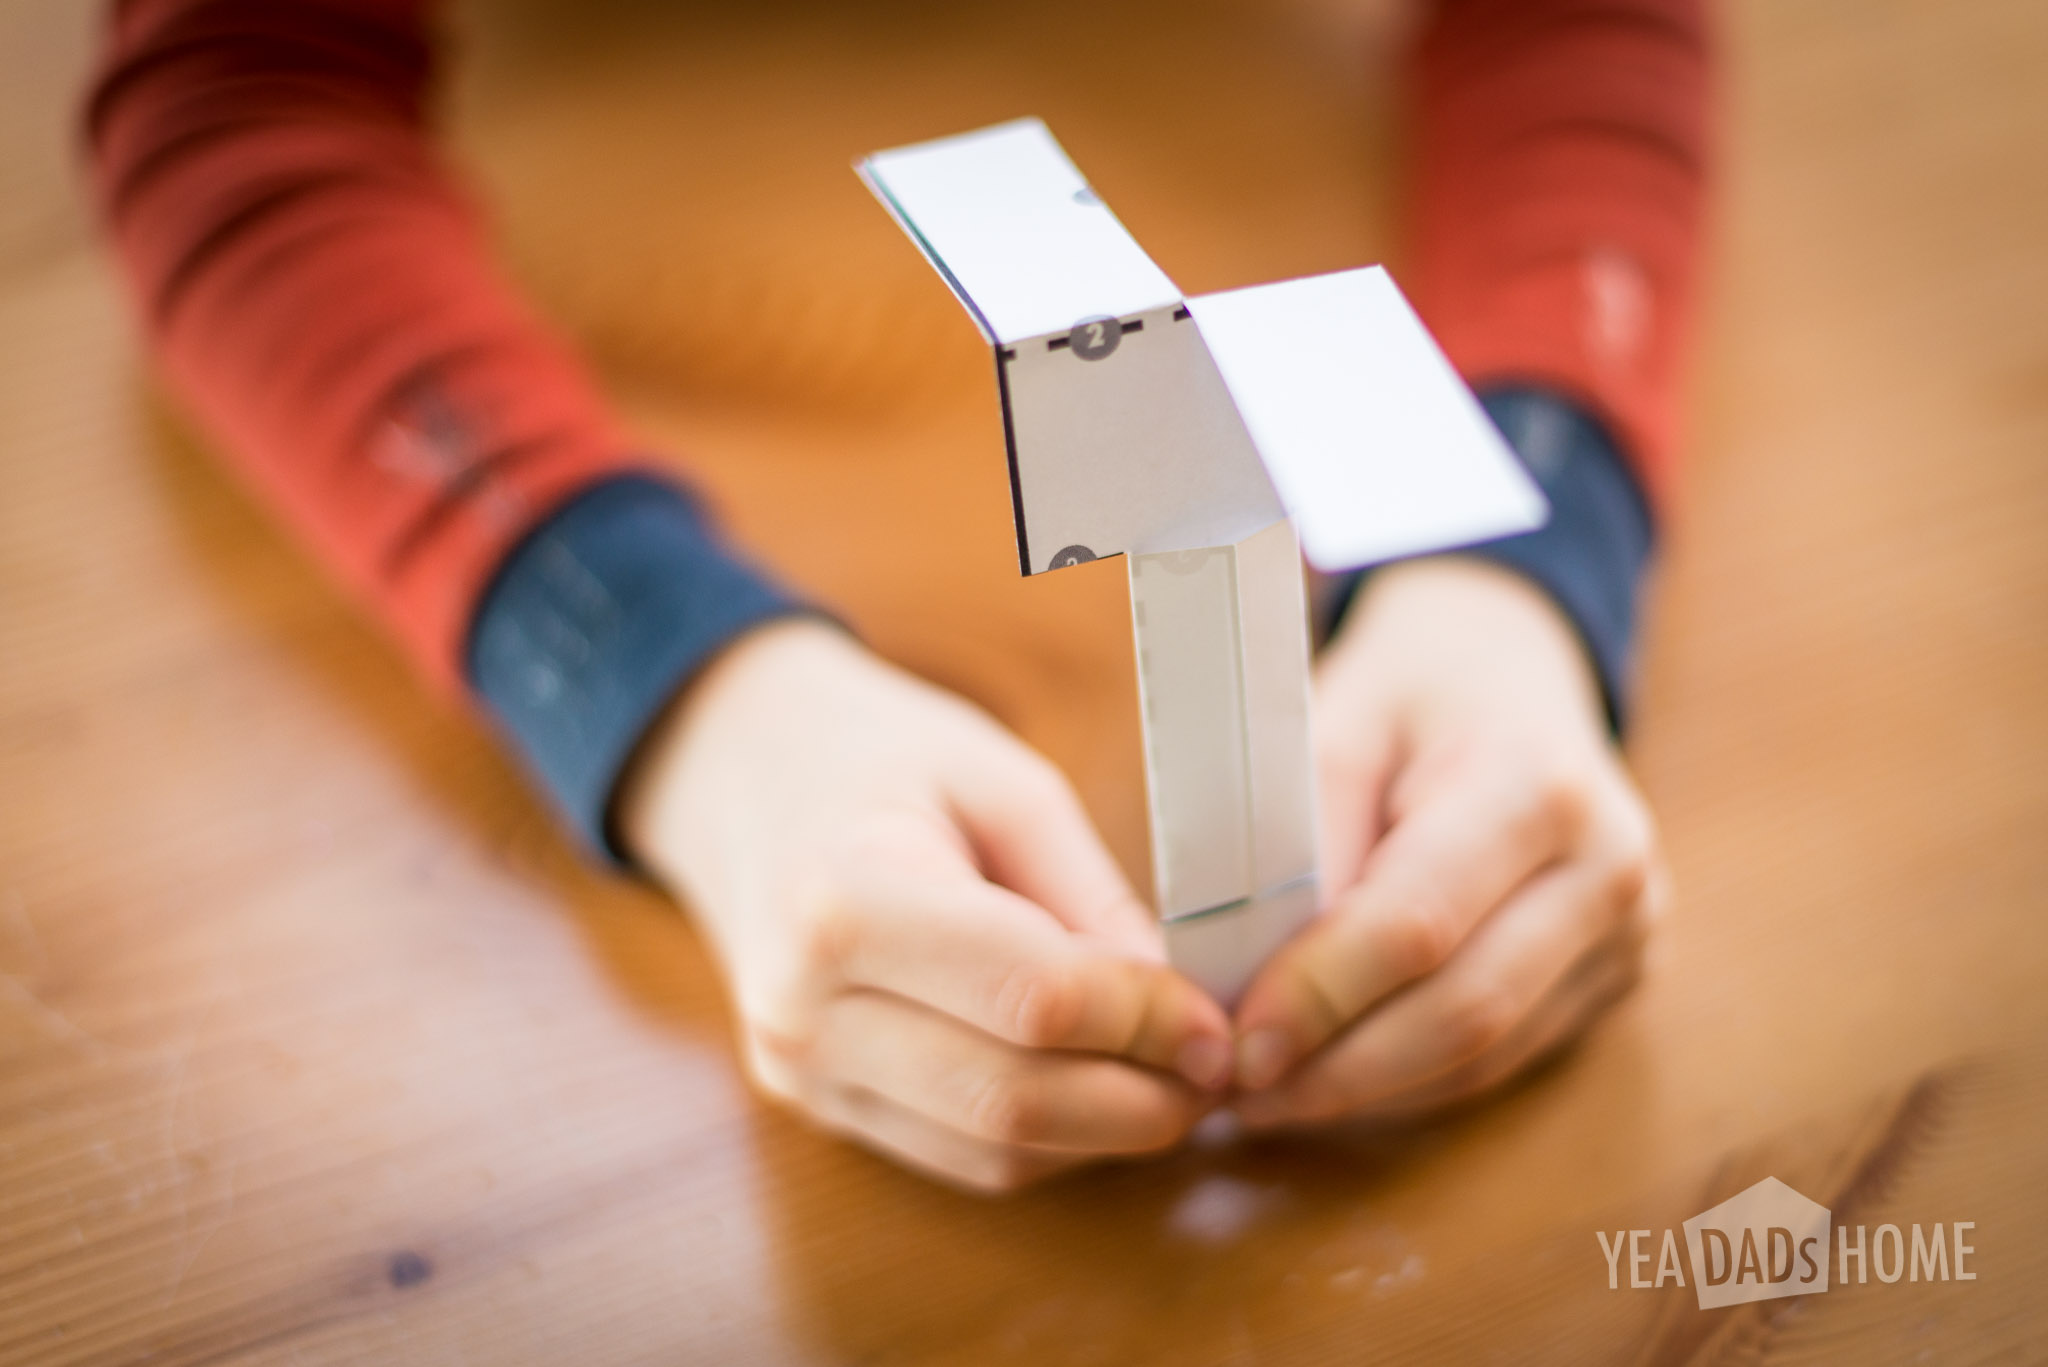
    This is how it looks fully assembled.
     paper helicopter-5808

    Stripes on the rotor blades have a cool effect.
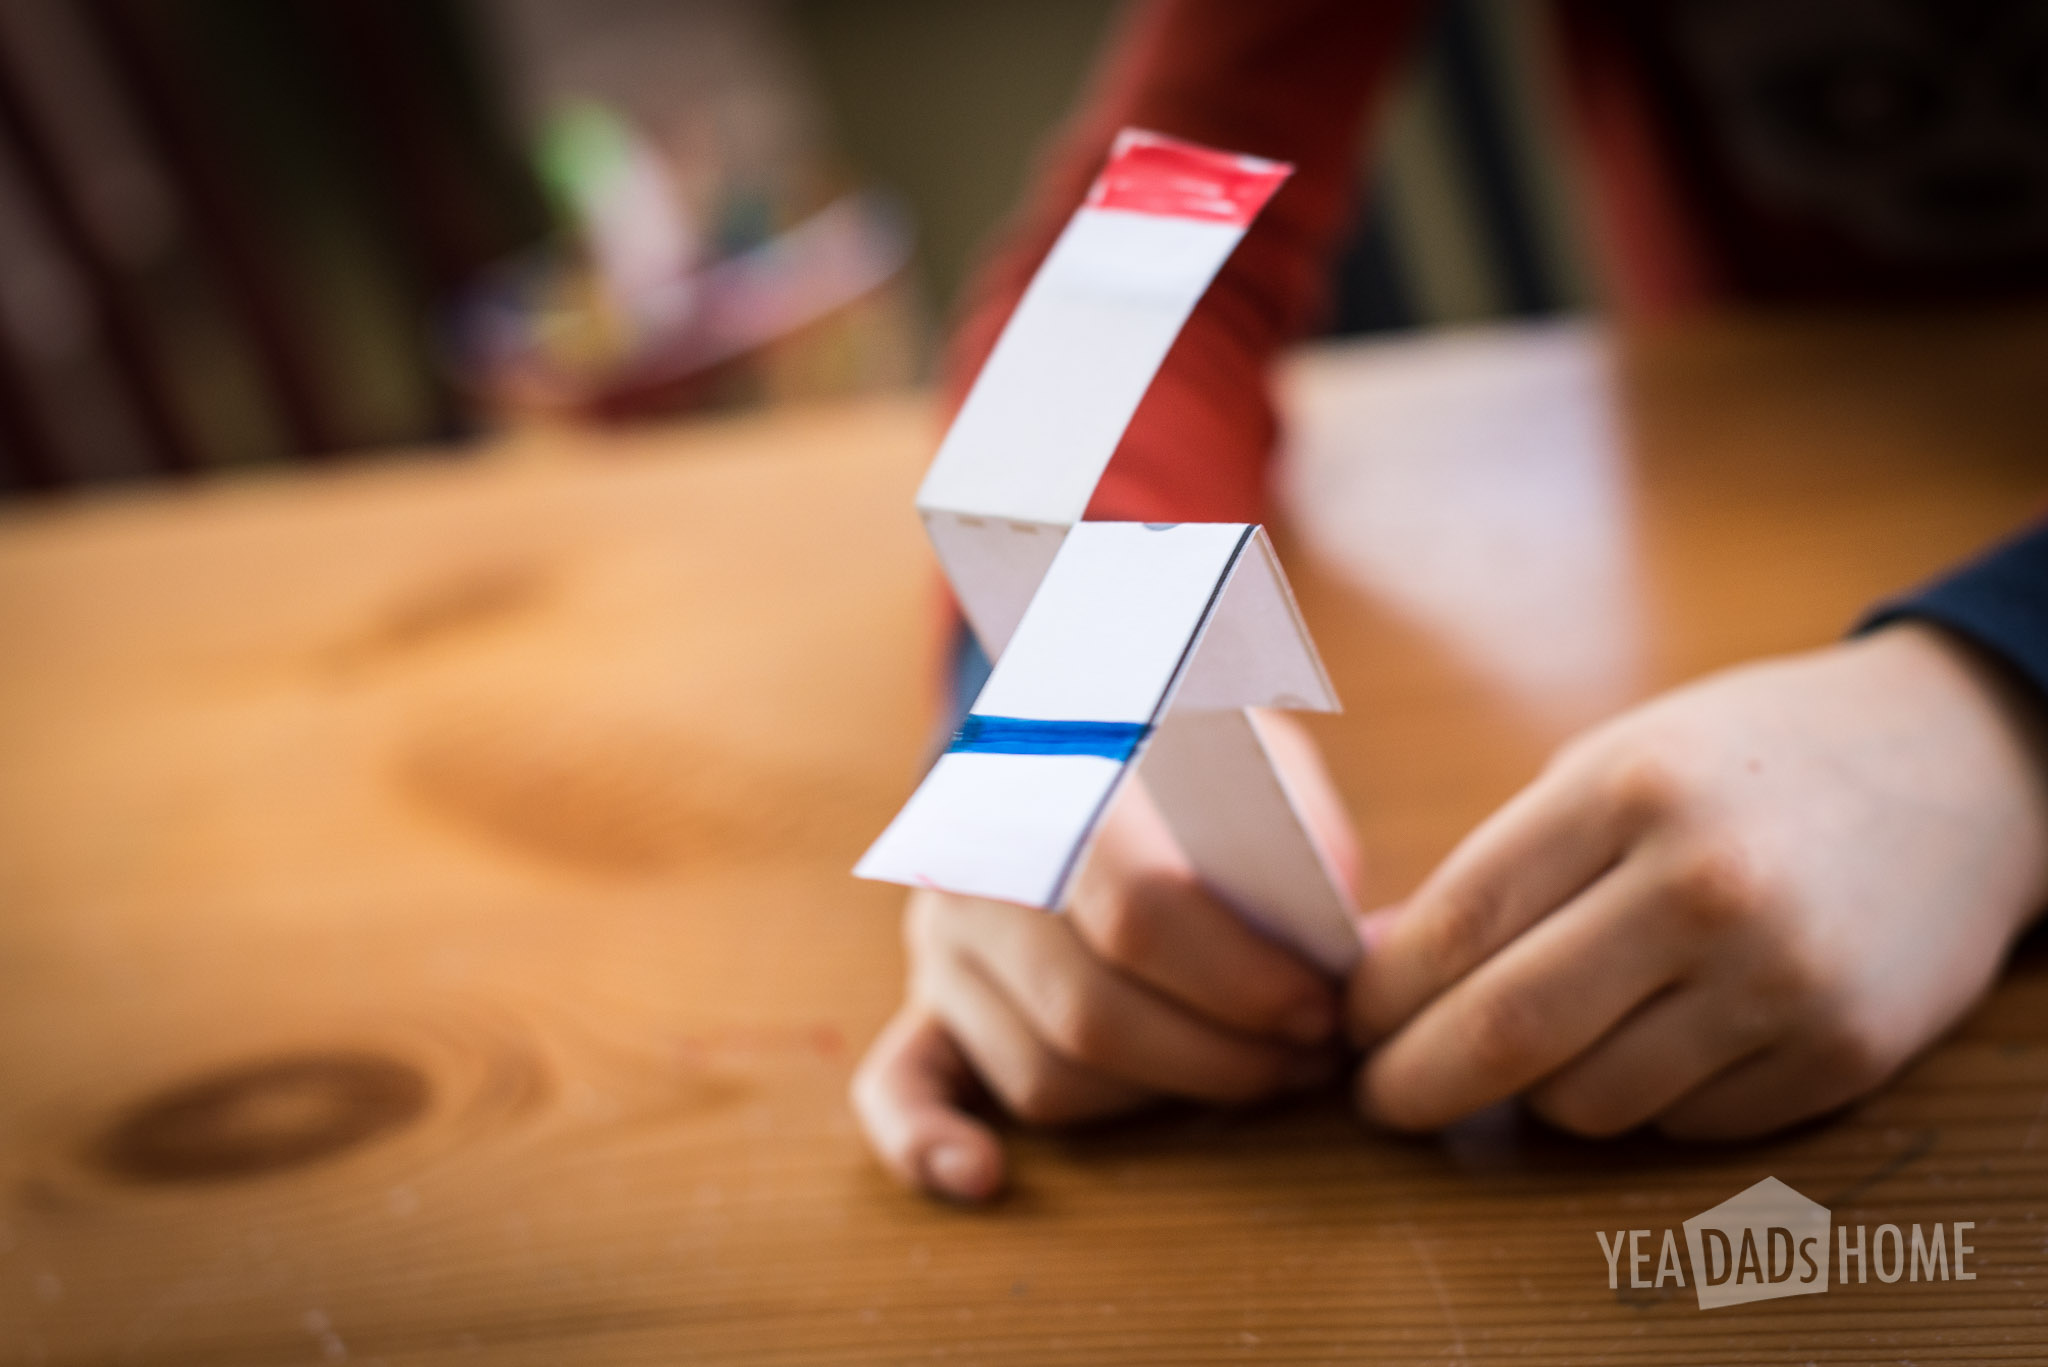
     

    paper helicopter-5815

    Dropping from a high place is the most fun.
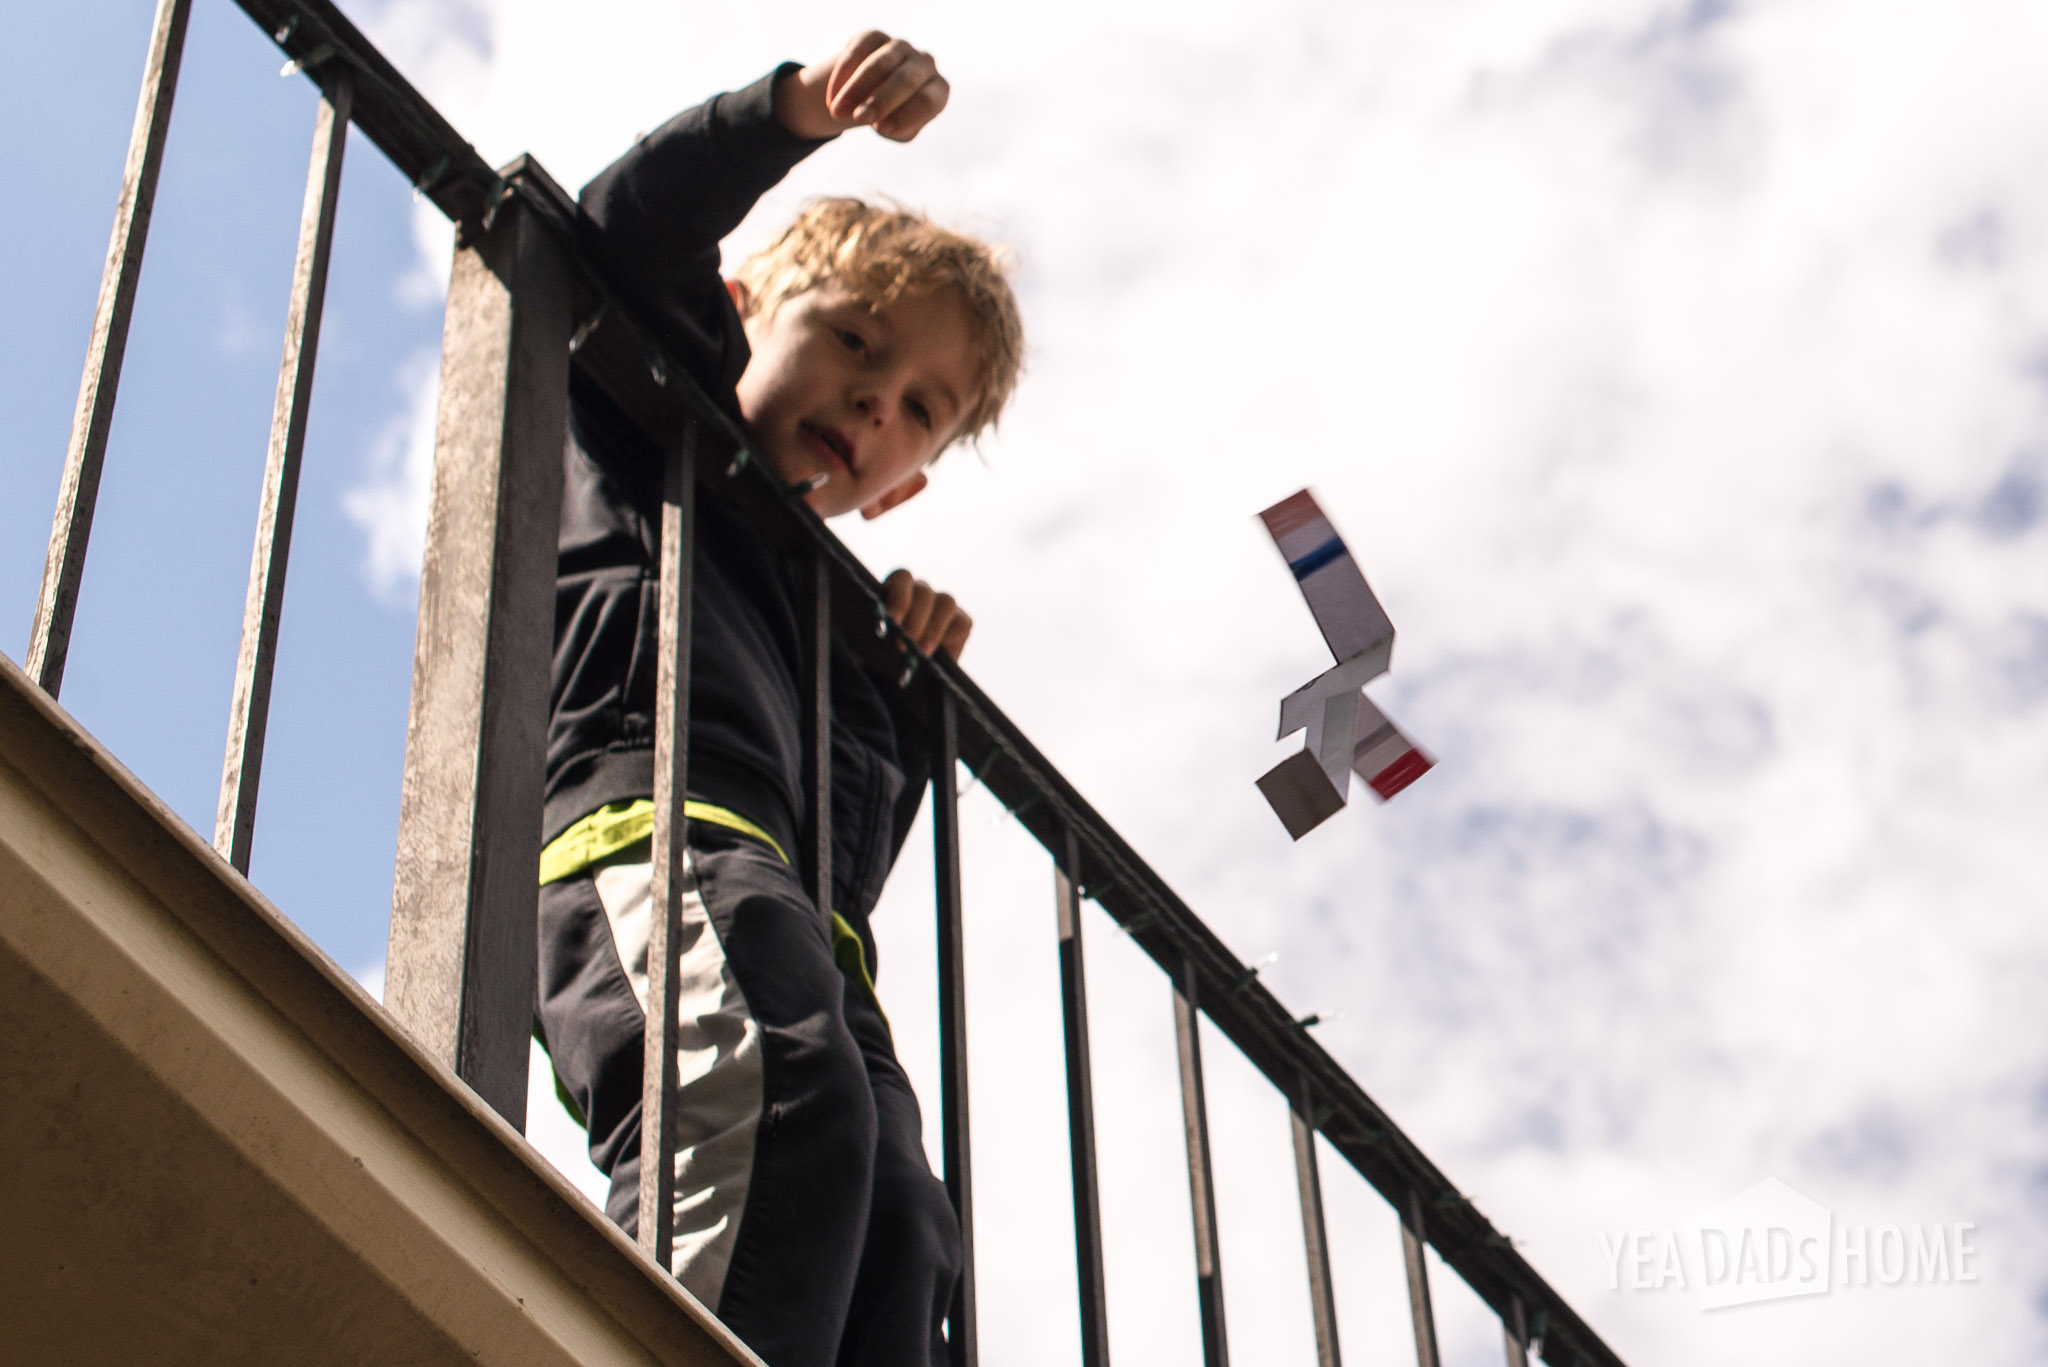
    paper helicopter-9883

  • Mr Owl Tootsie Pop Homemade Valentines

    Mr Owl Tootsie Pop Homemade Valentines

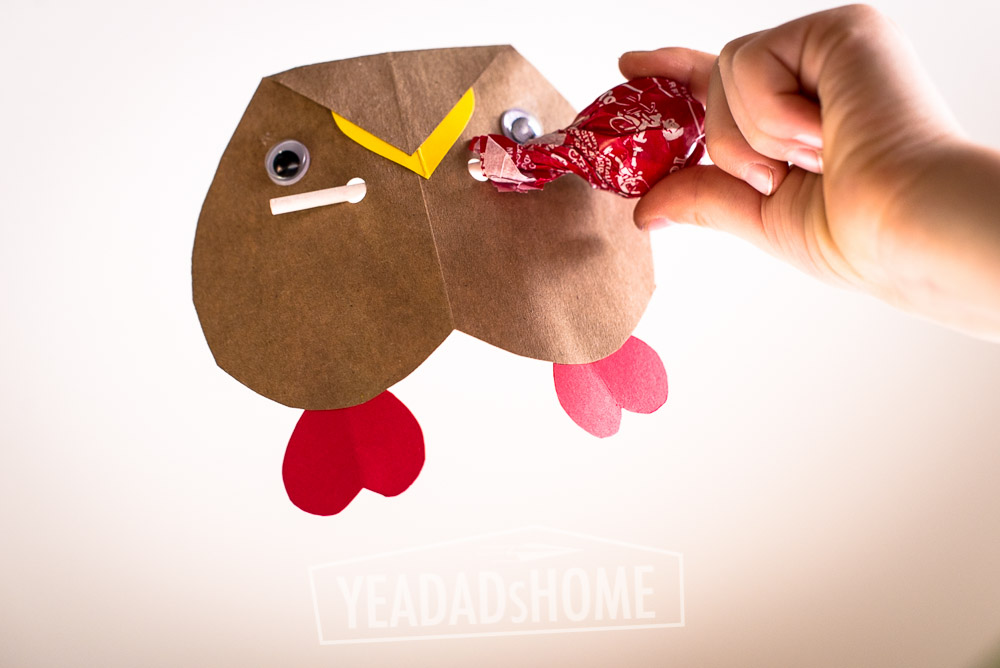
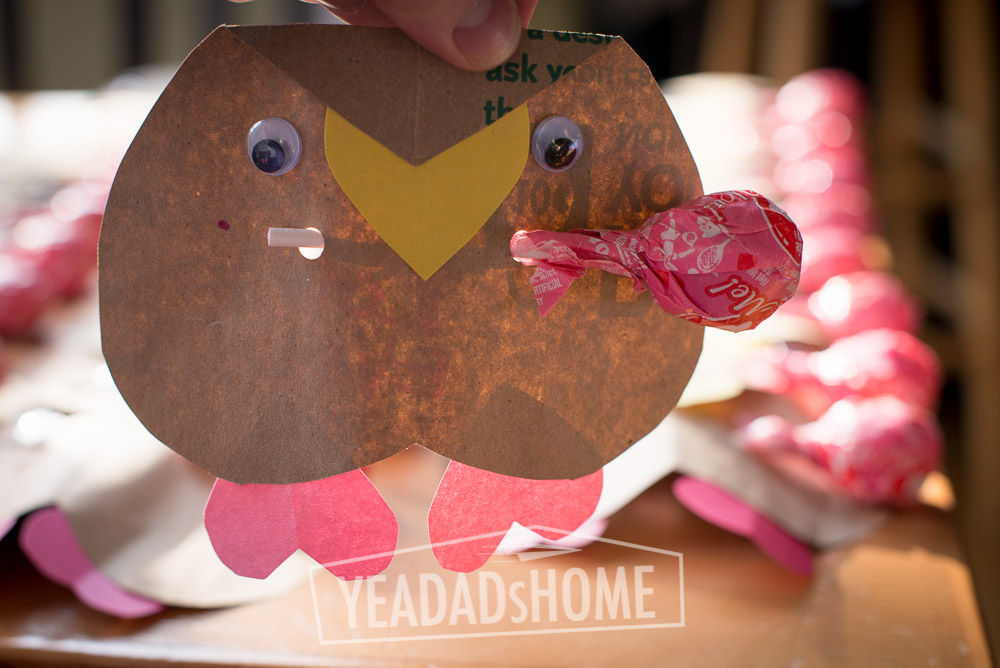
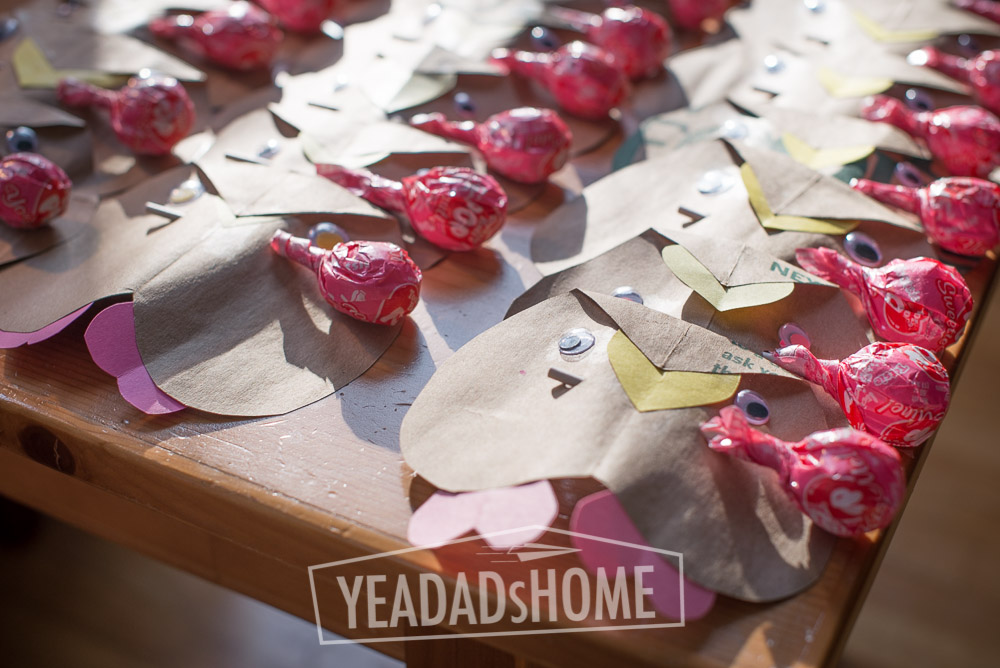
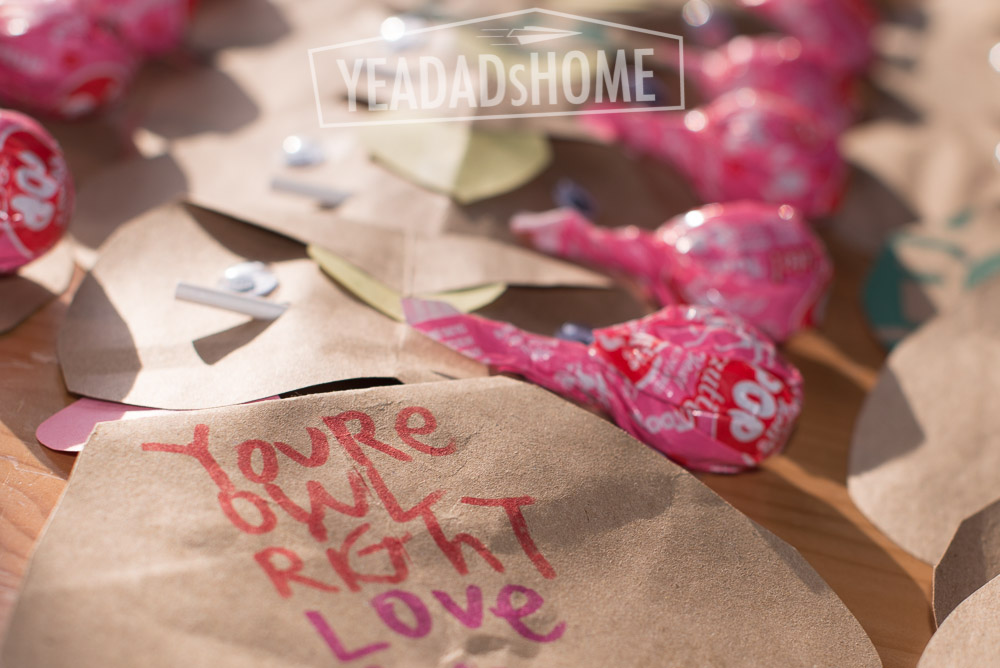
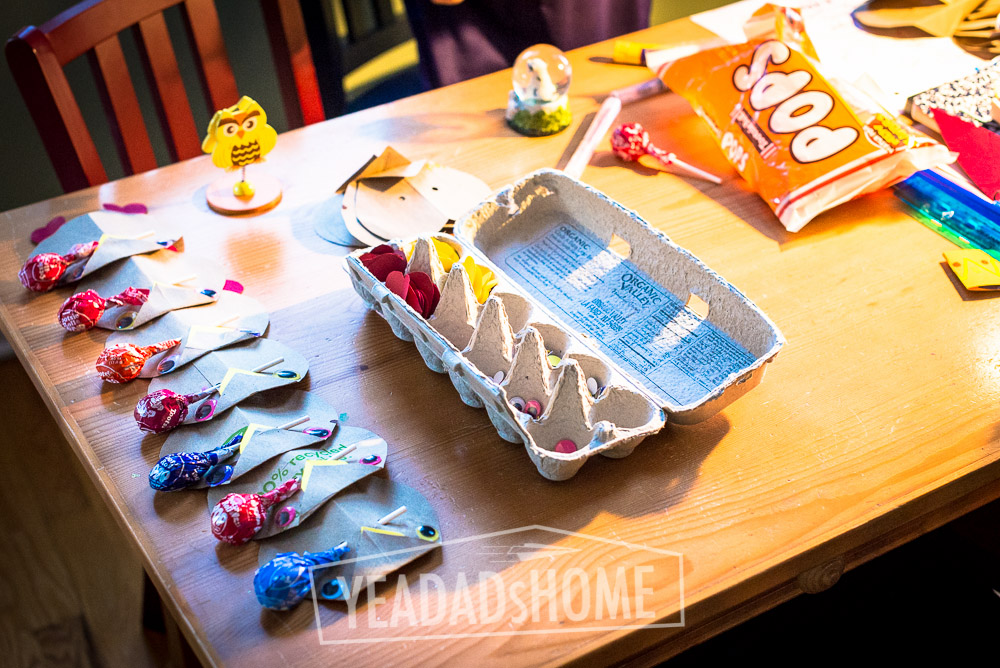
    We make homemade valentines, and last year we made these Mr Owl Tootsie Pop Valentines. I liked these because it gave my son a chance to be crafty. He got to cut some of the hearts. He was in charge of the glue stick, and he did the writing on the back. They were a bit of work to make, but they weren’t super hard. We made about 36 of these so that my son had enough valentines for kids in his class, a few friends in other classes, and a few teachers. I am pretty sure the adults were the only ones that recognized Mr Owl. That commercial used to run a lot during cartoons when I was a kid. I haven’t seen it much recently. Could be that we skip those with the DVR though. Everyone enjoyed the Tootie Pops. Did you know they are nut free and gluten free? Just heard that from Mr Owl.

    Tools and Materials

    • Scissors
    • Hole Punch
    • Glue Stick
    • Brown Paper Grocery Bags. A standard bag should make about 18 owl bodies.
    • Colored Construction Paper. We picked yellow and pink.
    • Googly Eyes
    • Tootsie Pops
    • Scotch Tape

    Instructions

    1. Cut hearts for the beak (yellow) and feet (pink or purple) from construction paper. Each should be about 1.5 inches wide and tall.
    2. For the bodies, cut five inch wide strips from brown paper grocery bags. Fold these in half down the long side, and cut heart shapes that are about 5 inches tall.
    3. Fold the big heart horizontally about 1 1 /4  inch from point. The side with the folded point is the front.
    4. Fold the big heart vertically punch a hole just above the point and 1/2 inch from the fold. These holes hold the Tootsie Pop.
    5. Add a message to the back. We picked “You’re Owl Right” to ours, but you can pick any owl pun (your a hoot, owl be your valentine, etc) that you like.
    6. For the beak, glue one smaller heart onto a larger brown paper heart, under the folded point of the big heart.
    7. For the feet, glue two smaller hearts at the bottom of a brown paper heart. We like them glued on the back.
    8. Glue on googly eyes
    9. Thread a Tootsie Pop through each. We taped them in place on the back so they stayed in place

    Template

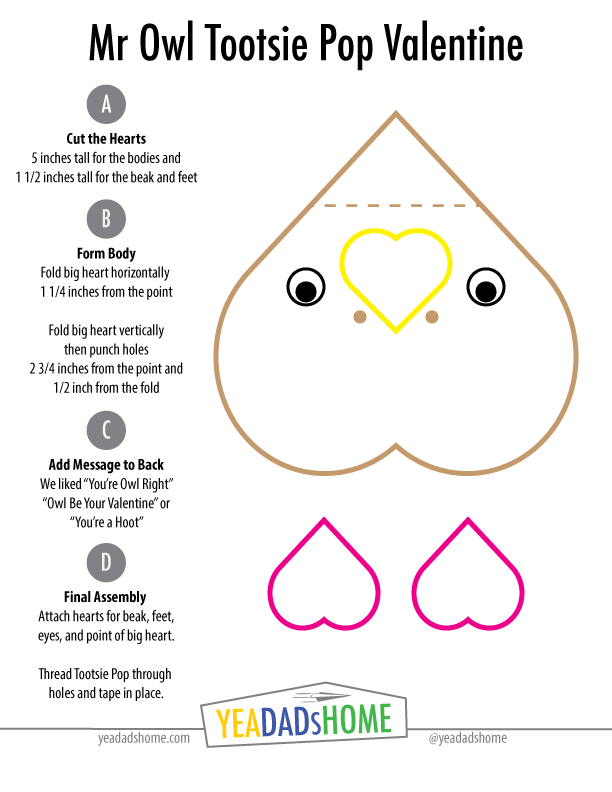
    A bit of variation is fun. We had a variety of sizes of hearts, but it does help to have a reference for the pieces. Click the graphic below for PDF of this template to print.

    Mr-Owl-Tootsie-Pop-Valentine

    Pictures


    Let me know if you have questions about how to make these or if you have other ideas for homemade valentines. Anyone with a social media account can comment below.

  • Lego Crazy Contraptions

    Lego Crazy Contraptions

    We are playing with legos today. I really like this lego crazy contraptions set. We have been building the lego city kits for a while, and have been finding that those are fun (we have a lot of them), but don’t leave much room for creativity.

    This set has parts (axels, gears, wheels, elastic bands) and ideas for all sorts of machines. Once you get one built, my son found it really fun to change them up. This is how I remember legos. So far our favorites were the wind up car that uses a crank, gears, and elastic bands to power a mini car.  We also spent a few hours playing with zip line machines. We have lots more to build. The lego crazy contraptions set is rated from 7-13 yrs.

    We got this set as a gift, but you can find them at our local toy store Building Blocks.