At our house I do a lot of our home maintenance and repair. I know my limits, but for the most part I like to do things that one person can handle. When our garage door opener stopped working last month, I did a bunch of research. I watched several how to videos, and I replaced our garage door opener with a new one. Here are a few things I picked up through the project.
Can you replace a garage door opener yourself?
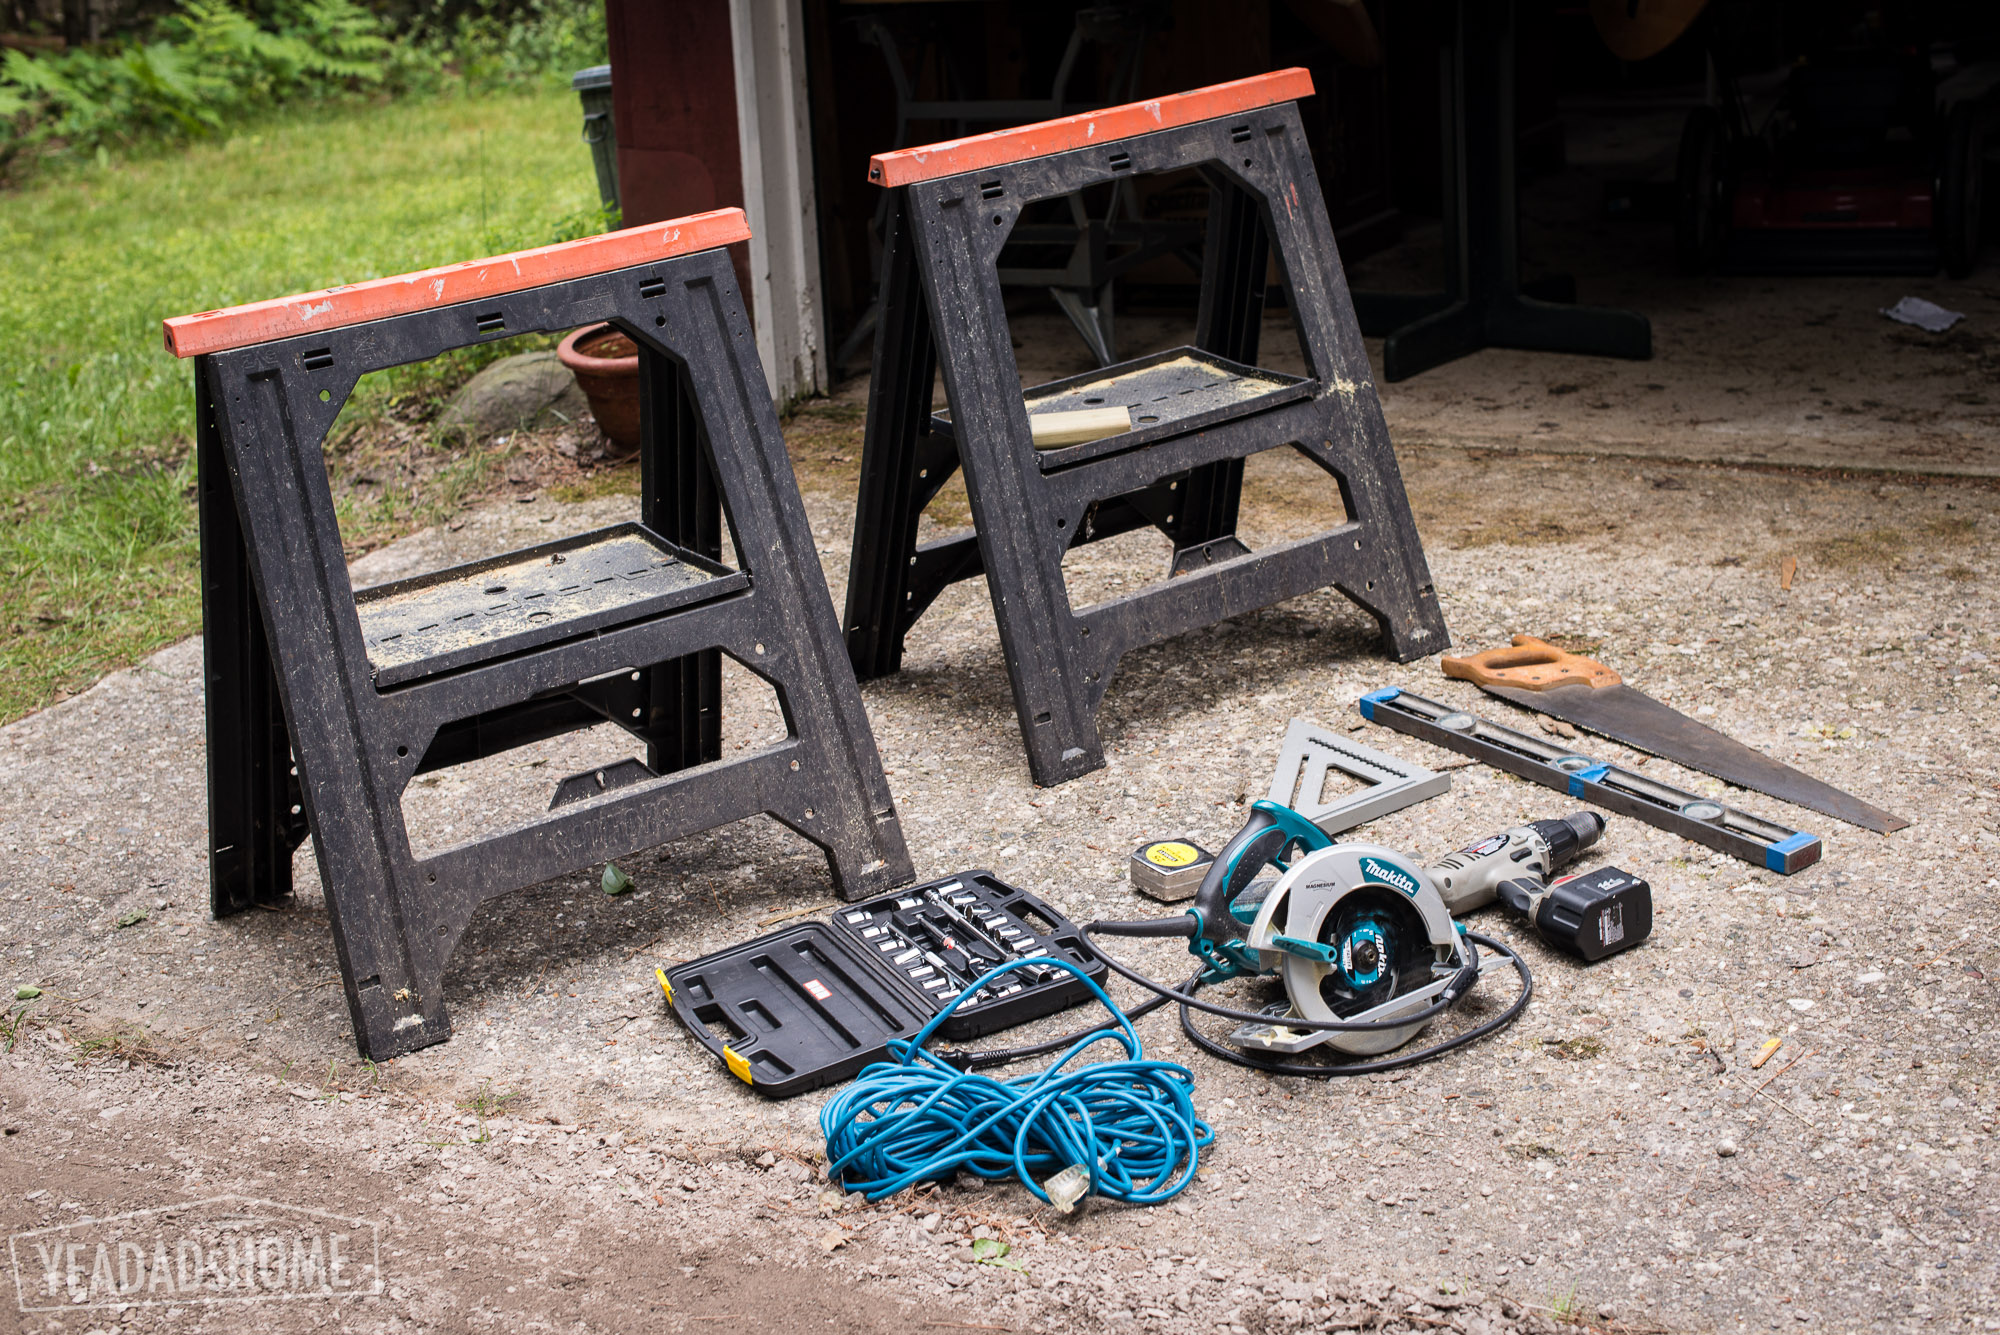
If you are reasonably handy, replacing a garage door opener can be done in about a half a day. Key questions to ask: Can you (or do you want to) follow 35 pages of instructions? Can you lift 20 lbs over your head? Do you have screwdrivers, a few crescent wrenches, wire strippers, a level, a step ladder, and cordless drill? All together it took me 3 hours to do the install. It helps if you are replacing an opener because some of the brackets can be reused. That saves some time.
The stores where you can buy an opener can find you someone to install them too, so that is an option if you don’t have the time, don’t have the tools, or just want someone to handle it. If I didn’t have time to do it, I would have found someone who does this a lot to put ours up.
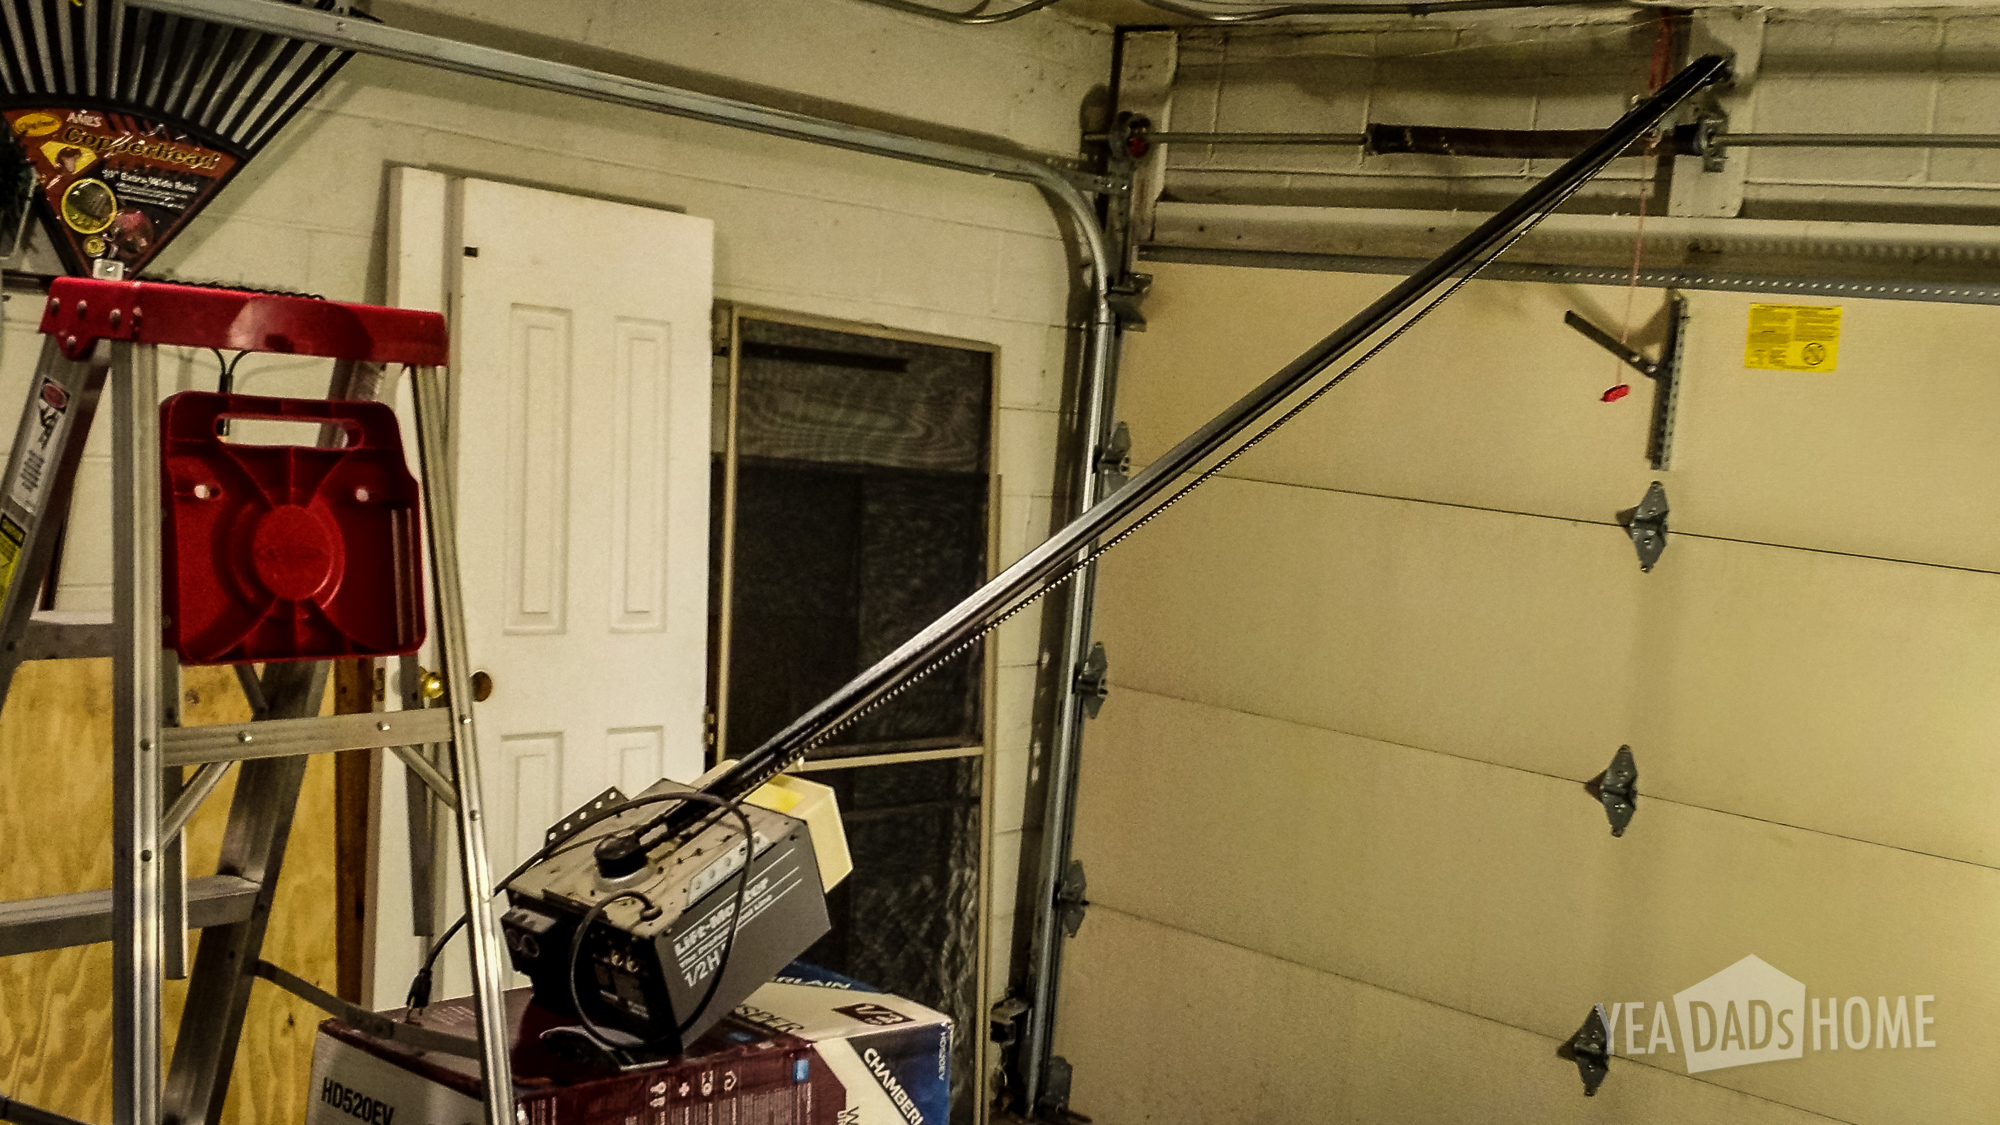
This is a picture of the old opener coming down. It helps to have a small work bench to lower it using the hinges at the wall above the garage door.
What garage door opener features should you consider?
Like a lot of products, it is hard to tell what features you really need. The packaging is filled with writing, and they have all sorts of trademarked terms on them. I had to do a bunch of digging to figure out what was really different or useful when I compared models. Here are the ones at the top of my list.
Low Noise
We wanted something that was quieter than the old opener we were replacing. Maybe it was getting louder as it aged, but it would shake our kitchen as it closed.
From what I had read and from talking to the staff at Home Depot a belt drive model is quieter than the chain type. Right off the bat this limits the number of models to consider. Only half of the openers I could purchase were the belt type. By belt drive they mean that the opener uses a reinforced rubber belt to move the door up and down.
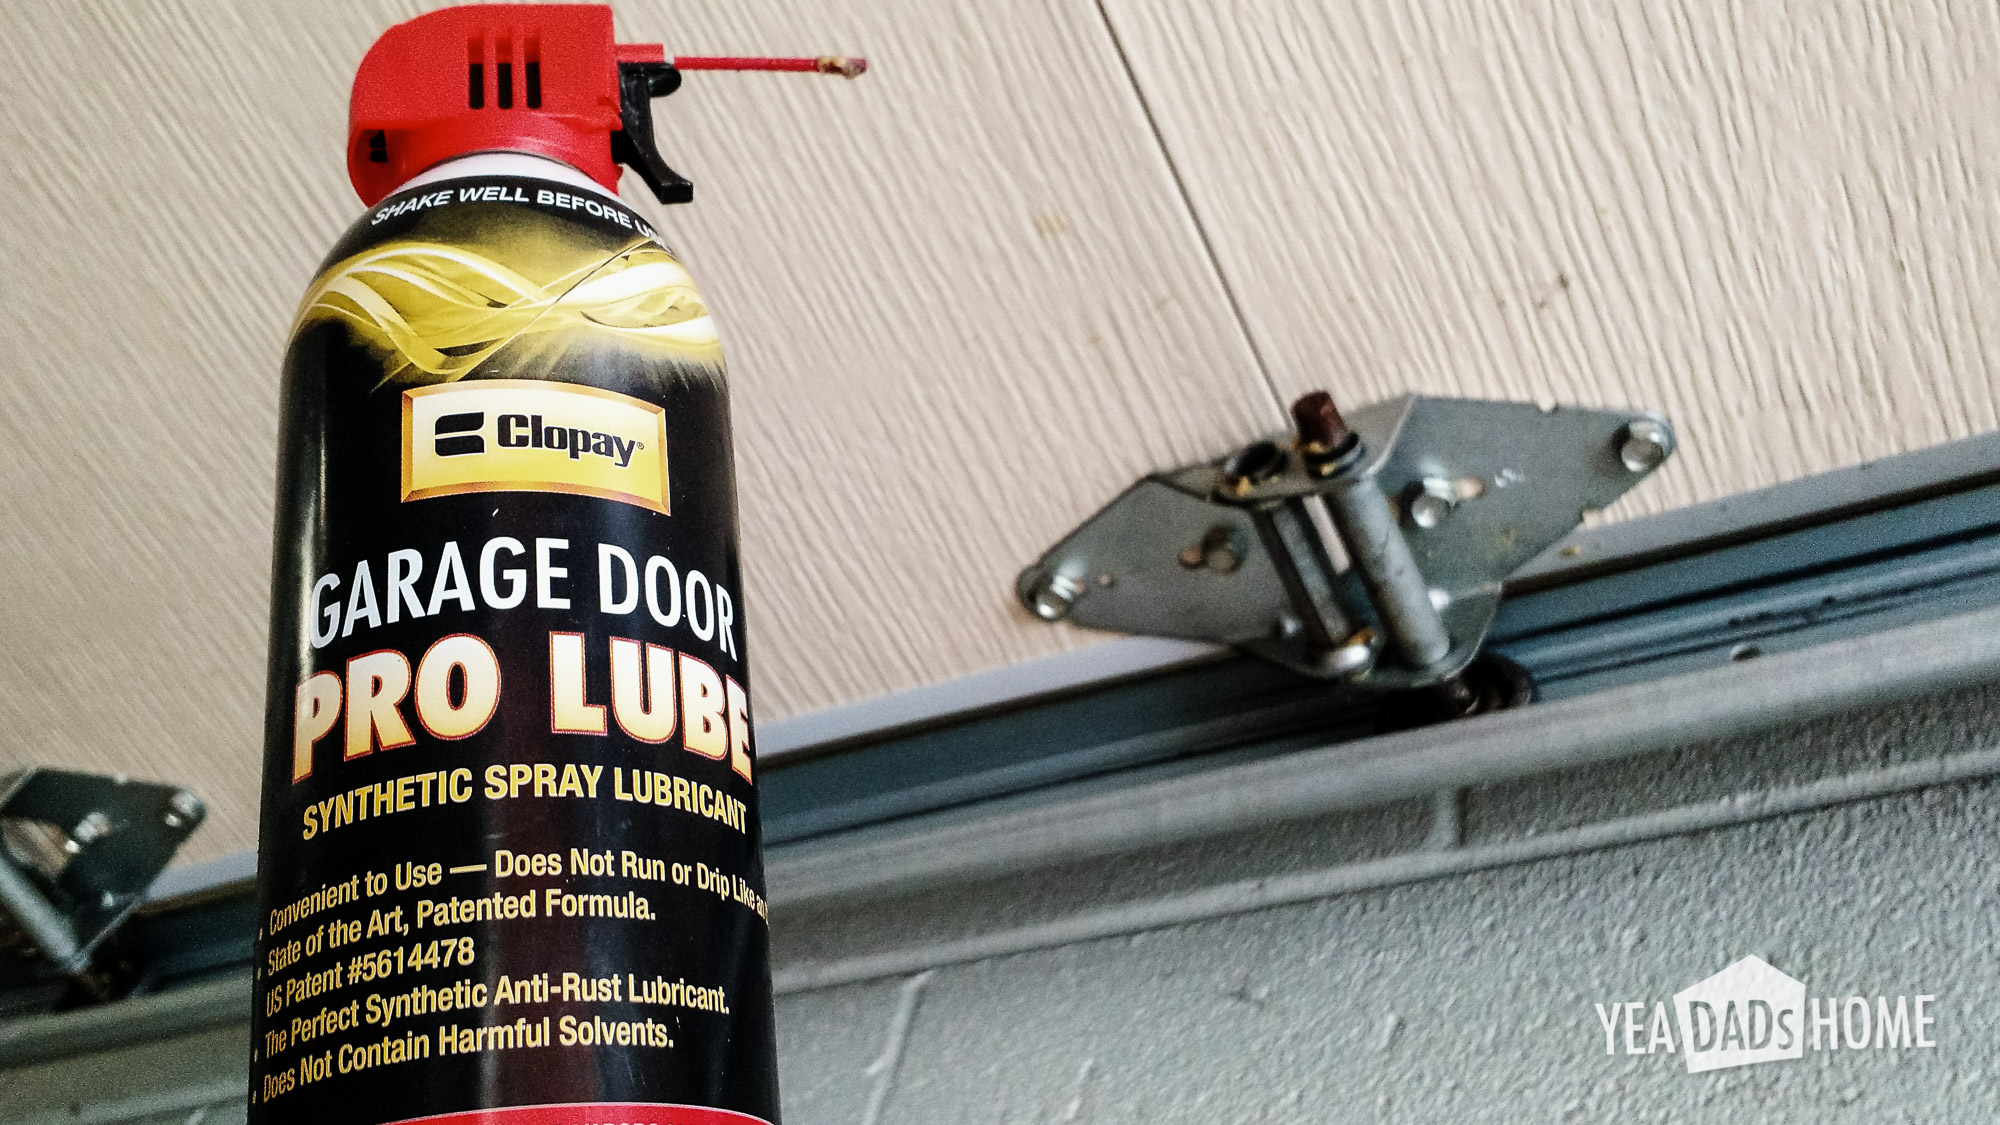
After using our for a few weeks, our new belt drive opener is definitely quieter. It doesn’t make the clanking sound our old chain drive opener. It also doesn’t shake the house like our old one did. I did also use some garage door grease in the hinges and the wheel axels. I didn’t notice until the new opener was in place, but both of those were squeaking quite a bit. Just make sure not to put grease in the channel that the wheels ride in. The grease or lube as they call it is only intended for the hinges and axels.
HomeLink
We prefer to use buttons built into our car for opening and closing, and the technology for that is called HomeLink. Figuring out whether your car is compatible with a new garage door opener isn’t as easy as it used to be. We were lucky to have just replaced our car, so our new opener worked with our car.
Just being HomeLink compatible doesn’t ensure a new garage door opener will work for your car. You have to know whether the version of HomeLink in your car is compatible. I read a lot of angry reviews on the Amazon and Home Depot websites. It sounds like a lot of people got burned by this, and any car older than 2012 will likely use an old version of HomeLink. Even some cars made in 2013 are still using that “old” HomeLink version. There is a HomeLink browser tool that is supposed to answer this compatibility question, but it gives you a rather unhelpful message like “try it. Call if it doesn’t work” way too often.
To use the in car buttons for an “older” car, you need to install a repeater that translates between car and the garage door opener. The garage door opener manufacturer can help you figure out which parts you need to make your set up compatible with your car.
Remote Keypad
We have a keypad outside the garage just in case we get locked out or if we don’t want to carry keys as we go running.
Most openers come with a keypad bundled with their openers now. If your opener didn’t come with a keypad, there are several available to add later. Like the built in buttons in your car, you need to make sure that your keypad is compatible with your garage door opener. So it is probably best to find a model with a keypad bundled with the opener.
The garage door opener we bought included a keypad that was also pre-programmed, so all we had to do was pick the secret code that we wanted to use.
Timer to Close
Sometimes we forget to close the garage door. It doesn’t happen a lot, but it happens. Usually it is summertime and someone goes out the garage and comes back in through a different door. There have even been a few times when we left the door open overnight. Luckily that didn’t become a problem. Squirrels cold have easily gotten into our bird seed or set up a nest. Also we know people who have had things stolen when their garage was left open. So “auto closing” is something that we really want to have.
A feature that prevents a garage door from being left open accidentally is called Timer to Close or TTC. That might be a Chamberlain specific name. To use it you set the amount of time that the door should stay open. Once it hits that time it will beep and close. We have ours set for 10 minutes.
If you really needed the garage open for longer, it is easy to disable the feature from the control panel. Also the door won’t close if something is blocking the sensors. This morning as I was cleaning snow off the driveway I heard the door opener beep to indicate it was going to close. Breaking the beam of the safety sensors at the bottom of the door causes the opener to stop beeping and timer to reset. Also the keypad outside the garage door will let us open the door if it does close automatically.
Before we found this feature built into the garage door opener, we were thinking of installing a product called Garage Butler that does the same sort of thing. It closes the door after a set amount of time.
Home Automation Features
My first thought wasn’t to make the garage door a part of an elaborate home automation system, but I do find some of the new features helpful.
The Chamberlain model I bought alerts me when the garage opens. That can be handy if you are trying to keep track of when people are coming or going. We use it all the time now. I will probably keep it on since it isn’t too many alerts. Either way I would definitely turn it on if we are traveling.
We have a opener model that also lets us open or close the garage door from our smartphones. At first I didn’t think I would need this. It turns out this feature is handy. Having one of the clicker remotes in your car can be a problem. We have seen people get their car windows broken when someone wanted to steal the clicker, so we try not to leave one in ours. If we rent a car, or use a car share, we used to have to take a garage remote with us and remember not to leave it in the car.
This app is a better way to open the door. The app is faster to use than to typing the secret code on the remote keypad we have outside the garage, so we prefer the app over the keypad when we are running or biking. In the future I am sure we will use it to let relatives into the house if they get there before we do. Before we would text them the code and explain how to type it in on the keypad, but now we can just open the door as they get to the house.
More complex home automation functions are possible. Sometime soon I will get rid of the old school light timers that we use to turn lights on at night. We have been using the plug in kind, and I am so frustrated with them. They are made super cheaply. Walking through Home Depot you see big displays that show companies working together to make home automation happen. Having a garage door that can trigger other things might be useful. I haven’t decided when we will set things up so the garage triggers changes to the lights or adjustments to the thermostat. It is good to have the option. My last garage door opener lasted for 10 years, so I am sure we will have that sort of home automation before I replace our new garage door opener.
The following video describes the smartphone app that we like. You can skip to about 2 minutes in to get past most of the install steps and see the app in use.
Automatic Lights
Ours has a sensor that turns the lights on when it detects motion in the garage. So if we open the door from the house it turns on the lights. It also turns on the lights as someone or the car trips the safety sensors at the bottom of the door. We used to have to turn the lights using a switch, but the garage opener lights works pretty well with the sensors.
Parking LASER
Some garage door openers have an accessory that will shine a red dot on your dash to help you park. It can be wired into into the opener and turns on as you drive into the garage. You point it to a spot on your car’s dash. Each time you drive into the garage you try to line your car up so the LASER points to that same spot on the dash. We bought this to try it out. I am still deciding whether I like it. We aren’t ready to ditch the 2x4s yet that stop the tires yet.
Battery Backup
We didn’t actually get a unit with this feature. Our power doesn’t go out very often. I can think two times in 15 years that I would have used battery backup. It may be worth the money if your power is less reliable though. I did read that if you have to use a repeater because you have the “old” prior to 2012 Homelink in your car, battery backup doesn’t work. The repeaters don’t seem to have their own battery backup.
What brand of garage door opener should you buy?
I looked at a bunch of reviews, and it seemed a lot internet research was biased. Someone was sponsoring the writing or they had an agenda, so be careful about that. Full disclosure….I am not being paid to write this, and I bought my own garage door opener.
My big takeaway was that there are only really two companies Chamberlain and Geenie that make garage door openers in the US. Chamberlain also makes Liftmaster and they make the Craftsman branded ones for Sears.
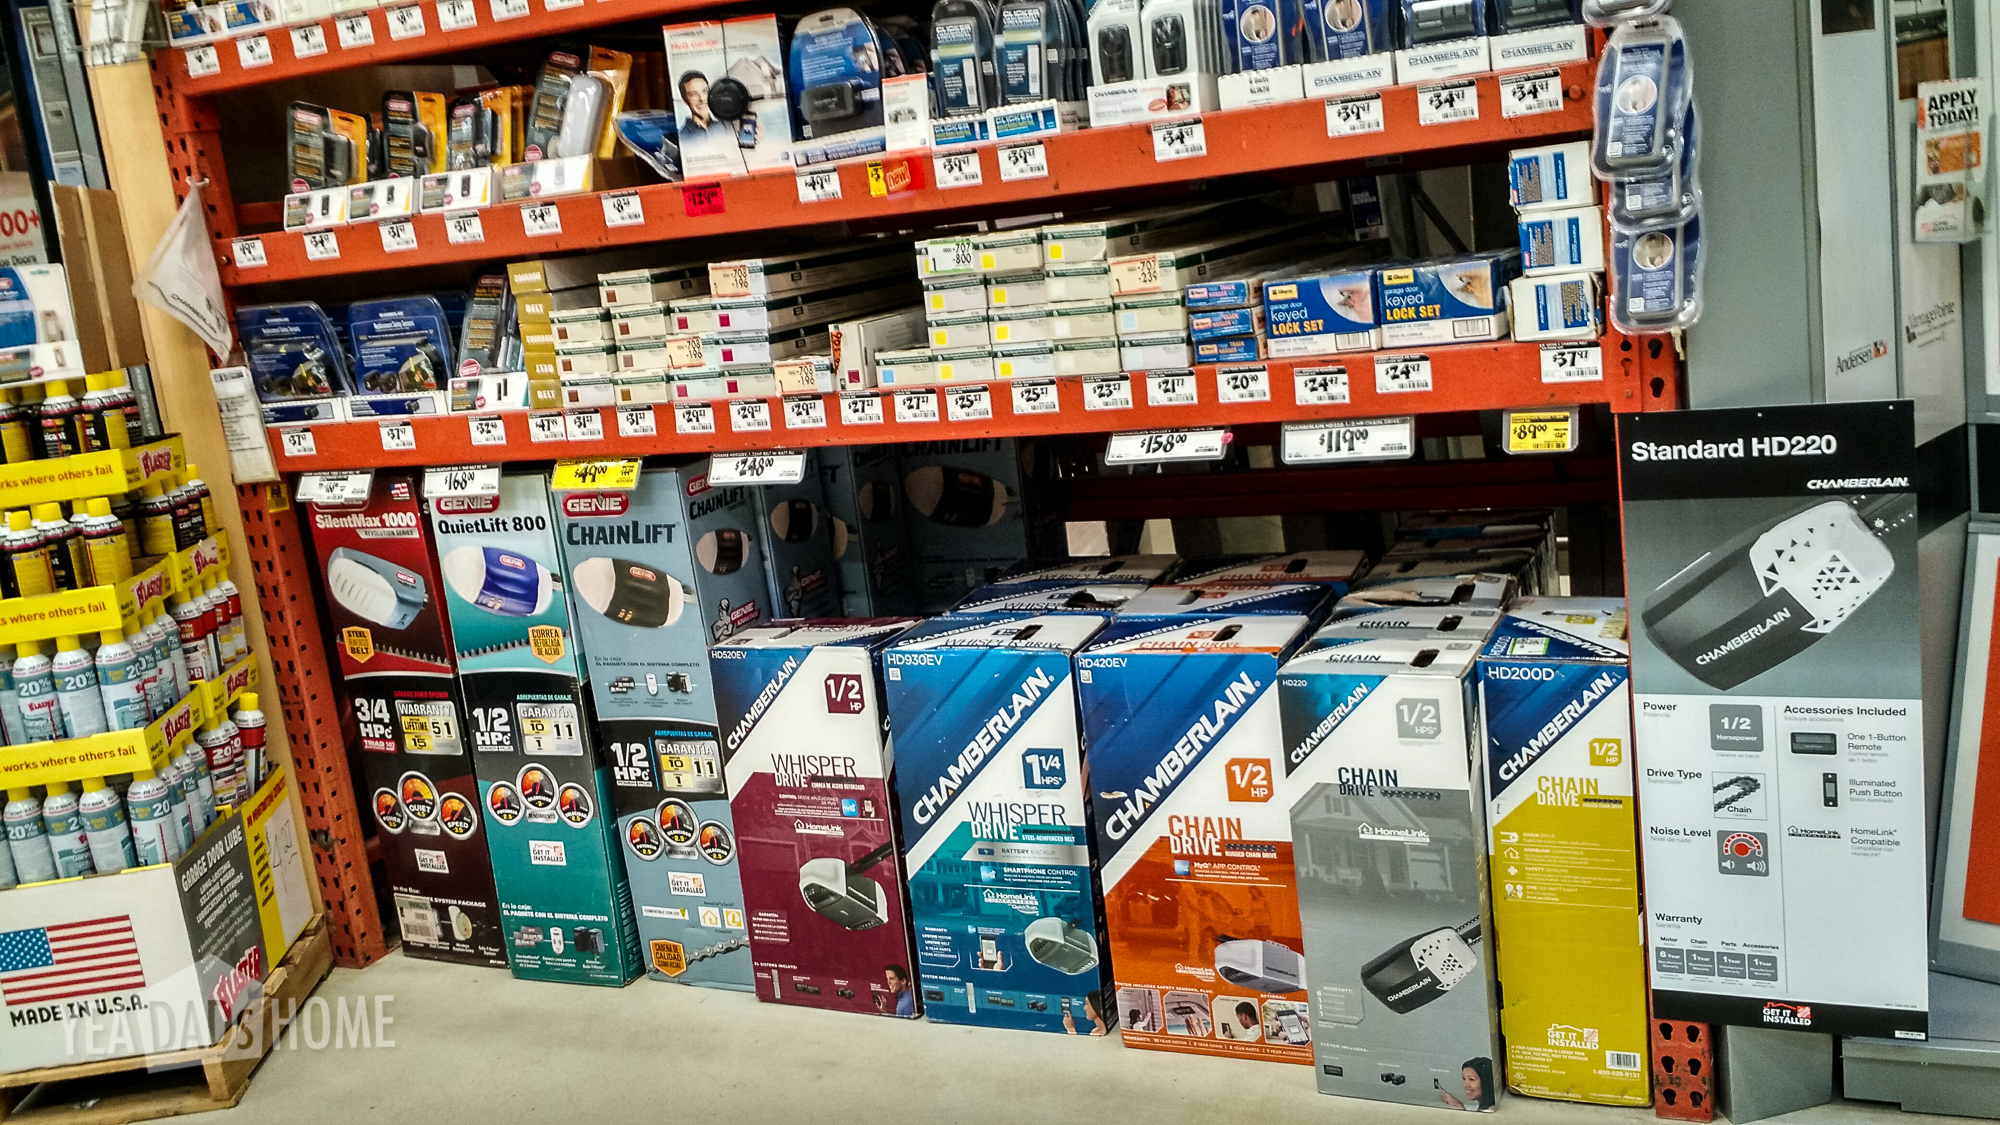
I went into Home Depot and this is a picture of the selection. You can see four belt drive and five chain drive models. When I went in I was looking for a Geenie, mostly because I thought I wanted something basic. I also liked their how to videos. They have one that shows you all the steps. I have that one embedded below. After talking with the Home Depot staff, I came home with one of the two Chamberlain belt drive models. The info from that changed my decision was that it was easier to find replacement parts if you need them for the Chamberlain units. and they had a good number in stock. Also the Chamberlain openers have some useful Smart Home features that I might want to use, like the smart phone app and the hooks for home automation.
So what did I buy?
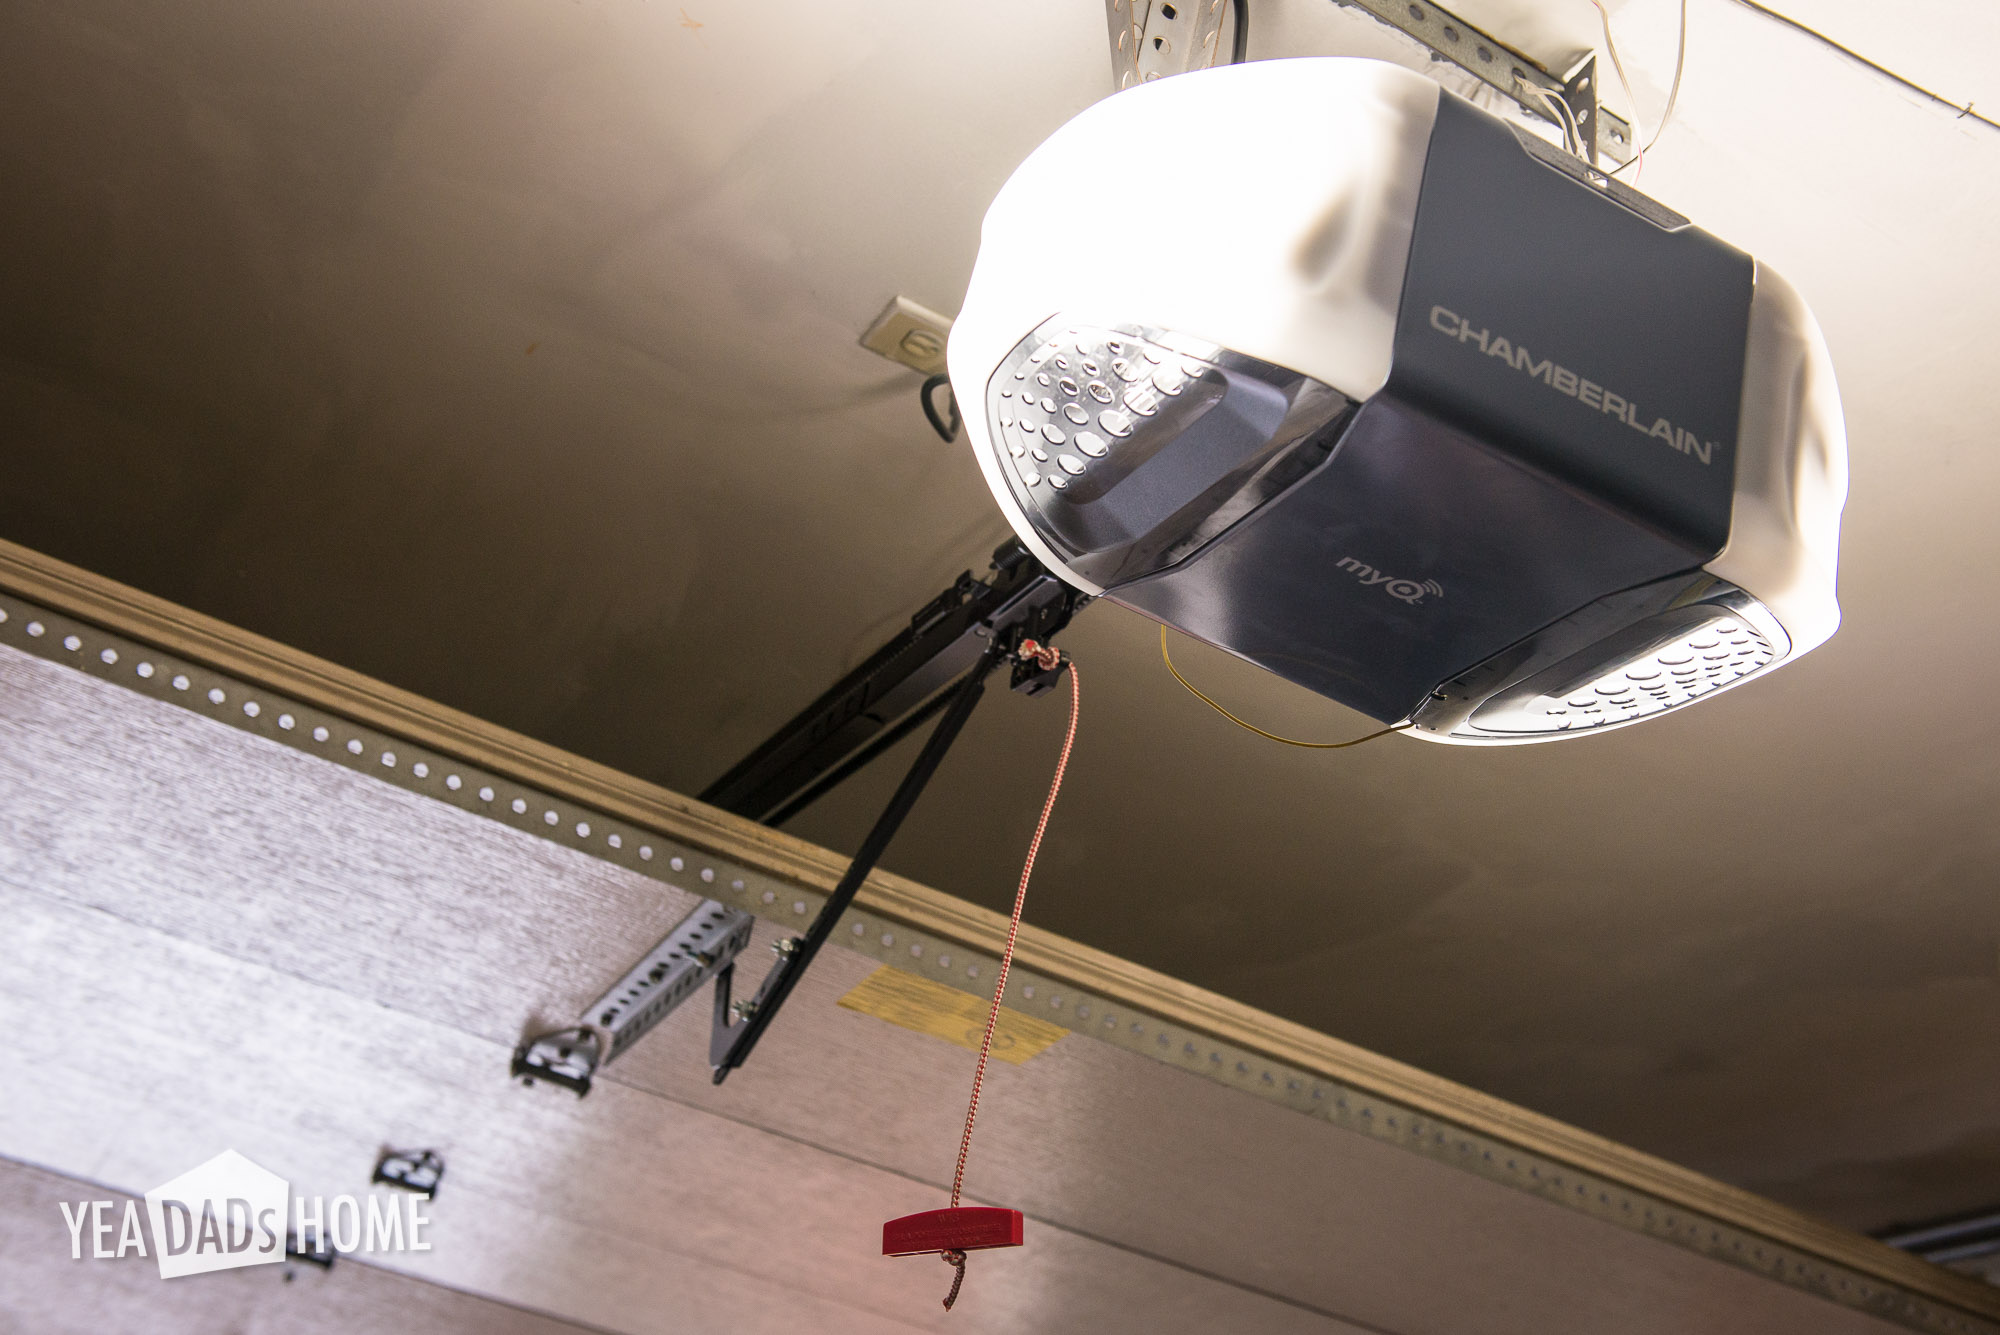
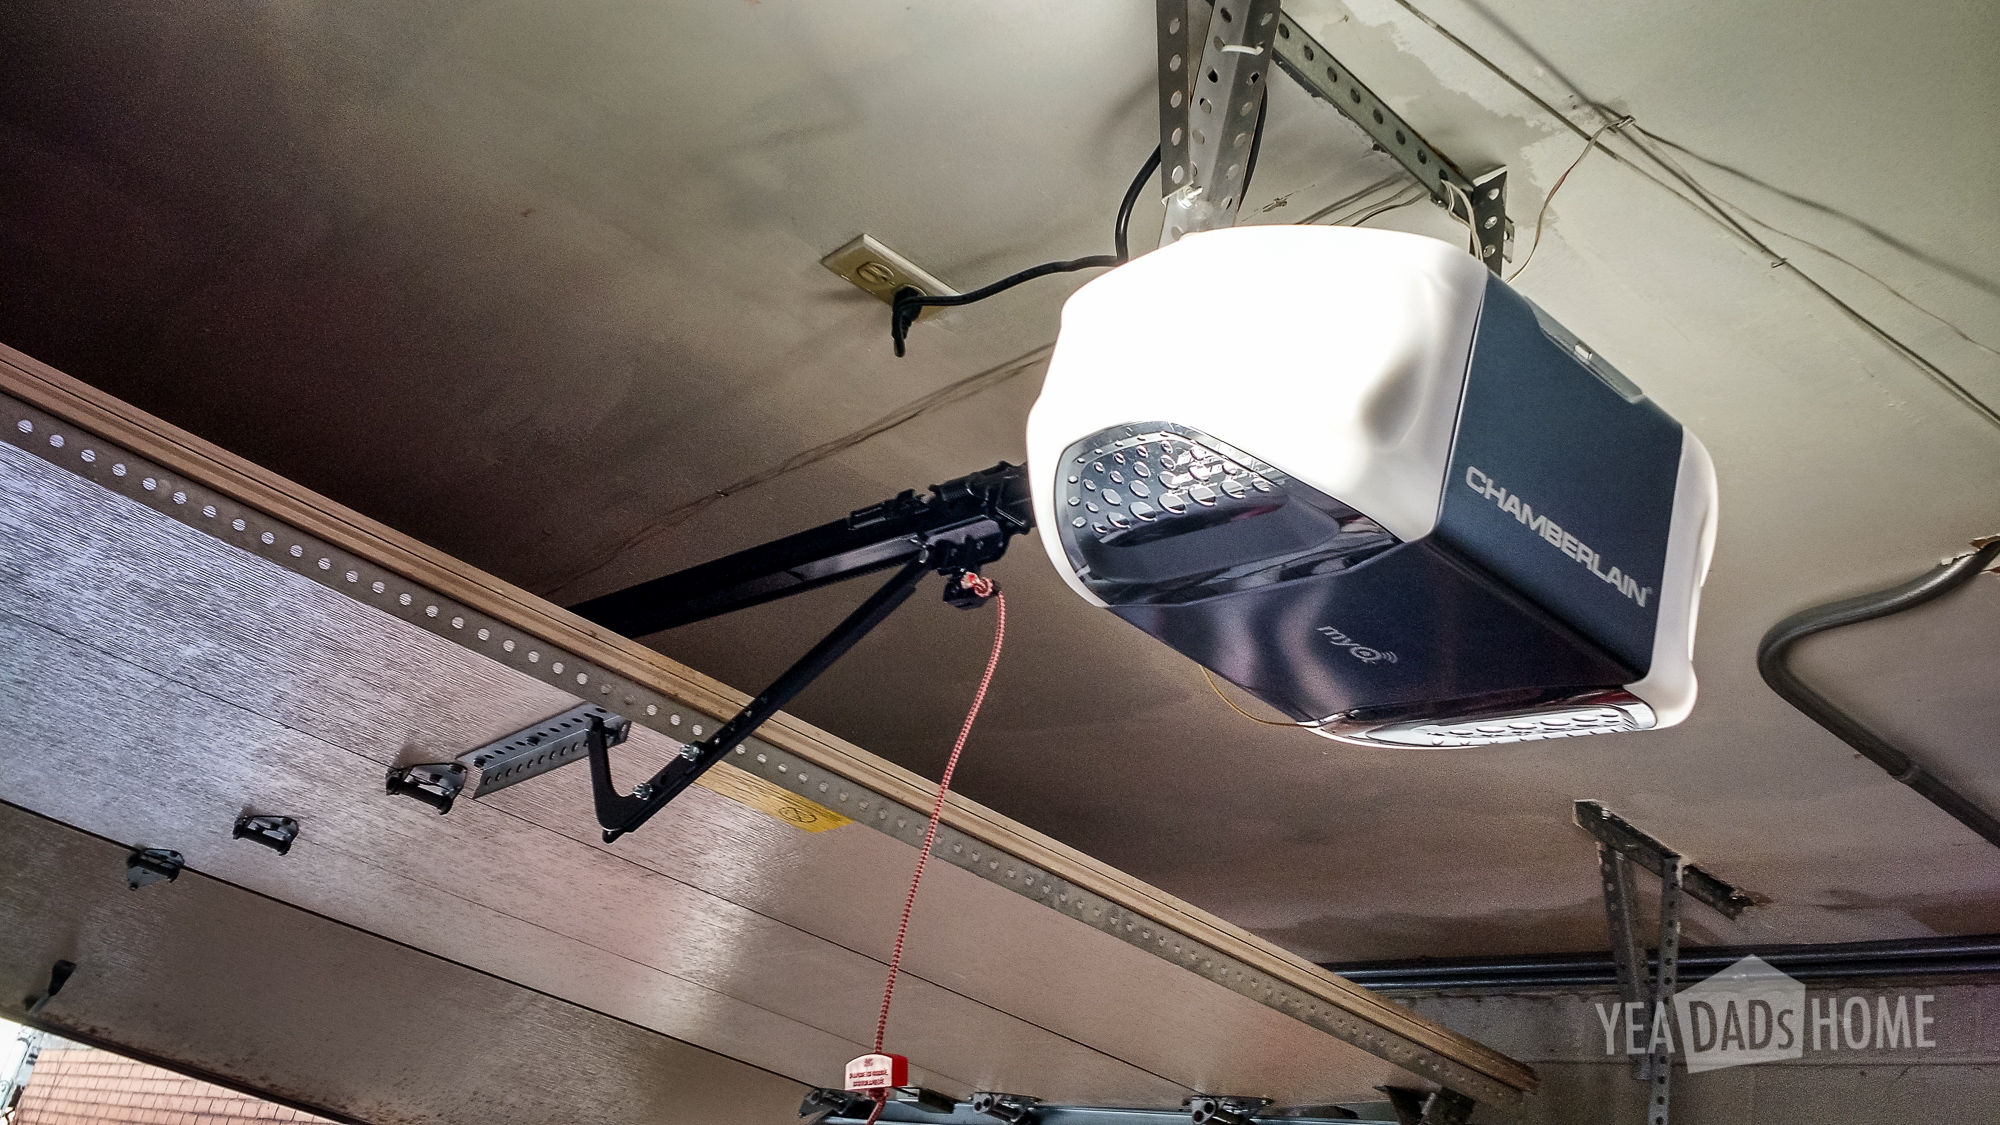
Chamberlain ½ HP Belt Drive Garage Door Opener HD530EV $188
This was available at Home Depot. They had one more belt drive model with a bigger motor and few chain drive models. I picked a belt drive models because those are supposed to be fairly quiet. You still know it is working, but the belt drive is a big improvement over we had.
Chamberlain Internet Gateway CIGBU MYQ $42
The gateway adds the capability to open and close from your smartphone. It also will allow for other smart home functions.
Liftmaster Smart Control Panel 880LM $26
I really wanted Timer to Close, and this control panel was required to make that work. I read the garage opener instructions before buying it and found all sorts of Timer to Close writing. It turns out that all of that was from the legal team. I learned a lot of don’t do this and don’t do that. It doesn’t tell you how to turn it on though. That’s because the control panel (wall clicker) that comes with the HD530EV opener doesn’t support the feature. I called Chamberlain and they gave me this LiftMaster part number. It was easy to install and does the trick.
Note I did also try installing the Chamberlain Internet and Smartphone Connectivity Kit aka CIGCWC. That says it will add timer to close and enable the smartphone features. It turns out that the control panel included in the kit isn’t compatible with the HD530EV opener. I returned that CIGCWC kit and replaced it with this part and their Internet Gateway.
What should I have bought?
So the total of the pieces I bought was $256. It turns out that there is another model that includes all the accessories I bought. The HD930EV has the Internet Gateway, has the Timer To Close feature, it has a battery backup, and is 1 ¼ HP. That is more power than my door needs, but more wouldn’t hurt. That one sells for $248. So of the two Chamberlain belt drive models, this was the only one with all the features we wanted. If you are replacing your garage door opener, I would recommend the HD930EV model or whatever they replace it with. You save a bit of money compared to the cheaper model once you add in the accessories. More importantly you won’t have to call support lines to check compatibility or spend time returning incompatible accessories.
2015-06 Update
A new set of garage door openers are on the shelf at Home Depot. They now have models that include WiFi and eliminates the Internet Gateway that ours uses. The HD750WF is a 3/4 hp model and the HD950WF is a 1 1/4 hp model. Both have the timer to close and smartphone control functions that we really like.
Please let me know if this info is helpful.
References
These videos give you an idea of how the opener goes up.
Screw drive models aren’t easy to find, and their reviews are poor. I do like this video though because it shows the major steps in installing a garage door opener.